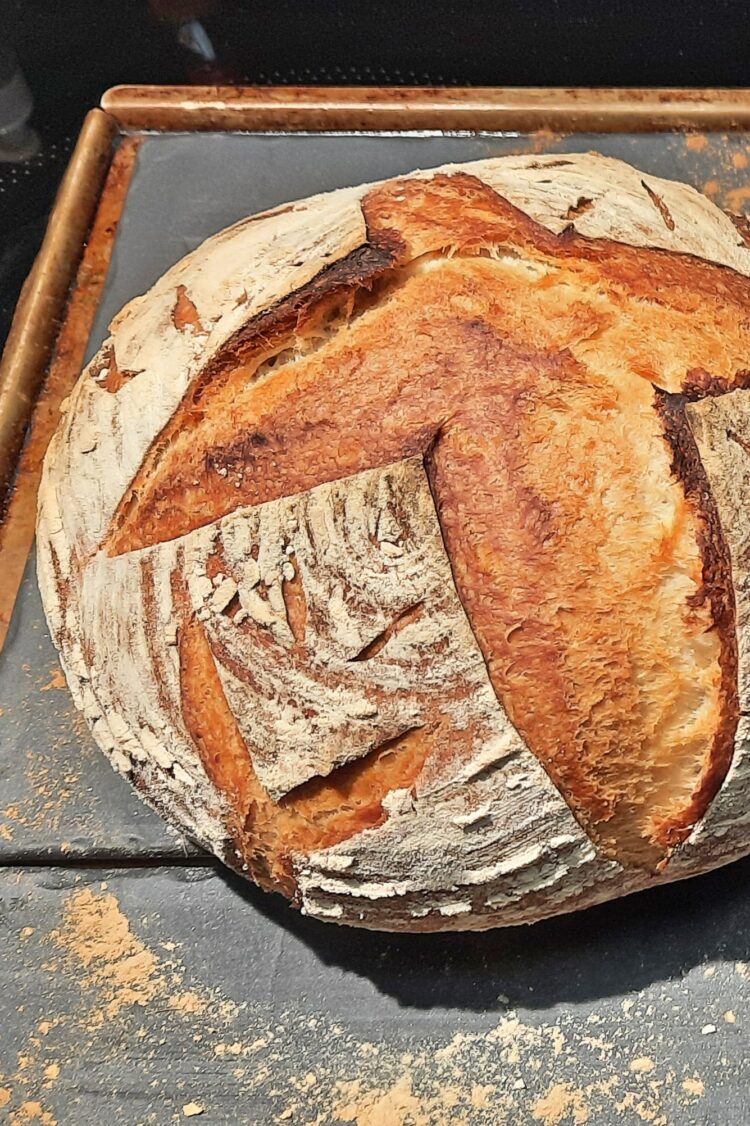
Looking for a gluten-free bread that crackles lightly under the blade and has the crumb of a true table loaf? This simple no-knead dough bakes up with a deeply golden crust and a rustic shape that holds beautifully on its own.
The method is straightforward, but it does rely on a few key points: the flour, the proofing, and the baking. Everything comes down to the mixing order, the oven heat, and the resting time. You’ll find the rest of my gluten-free breads and viennoiseries in the same category.
What Is Rustic Gluten-Free, Lactose-Free Bread?
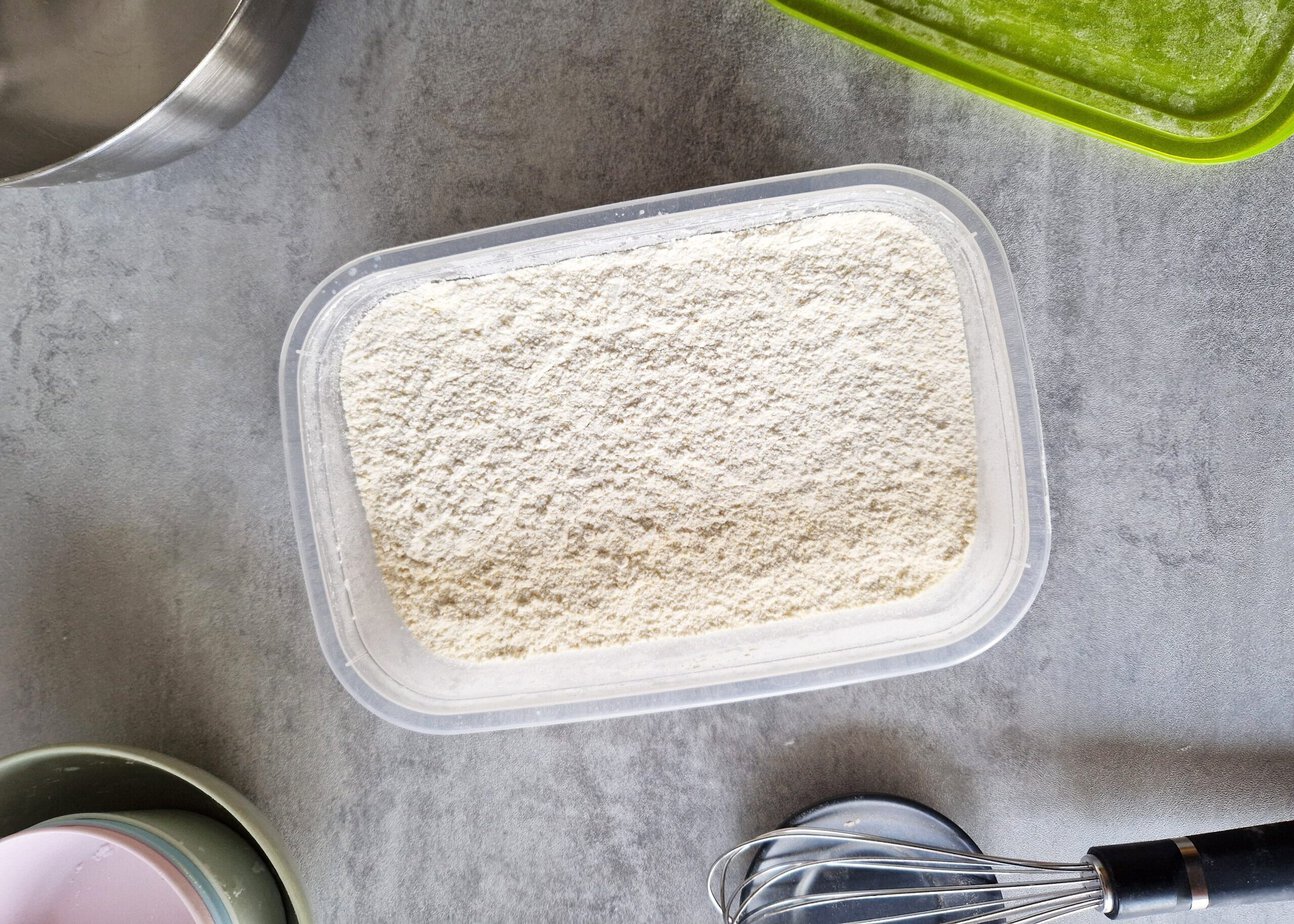
It’s a round, rustic-style loaf made with store-bought gluten-free bread flour, yeast, water, a little sugar, salt, vinegar, and olive oil. The goal is to recreate the profile of a classic artisan loaf, with a well-developed crust and a texture closer to a country loaf than to many store-bought gluten-free breads.
What makes this recipe special is that there’s no kneading. That keeps the process simple and delivers more consistent results. It’s also naturally lactose-free, without changing the bread’s overall structure.
The Main Ingredients
Flour matters more than anything else here. Use Schar gluten-free bread flour, or another gluten-free bread mix that contains xanthan gum and psyllium. Weigh everything to the gram for consistent results.
The water should be lukewarm, between 35 and 38°C, so the yeast dissolves more quickly. If you like, you can replace half of the water with oat milk or rice milk for a little extra flavor. Instant yeast is recommended here because it’s quick and convenient; if you use fresh yeast, double the amount.
The vinegar provides the acidity needed to activate the yeast and helps the dough rise properly in the oven. The olive oil adds flavor and a bit of richness. The sugar helps the crust brown, while the salt simply seasons the loaf.
Technical Tips and Pitfalls to Avoid
Start by whisking together the gluten-free flour, sugar, and salt. In a separate bowl, dissolve the yeast in the lukewarm water. Pour that mixture into the dry ingredients, then work the dough with a spatula or lightly oiled hands.
Add the vinegar and oil after this first mix, then continue until the dough comes together into a ball. Adding the olive oil at the end makes the dough less sticky because it coats the surface.
If you’re using a stand mixer, pour the water-yeast mixture, olive oil, and vinegar directly into the dry ingredients, then mix with the dough hook on medium speed for 4 to 5 minutes, until the dough comes together.
Proofing and Shaping
Cover the dough with a damp towel for the first rise, then let it rise for 40 to 60 minutes at room temperature or in a warm spot in the kitchen. Once it has risen, gently deflate it before shaping. Do this on a floured work surface, lightly dusted with gluten-free flour to prevent sticking.
Shape the dough into a ball. Small cracks on the surface are normal at this stage, and you can smooth them out by pinching them closed as much as possible. Then place the dough in a lightly floured banneton, smooth side down, and cover it again with a damp towel for a second rise of 30 minutes.
Baking
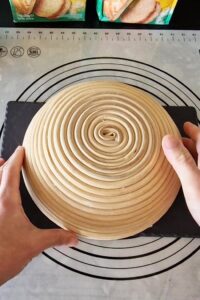
Bake the bread on a baking stone, preheated along with the oven to 200°C. The stone retains strong, steady heat, which helps the crust color more evenly. Make sure both the stone and the oven are fully up to temperature before baking. Once the dough has finished its second rise, turn it out upside down onto the very hot stone.
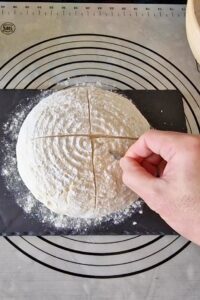
Slash it quickly with a sharp thin knife or a bread lame. Then place a container of boiling water, about 150 ml, at the bottom of the oven to create steam. That steam helps the crust develop during the 40 to 45 minutes of baking. Remove the loaf when the crust is deeply golden.
Storage
As soon as it comes out of the oven, place the bread on a rack and let it cool completely at room temperature before slicing. Be patient and wait until it has fully cooled; otherwise, the crumb will compress when sliced.
You’ll find more vegan gluten-free recipes in the same section.
Recipe developed by chef Rommel Reyes. Find his work on Instagram, his Substack newsletter, and his YouTube channel.
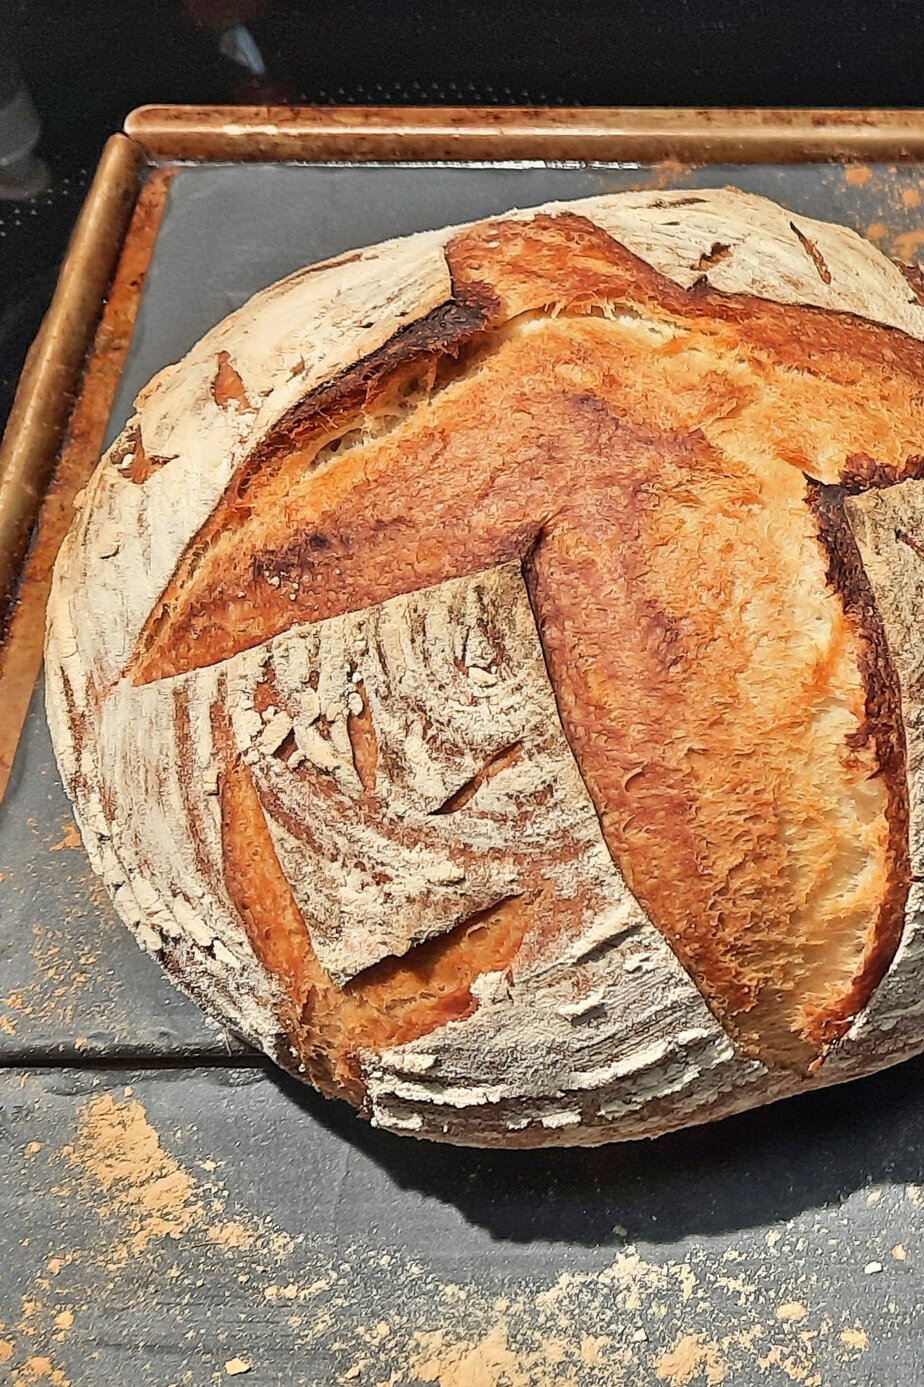
No-Knead Gluten-Free Bread
Ingredients
- 500 g Schar GF Bread gluten-free bread flour
- 11 g instant yeast
- 375 g warm water (35–38°C); See the notes if you’re using a different flour blend.
- 6 g salt
- 15 g sugar
- 10 g vinegar
- 40 g olive oil
Instructions
Preparation
- Whisk together the gluten-free flour, sugar, and salt in a bowl.500 g Schar GF Bread gluten-free bread flour, 6 g salt, 15 g sugar
- Dissolve the yeast in the warm water in a small bowl.11 g instant yeast, 375 g warm water
- Pour the yeast mixture into the dry ingredients.
- Mix the dough with a spatula or your oiled hands.
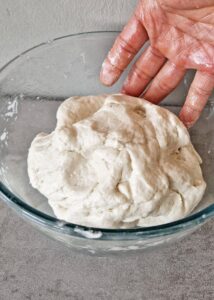
- Add the vinegar and olive oil.10 g vinegar, 40 g olive oil
- Mix until the dough comes together into a ball.
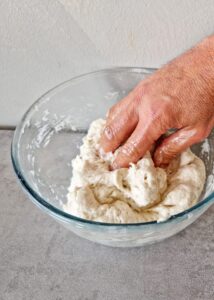
- Note: If using a stand mixer, pour the yeast mixture, olive oil, and vinegar into the dry ingredients, then mix on medium speed with the dough hook for 4-5 minutes, until the dough comes together.
- Cover with a damp towel and let the dough rise for 40-60 minutes at room temperature or in a warm spot in the kitchen.
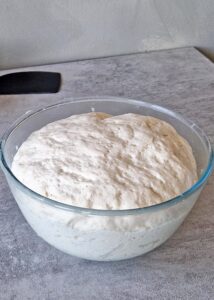
- Turn the risen dough out onto a floured surface and gently degas it.
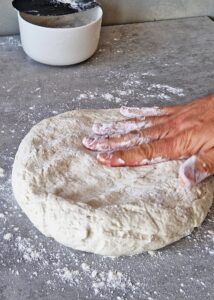
- Shape it into a ball.
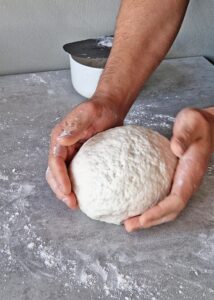
- Smooth over any cracks; that’s perfectly normal.
- Place the round dough, smooth side down, in a banneton lightly dusted with gluten-free flour.
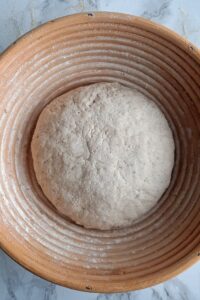
- Cover with a damp towel and let rise for 30 minutes.
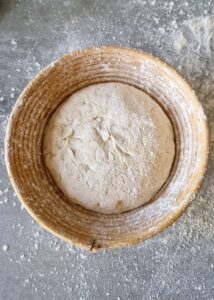
- Preheat the baking stone and oven to 200°C.
- Turn the dough out of the banneton onto the hot baking stone.
- Quickly score the dough with any decorative pattern you like, using a thin, very sharp knife or a bread lame.
- Place a dish of boiling water (about 150 ml) at the bottom of the oven.
- Bake for 40–45 minutes, until the bread is golden brown.
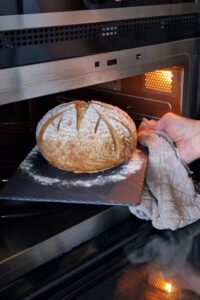
- Transfer the bread to a wire rack.
- Let it cool completely at room temperature before slicing.