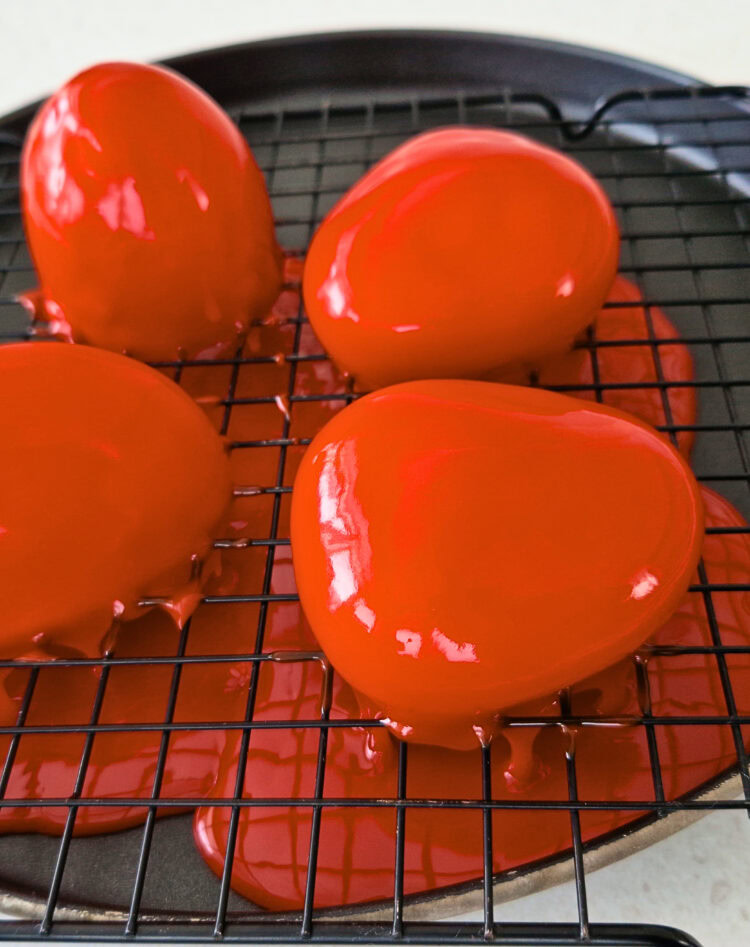
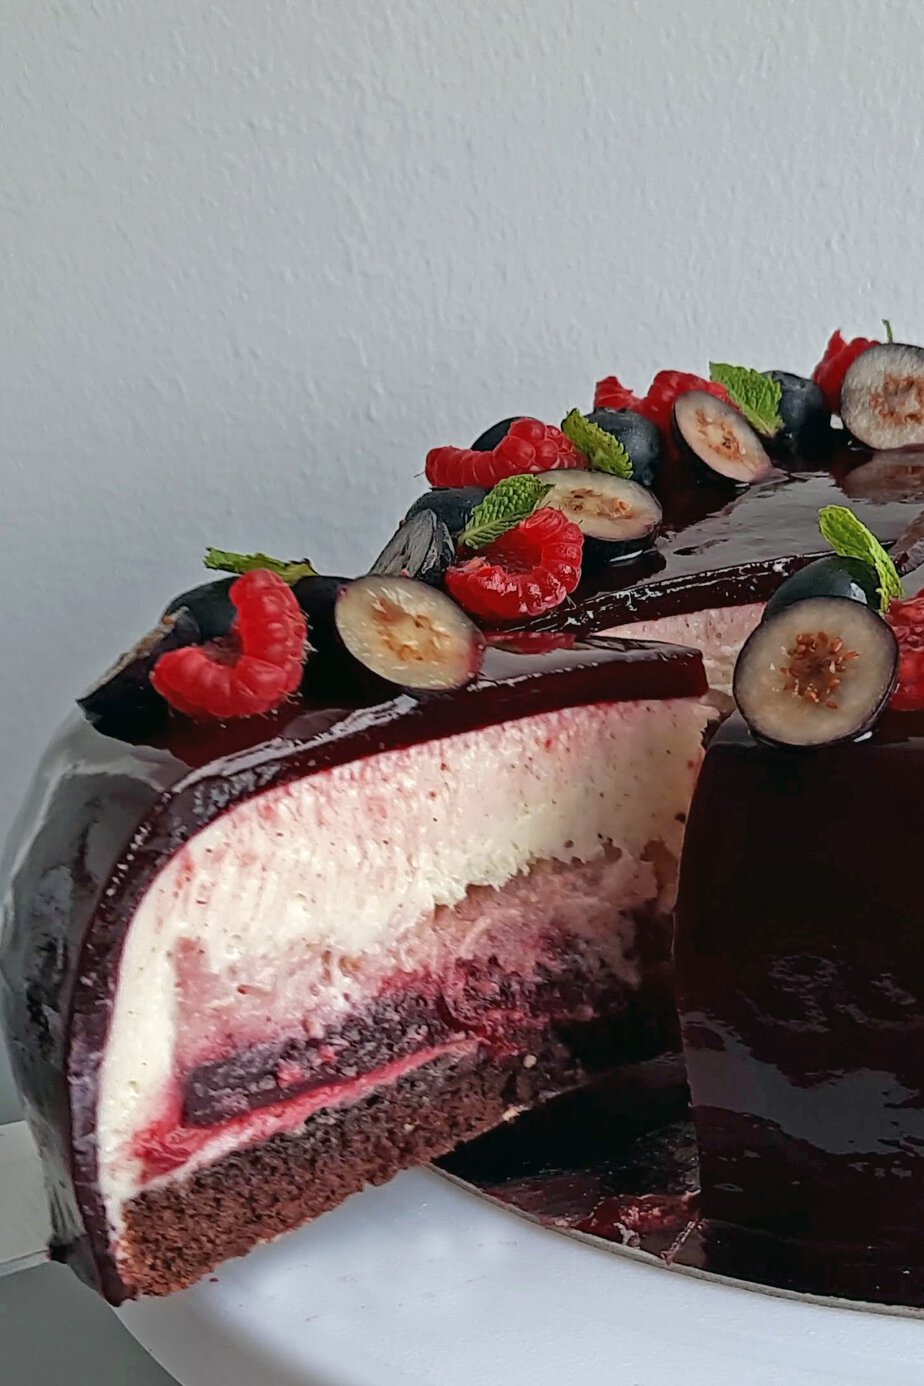
Want that smooth, glossy finish you see on entremets, without gelatin or condensed milk? This vegan mirror glaze coats your cake in a clean, shiny layer and helps protect it from drying out.
The first spoonful is smooth and chocolatey, with a supple texture that drapes the cake in an even veil. Because it takes color beautifully, you can easily adapt it to whatever dessert you’re making. You’ll find this recipe among my gluten-free basics.
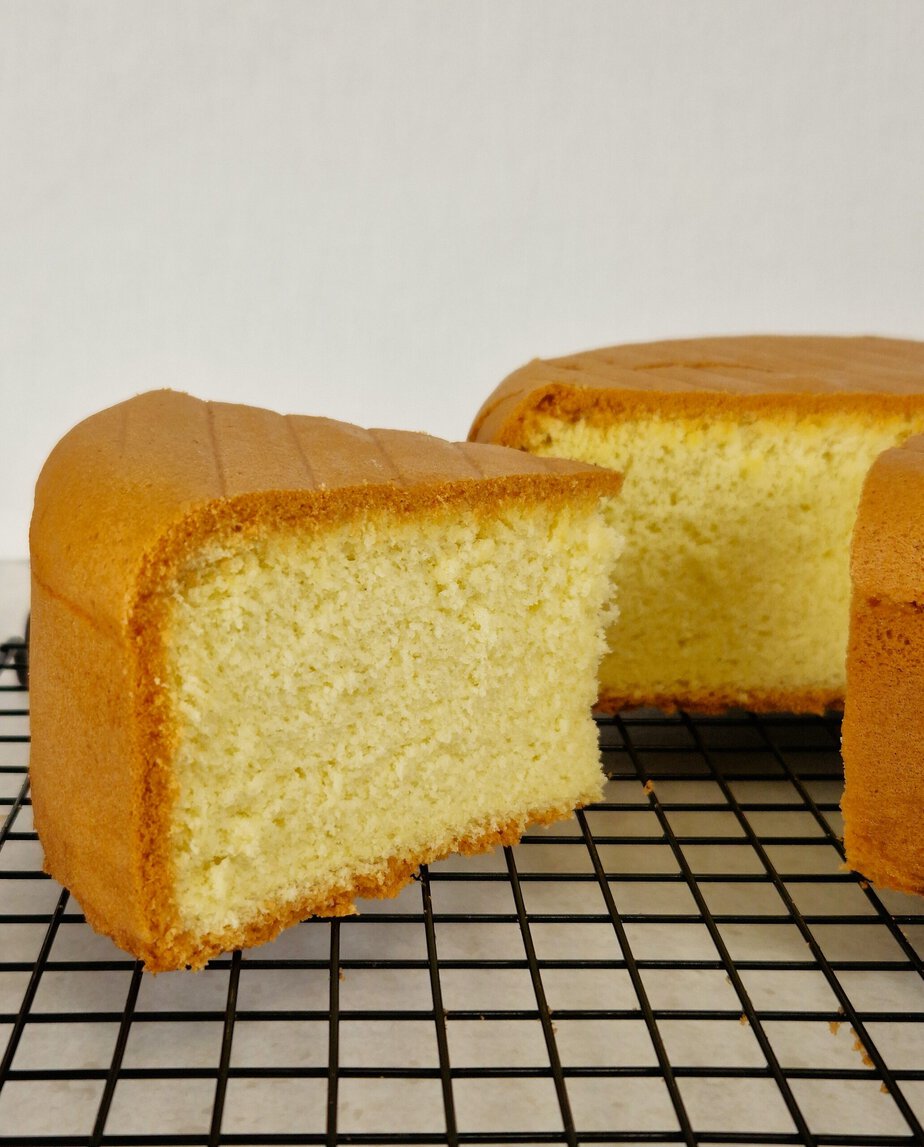
What is a vegan, gluten-free mirror glaze?
A mirror glaze is a smooth, glossy coating poured over a cake to give it a polished finish. In the classic version, that creamy shine usually comes from gelatin and sweetened condensed milk.
Here, the vegan version replaces those ingredients with NH pectin and avoids the extra sugar that condensed milk brings. The recipe stays gluten-free and dairy-free, with vegan white chocolate providing body and shine.
The main ingredients
Vegan white chocolate is what gives the glaze most of its texture. Choose a dairy-free one with at least 38% fat; otherwise, the glaze may lack structure and suppleness. Pascha is the top choice, with Valrhona Inspirations as another good option.
The plant-based cream provides the liquid base and richness. Silk Whip Cream is the top choice, with Alpro whipping cream as a solid alternative to traditional heavy cream.
NH pectin replaces gelatin. It is thermoreversible, which means it can be cooled and reheated without losing its setting power. That makes it especially useful for a glaze you may want to prepare ahead of time.
For color, choose a gluten-free, vegan Chefmaster food coloring in gel or powdered form. A good-quality natural powdered coloring also works; Pavoni is one example. In any case, stick with a reliable brand so you get a clean color without affecting the texture.
Technical guidelines and pitfalls to avoid
This recipe should be measured by weight, using metric units, for accuracy. With this kind of glaze, just a few grams more or less can change the texture or the set.
Temperatures to follow
First, mix the NH pectin with the sugar. Then heat the cream, sugar, glucose, and water to 40°C before adding that mixture.
Bring everything to 102°C, then remove the saucepan from the heat.
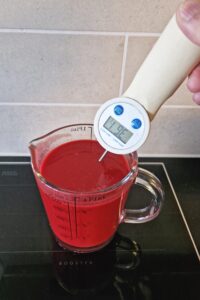
Use the glaze at 35 to 40°C. If it has been chilled, reheat it to that range before glazing.
Blending without bubbles
Pour the hot liquid over the white chocolate and food coloring, then blend with an immersion blender until smooth.
Avoid incorporating air as you blend; that’s what causes bubbles in the glaze.
When glazing
Reheat the glaze to 35°C in a double boiler just before using it. Do not overheat it, or it may melt the cake as you glaze.
If the first coat does not come out clean, return the cake to the freezer, reheat the glaze, blend it smooth again, and try once more. Limit yourself to one redo; after that, the layer starts to thicken.
Storage
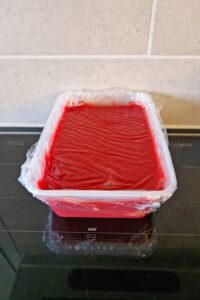
Once the glaze is ready, pour it into a container, then cover it with plastic wrap pressed directly onto the surface. This helps prevent a skin from forming.
If you’re not using it right away, keep it in the refrigerator. You’ll simply need to reheat it before glazing, until it reaches its working temperature again.
You’ll find the rest of my gluten-free vegan recipes in the same place.
Recipe developed by Chef Rommel Reyes. Find his work on Instagram, his Substack newsletter, and his YouTube channel.
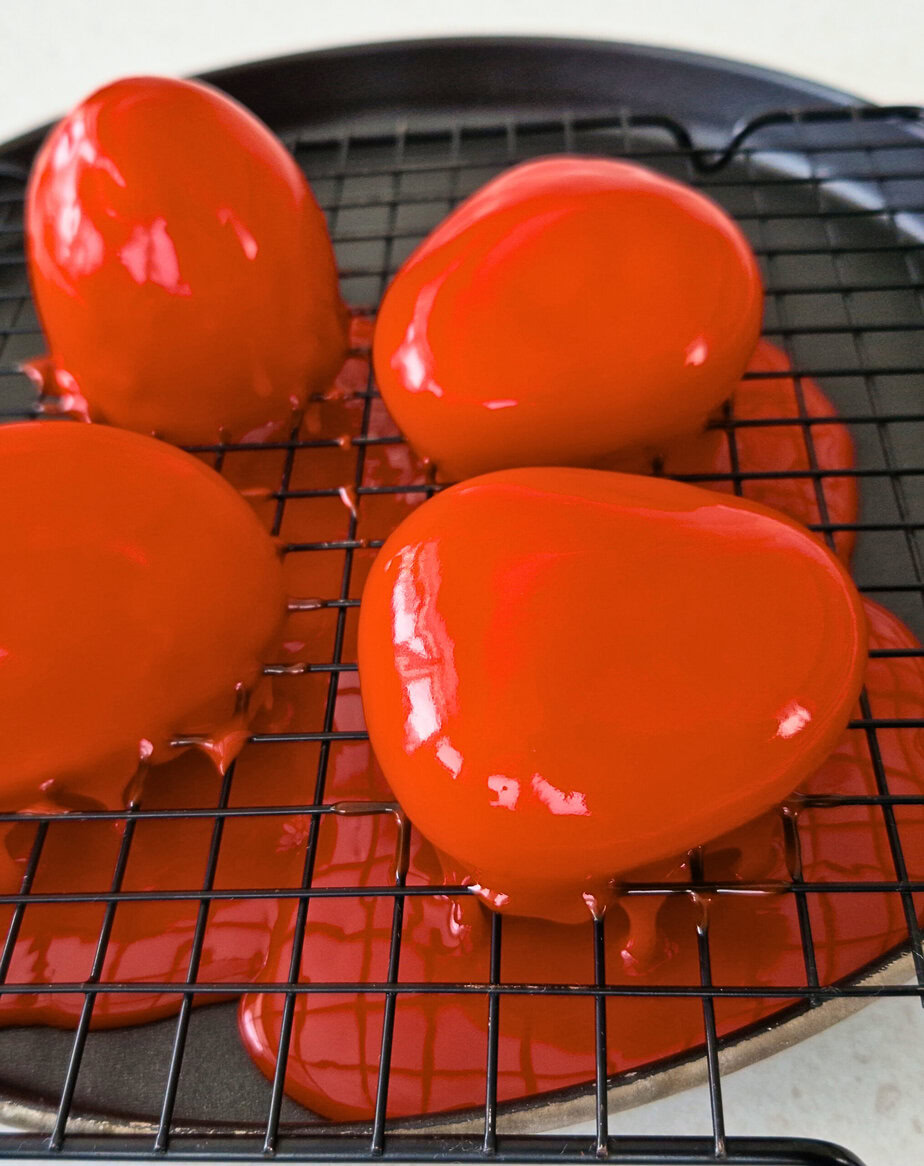
Gluten-Free Vegan Mirror Glaze
Ingredients
- 150 g vegan whipping cream preferably Silk Whip Cream
- 200 g glucose
- 50 g water
- 15 g sugar
- 2 g NH pectin
- 330 g vegan white chocolate preferably Pascha
- 2 g Chefmaster gluten-free vegan food coloring gel or powder
Instructions
Preparation
- Whisk together the NH pectin and sugar.2 g NH pectin, 15 g sugar
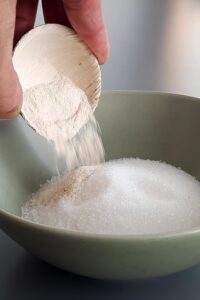
- Heat the cream, sugar, glucose, and water in a saucepan to 40°C.150 g vegan whipping cream, 200 g glucose, 50 g water
- Add the pectin-sugar mixture to the warm cream, then bring to a boil until it reaches 102°C.
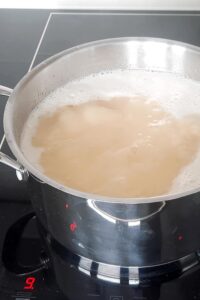
- Remove from the heat.
- Pour the hot mixture over the white chocolate and food coloring, then blend with an immersion blender until smooth.330 g vegan white chocolate, 2 g Chefmaster gluten-free vegan food coloring
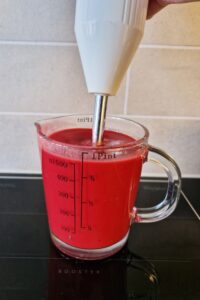
- Blend carefully to avoid incorporating air and creating bubbles.
- Transfer to a container.
- Cover the surface directly with plastic wrap.
- Use the glaze at 35 to 40°C.
- Refrigerate until needed.
- Reheat before using.