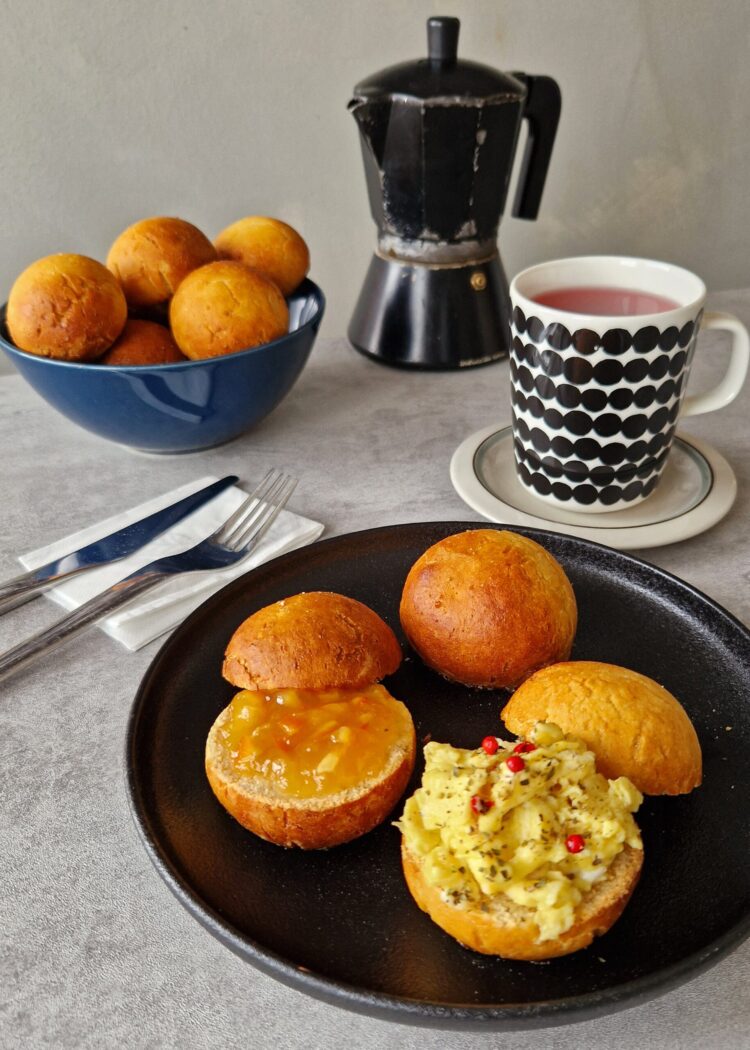
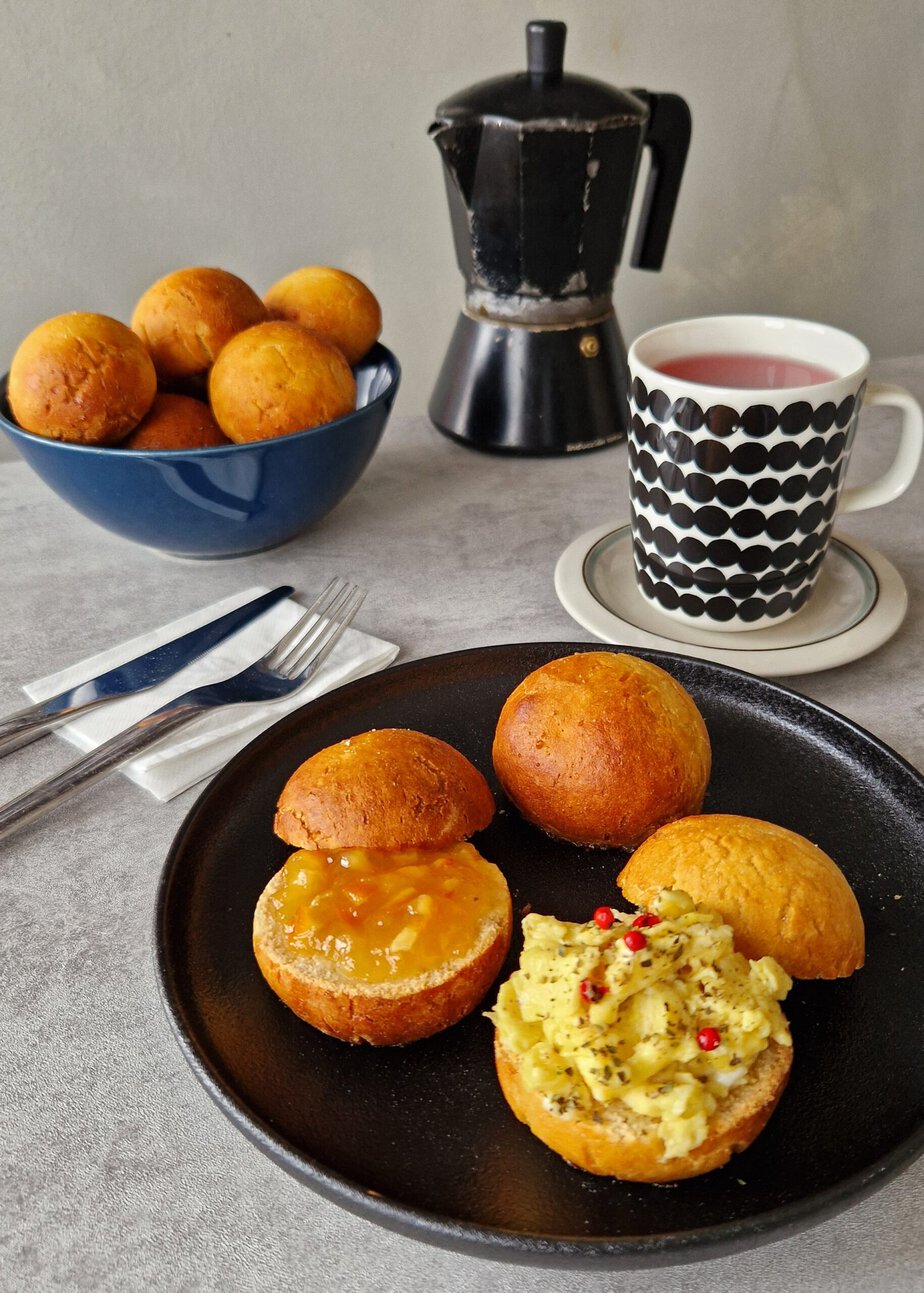
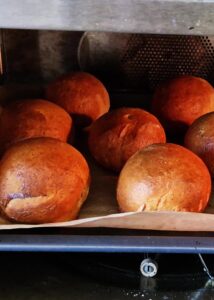
Looking for buns that work just as well at breakfast as they do around a burger patty? These have a soft crumb, a thin crust that browns beautifully, and a hint of orange zest in the background—just enough to brighten butter or a savory filling. You’ll find this recipe alongside my gluten-free breads and pastries.
They’re gluten-free and lactose-free, and designed to be shaped into evenly sized portions. If you want true burger buns, simply make them larger: the dough can handle it without any trouble.
What are these gluten-free orange-zest buns?
These are gluten-free yeast-raised buns, enriched with eggs and olive oil, with oat milk instead of dairy. The zest of a large orange perfumes the dough without turning it into a sweet brioche.
The structure comes from a blend of flours and starches, reinforced with psyllium and xanthan gum. The result is a crumb that holds together while staying tender when eaten warm.
Key ingredients
The gluten-free flour blend defines the texture: sorghum flour, fine white rice flour, chickpea flour, tapioca starch, plus xanthan gum. It replaces the gluten network and gives you a dough that can be shaped into neat rounds.
The instant yeast takes care of the rise, with one practical note: Saf instant yeast is the best choice here. The yeast is dissolved in part of the oat milk with ¼ of the sugar to get it going properly.
The baking powder helps too, especially in gluten-free baking, adding lightness and volume. The eggs help emulsify and add structure to the dough, while the oat milk keeps everything soft and moist, without lactose.
Apple cider vinegar provides the acidity that helps activate the yeast and also contributes to the structure. And if you prefer, you can leave out the orange zest: the recipe still works beautifully without it.
Technical notes and pitfalls to avoid
Everything here is measured by weight, in metric. If you usually bake by volume, use a converter; otherwise, you may end up chasing dough that’s too dry or too sticky.
Mix the dry ingredients first
Start by making your gluten-free flour blend, whisking the flours and starches together. From the total amount, be sure to set aside the remaining 16 g to flour the work surface and your hands during shaping.
In a large bowl, thoroughly combine the gluten-free blend, baking powder, sugar, and salt before adding any liquid. This helps prevent pockets of dry ingredients from getting trapped and showing up after baking.
Psyllium, yeast, then the liquids
Mix 300 g of oat milk with 12 g of psyllium, then let it hydrate for 2 to 3 minutes. You’ll end up with a thicker base that helps the dough hold together.
In a separate bowl, dissolve the instant yeast in 80 g of oat milk with ¼ of the sugar. Only then combine the liquids: oat milk, beaten eggs, olive oil, and the dissolved yeast. Then start mixing the dough.
Once the dough is partially mixed, add the orange zest and apple cider vinegar. The flavor distributes more evenly, and the acidity comes in at just the right moment.
Knead well and keep the bowl clean
Mix by hand until you have a smooth, homogeneous dough that forms a ball. If you’re using a stand mixer, start with the paddle attachment for 3 minutes to bring everything together, then switch to the dough hook and knead for 4 to 5 minutes.
As you mix, scrape down the sides and bottom from time to time with a rubber spatula. In gluten-free baking, even a little unincorporated flour is enough to leave dry streaks in the crumb.
Chill, then reshape
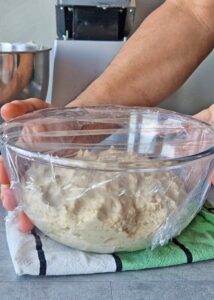
Cover the dough with a damp cloth or plastic wrap, then let it rise in the refrigerator for 45 to 60 minutes. Chilling makes it easier to handle afterward.
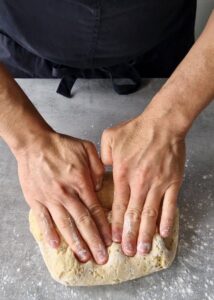
Deflate the chilled dough, transfer it to a floured work surface, then knead it lightly for 2 to 3 minutes, just until smooth. If it’s still sticky, add a little more flour, bit by bit, without overloading the dough.
Divide and shape evenly
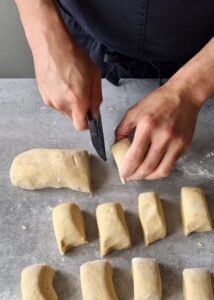
Divide into 15 pieces of about 70 g for medium buns, or 10 pieces of about 110 g for large buns. For burgers, aim for the 110 g size: the recipe as written makes medium buns.
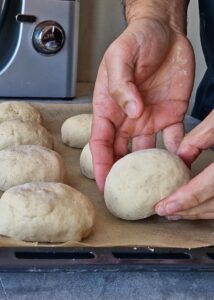
To round them, cup your hand into a “claw” and move the dough in a circular motion against the work surface. Pull the edges toward the center to seal the ball, then keep rotating: that contact between your hand and the work surface is what creates a smooth, taut surface.
Proof, glaze, and bake
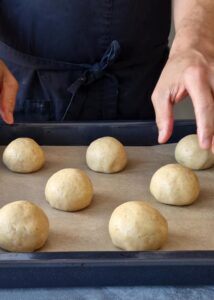
Place the dough balls on a baking sheet lined with parchment paper. Cover them during the final proof, either with a damp cloth or plastic wrap; a clean damp cheesecloth or kitchen towel works too.
Let them rise in a warm place for 60 to 90 minutes, until doubled in size. Preheat the oven to 180°C.
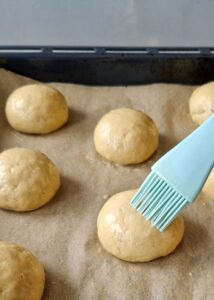
For the egg wash, beat 1 egg with a spoonful of oat milk, then brush the buns. This helps create a beautifully golden crust. Bake for 20 to 22 minutes, until deeply golden.
Serving and storage
Let them cool slightly before serving. They’re best enjoyed warm, split and filled right away, whether sweet or savory.
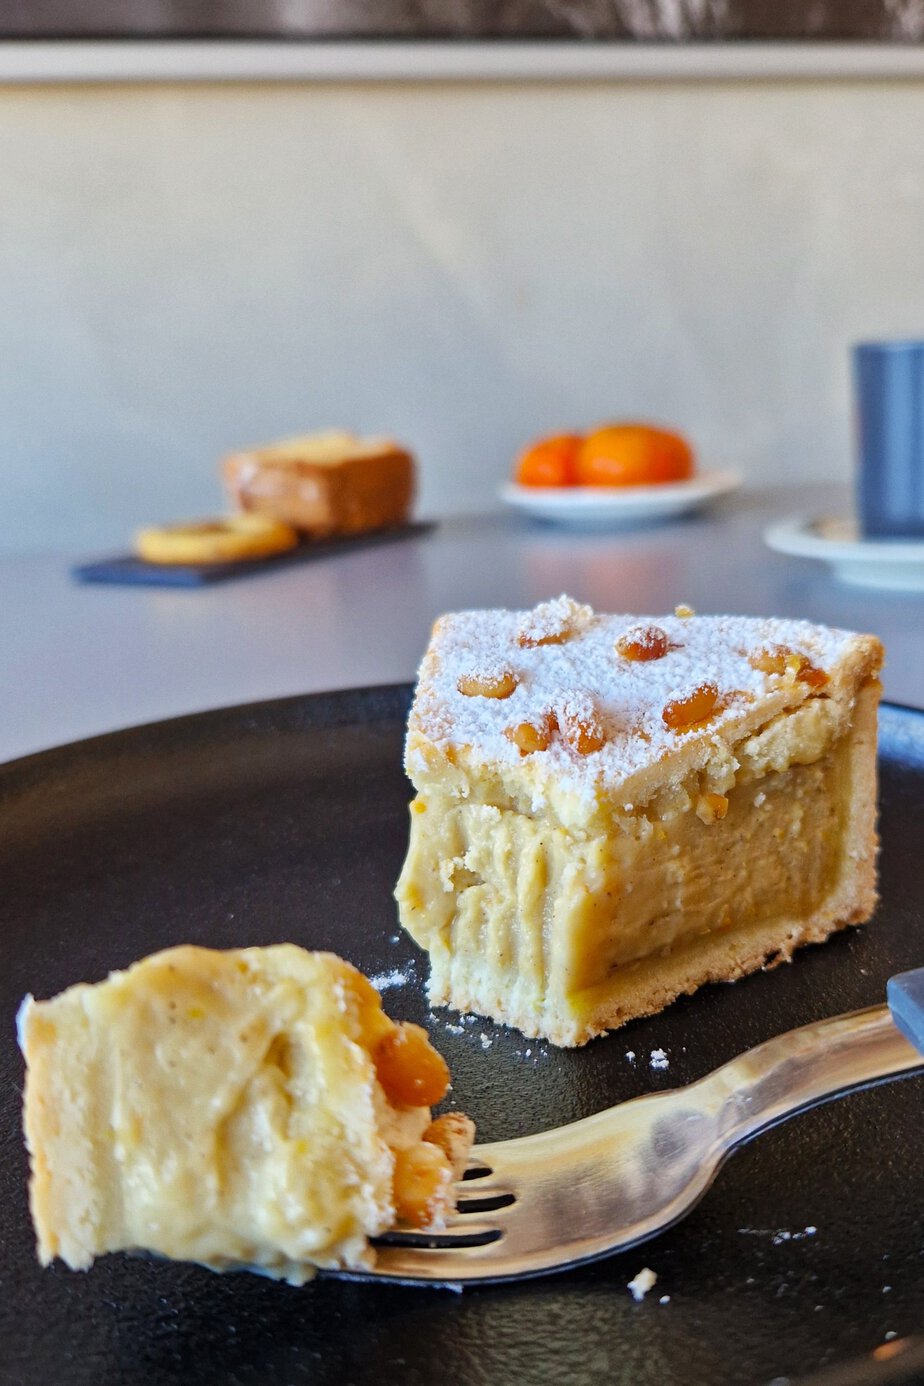
You’ll find more gluten-free recipes there too.
Recipe developed by Chef Rommel Reyes. Find his work on Instagram, his Substack newsletter, and his YouTube channel.
Gluten-Free Orange Zest Buns
Ingredients
- 98 g sorghum flour
- 98 g fine white rice flour
- 72 g chickpea flour
- 275 g tapioca starch
- 13 g xanthan gum
- 540 g gluten-free flour blend reserve the remaining 16 g for flouring and kneading
- 7 g baking powder
- 4 g salt
- 50 g sugar
- 10 g instant yeast
- 380 g oat milk room temperature
- 12 g psyllium husks
- 80 g eggs beaten
- 40 g olive oil
- 10 g apple cider vinegar
- orange zest of 1 large orange
Instructions
Mixing the Dough
- Whisk together the starches and flours to make the gluten-free flour blend. If using a stand mixer, mix all the ingredients with the paddle attachment for 3 minutes.98 g sorghum flour, 98 g fine white rice flour, 72 g chickpea flour, 275 g tapioca starch, 13 g xanthan gum
- Stir together the oat milk (300 g) and psyllium, then let it hydrate for 2-3 minutes.380 g oat milk, 12 g psyllium husks
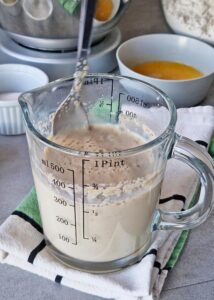
- Stir the instant yeast into the oat milk (80 g) with 1/4 of the sugar until dissolved.50 g sugar, 10 g instant yeast
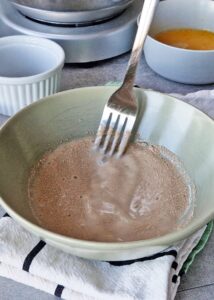
- In a large mixing bowl, combine the gluten-free flour blend, baking powder, sugar, and salt. Mix well.540 g gluten-free flour blend, 7 g baking powder, 4 g salt
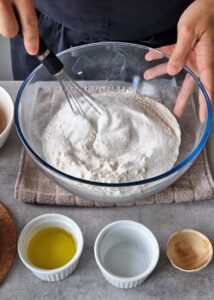
- Combine the liquids (oat milk, beaten eggs, olive oil, and dissolved yeast). Mix them into the dry ingredients until a rough dough forms, then add the orange zest and apple cider vinegar.80 g eggs, 40 g olive oil, 10 g apple cider vinegar, orange zest
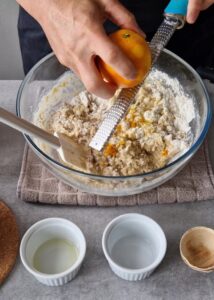
- Mix the dough by hand until smooth, uniform, and shaped into a ball. Alternatively, knead it for 4-5 minutes in a stand mixer fitted with the dough hook. Scrape down the sides and bottom of the bowl from time to time with a rubber spatula to make sure no flour remains unincorporated.
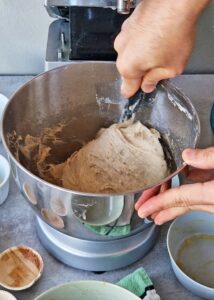
- Cover the dough with a damp kitchen towel or plastic wrap, then let it rise in the refrigerator for 45-60 minutes.
Kneading, Dividing, and Shaping
- Gently deflate the chilled dough and transfer it to a floured work surface. Knead lightly for 2-3 minutes, until smooth, adding a little more flour if the dough is still sticky.
- Divide the dough into 15 equal pieces, about 70 g each, or into 10 larger buns, about 110 g each.
- Shape the dough by cupping your hand into a “claw” and moving it in a circular motion against the work surface. Pull the edges of the dough inward toward the center to shape each piece into a ball. That circular motion against the surface will help create a smooth, round shape.
Proofing and Baking
- Place the shaped dough balls on a baking sheet lined with parchment paper. Cover with a damp kitchen towel or plastic wrap. Let rise in a warm place for 60-90 minutes, or until doubled in size.
- Preheat the oven to 180°C. In a small bowl, beat 1 egg with a spoonful of oat milk, then brush the buns with the egg wash. This will help them develop a golden crust.
- Bake the buns for 20-22 minutes, or until golden brown.
- Let the buns cool slightly before serving. Serve warm with your favorite spreads or fillings.