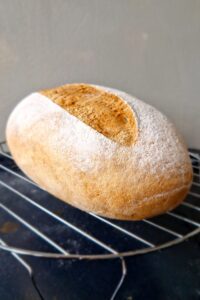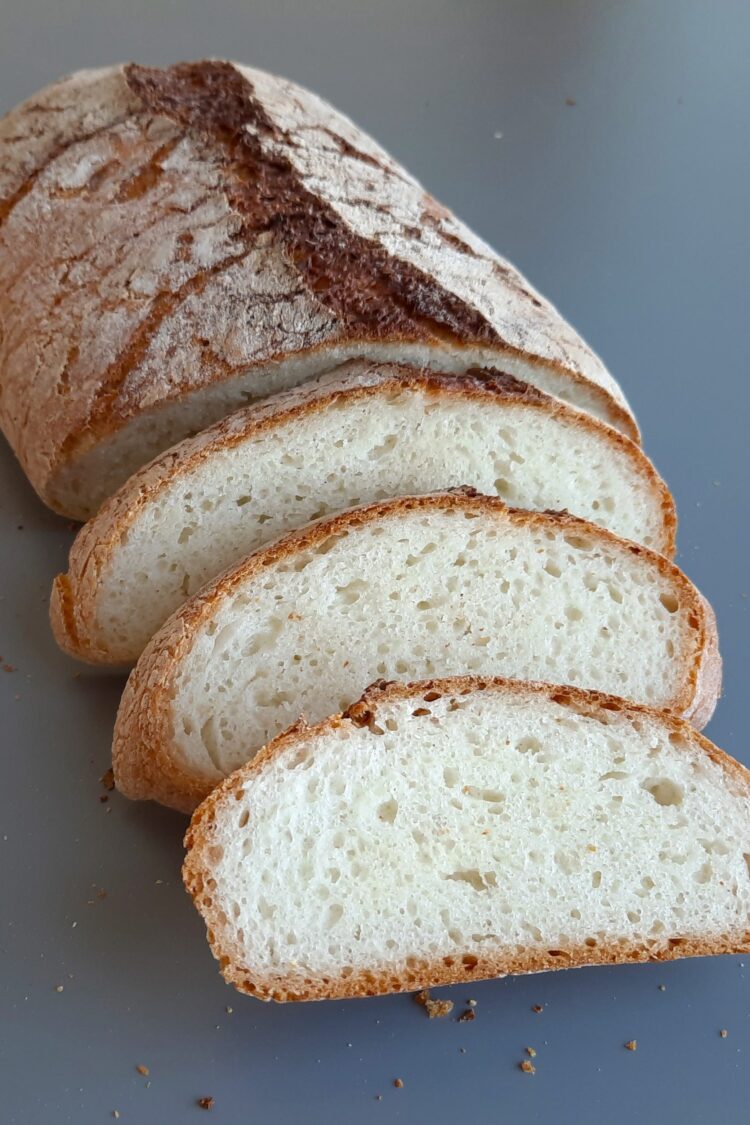
Want a gluten-free loaf with a crackling crust and a tender, well-structured crumb straight from the Dutch oven? This one comes together without kneading, using a quick preferment (a starter) that adds a fresh-baked aroma and deeper flavor without the tang of a true sourdough. Mix it, let time do the work, and bake it in a blazing-hot Dutch oven. Once sliced, the crust stays dry and crisp as long as you let it cool completely on a wire rack. You’ll find the rest of my gluten-free breads and viennoiseries in the same category.
What is this vegan gluten-free Dutch oven bread?
It’s a gluten-free loaf baked in a Dutch oven, which means steady heat and a humid baking environment. The steam trapped under the lid helps the crust develop—golden and crisp—without drying out the interior too quickly. Here, the dough is enriched with olive oil, and a prefermented starter made ahead with flour, water, and yeast is added for extra aroma. The recipe is also lactose-free and vegan, since it contains no butter or milk—just water, olive oil, and dry ingredients.
The main ingredients
The gluten-free bread flour provides all the structure. The recipe uses Schär gluten-free bread flour, but Caputo gluten-free flour works just as well; you can also use King Arthur Gluten Free Bread Flour in the same quantities.
Lukewarm water helps dissolve and activate the yeast more quickly, which is why you mix the yeast with the water separately before adding it to the bowl. The recipe uses instant yeast—ideally SAF Instant—which is convenient for everyday baking. Sugar helps the crust brown, and salt keeps the bread from tasting flat. Olive oil, ideally extra-virgin, gives the crumb a rounder flavor and a more pronounced aroma.
Technical tips and pitfalls to avoid
Weigh everything. This recipe is designed down to the gram, so if you need to convert the measurements, do it before you start to keep the balance right.
Starter: fermentation and signs to look for
To make the starter, mix the gluten-free flour, water, and yeast, then transfer it to a jar left slightly ajar—just enough to let in a little air. Let it ferment for at least 5 hours in a warm spot at 35°C. For a more pronounced flavor, you can extend it up to 24 hours, or simply let it ferment overnight at room temperature.
Don’t rely on the clock alone. The starter should bubble like a sourdough starter, but smell mild rather than sharp. That’s the level of activity you want before incorporating it into the dough.
Mixing the dough: order and texture
First, mix the flour, sugar, and salt in a large bowl. In a separate container, dissolve the yeast in the lukewarm water, then pour it into the bowl with the starter and mix until the dough comes together—don’t stop too soon.
Then add the olive oil and mix until fully absorbed. The dough should completely take in the oil; otherwise, you’ll end up with a greasy surface and a less even crumb. Shape it into a ball, cover with a cloth, and let it rest for 20 minutes.
Shaping: volume, shape, and Dutch oven size
Deflate the dough before the final shaping, then shape it on a work surface dusted with gluten-free flour. Aim for an oblong loaf and adjust it to the size of your Dutch oven: if it’s small, keep the shape a little tighter; if it’s wide, spread it out more. If you want a flatter loaf, press lightly on the dough before baking.
Proofing and transferring without mishaps
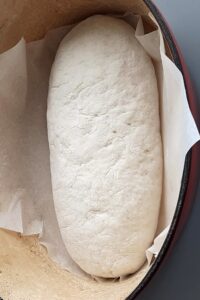
Place the dough on parchment paper or on a silicone mat made for Dutch ovens; it makes transferring it in and out much easier. Cover with a damp cloth while it proofs, and let it rise for 30 minutes in a warm place.
Meanwhile, preheat the Dutch oven in a 220°C oven. When it’s time to lower in the dough, do so carefully: the cast iron will be blazing hot, and this is the trickiest part of the process.
Scoring and baking: controlling the opening and the crust
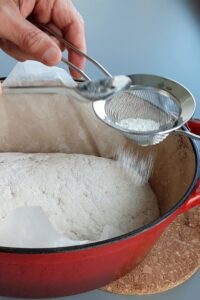
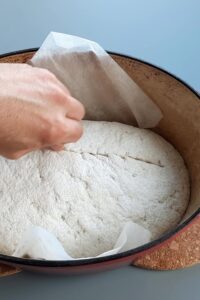
Before baking, lightly dust the surface of the dough with gluten-free flour, then make one straight score. Use a baker’s blade or a very sharp knife. The score guides how the bread opens in the oven and also gives it a cleaner finish.
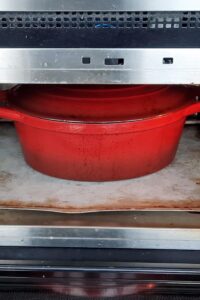
Bake with the lid on for 20 minutes to trap the steam inside the Dutch oven. Then remove the lid and continue baking for 25 to 30 minutes, until the crust is deeply golden: the dry heat of the oven finishes crisping and coloring it. For a darker, thicker, crunchier crust, bake it for another 10 minutes.
The color also depends on what you dust the dough with. Rice flour gives a paler crust because it browns less readily than a gluten-free flour blend. Between the choice of dusting flour and the extra 10 minutes of baking, you can get two very different loaves from the same dough.
Storage
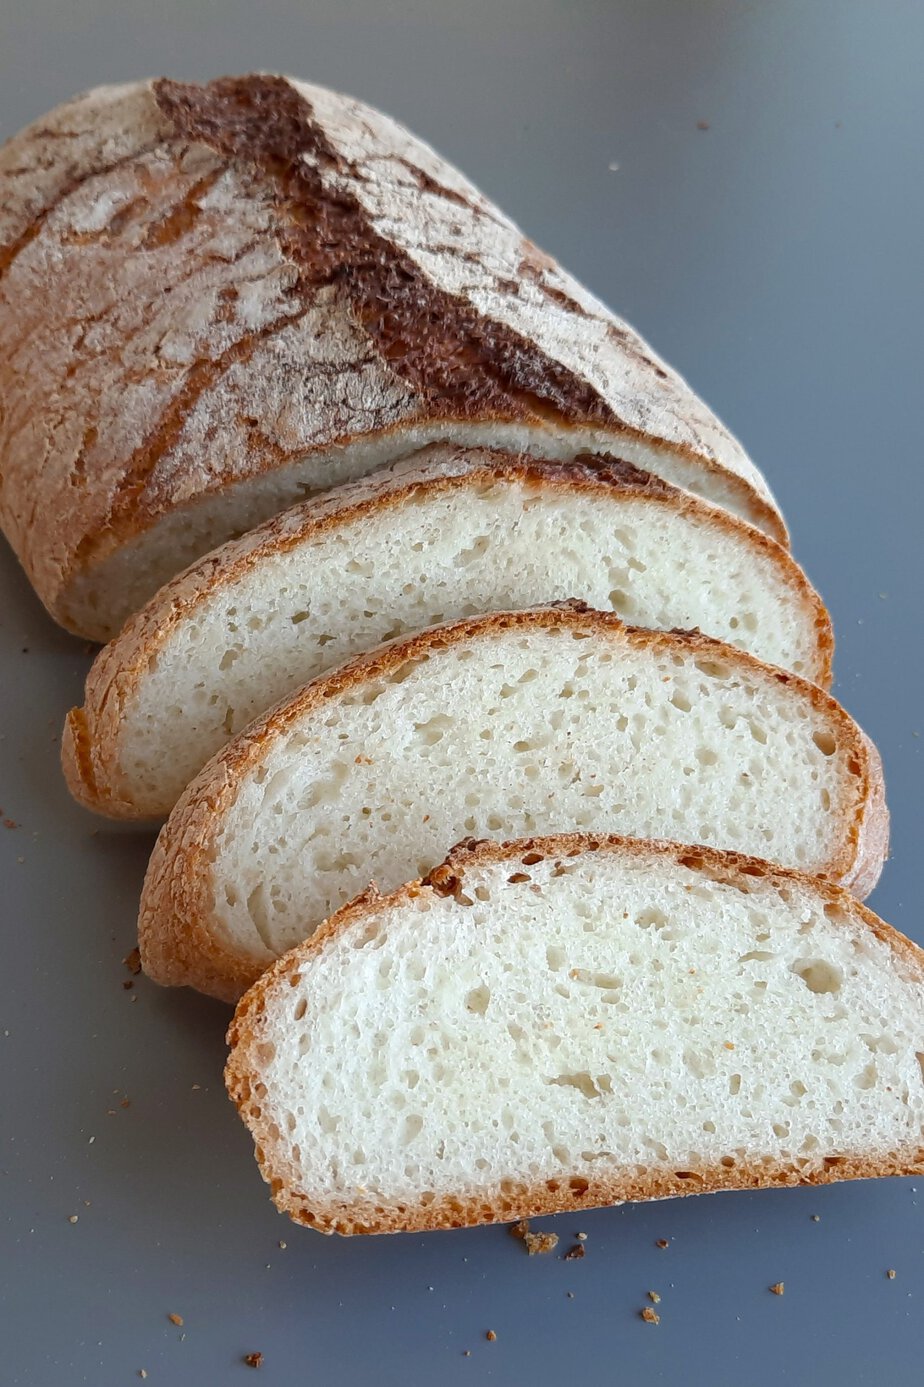
Remove the bread from the Dutch oven and let it cool on a wire rack before slicing. That keeps the steam from softening the crust underneath and preserves that dry, crisp exterior. Wait until it has cooled completely before cutting; otherwise, the crumb will compress and the crust will quickly lose its crunch.
You’ll also find this recipe in my vegan recipes.
Recipe developed by Chef Rommel Reyes. Find his work on Instagram, his Substack newsletter, and his YouTube channel.
Gluten-Free Dutch Oven Bread: Two Ways
Ingredients
- 100 g gluten-free bread flour Schar or King Arthur
- 2 g instant yeast
- 200 g water
- 400 g gluten-free bread flour Schar or King Arthur
- 9 g instant yeast
- 200 g water lukewarm
- 8 g salt
- 15 g sugar
- 40 g olive oil
Instructions
Starter
- Combine the gluten-free flour, water, and yeast, then transfer to a jar and cover loosely so air can circulate.100 g gluten-free bread flour, 2 g instant yeast, 200 g water
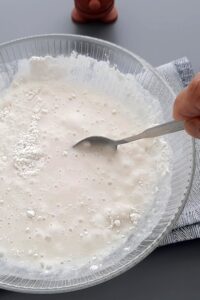
- Let it ferment for at least 5 hours in a warm spot at 35°C. For deeper flavor, make a 24-hour starter.
- Check that the starter is bubbly, like a sourdough starter, with a mild aroma.
Dough
- Mix the gluten-free flour, sugar, and salt in a large bowl.400 g gluten-free bread flour, 15 g sugar, 8 g salt
- Dissolve the yeast in the lukewarm water in a separate bowl.9 g instant yeast, 200 g water
- Combine the starter with the dry ingredients, add the yeast mixture, and mix well until the dough comes together.
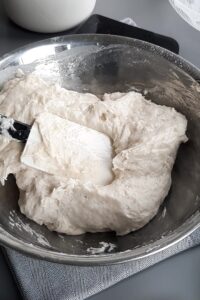
- Add the olive oil, then mix thoroughly until it is fully incorporated into the dough.40 g olive oil
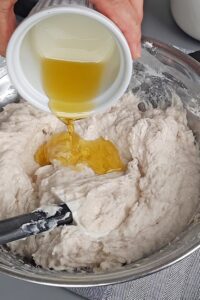
- Shape the dough into a ball, cover it with a kitchen towel, and let it rest for 20 minutes.
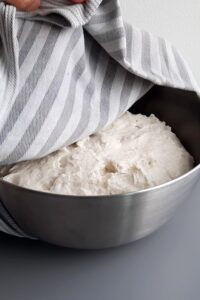
- Gently deflate the dough and shape it into an oblong loaf on a surface dusted with gluten-free flour.
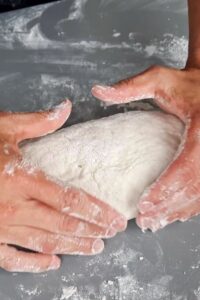
- For a flatter loaf, gently flatten the dough before baking.
- Shape the dough to fit the size of your Dutch oven.
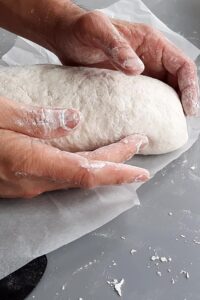
- Place the dough on parchment paper or a silicone mat and cover with a damp kitchen towel.
- Let it rise for 30 minutes in a warm place while the Dutch oven preheats in a 220°C oven.
- Carefully place the dough in the hot Dutch oven.
- Score a straight line across the flour-dusted surface of the dough.
- Use a baker’s lame or a very sharp knife to make the score.
- Cover and bake for 20 minutes.
- Remove the lid and continue baking for 25-30 minutes, until the bread is golden brown.
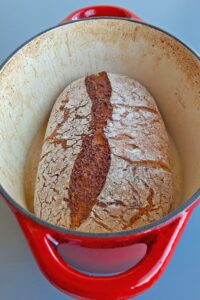
- For a darker crust, bake 10 minutes longer for a thick, crisp crust.
- Remove the bread from the Dutch oven and let it cool on a wire rack before slicing.