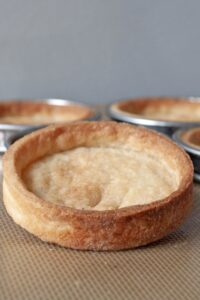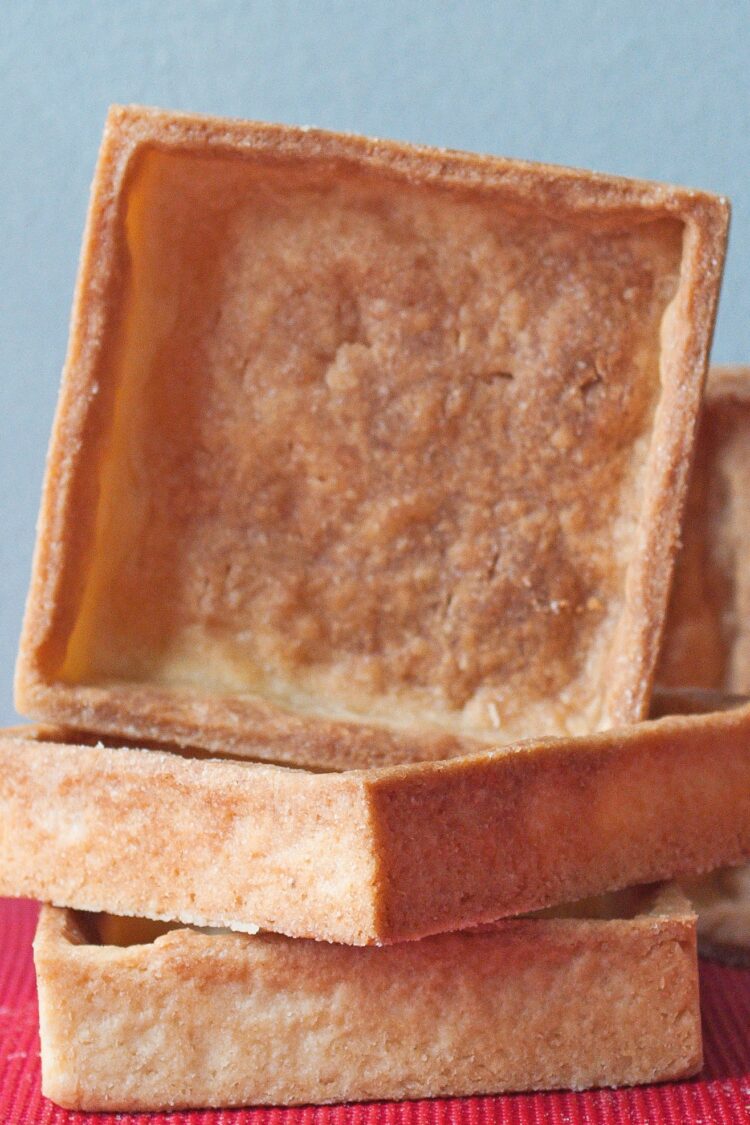
Looking for a sweet tart dough that holds together, rolls out without tearing, and bakes up cleanly? This gluten-free sweet pastry does exactly that.
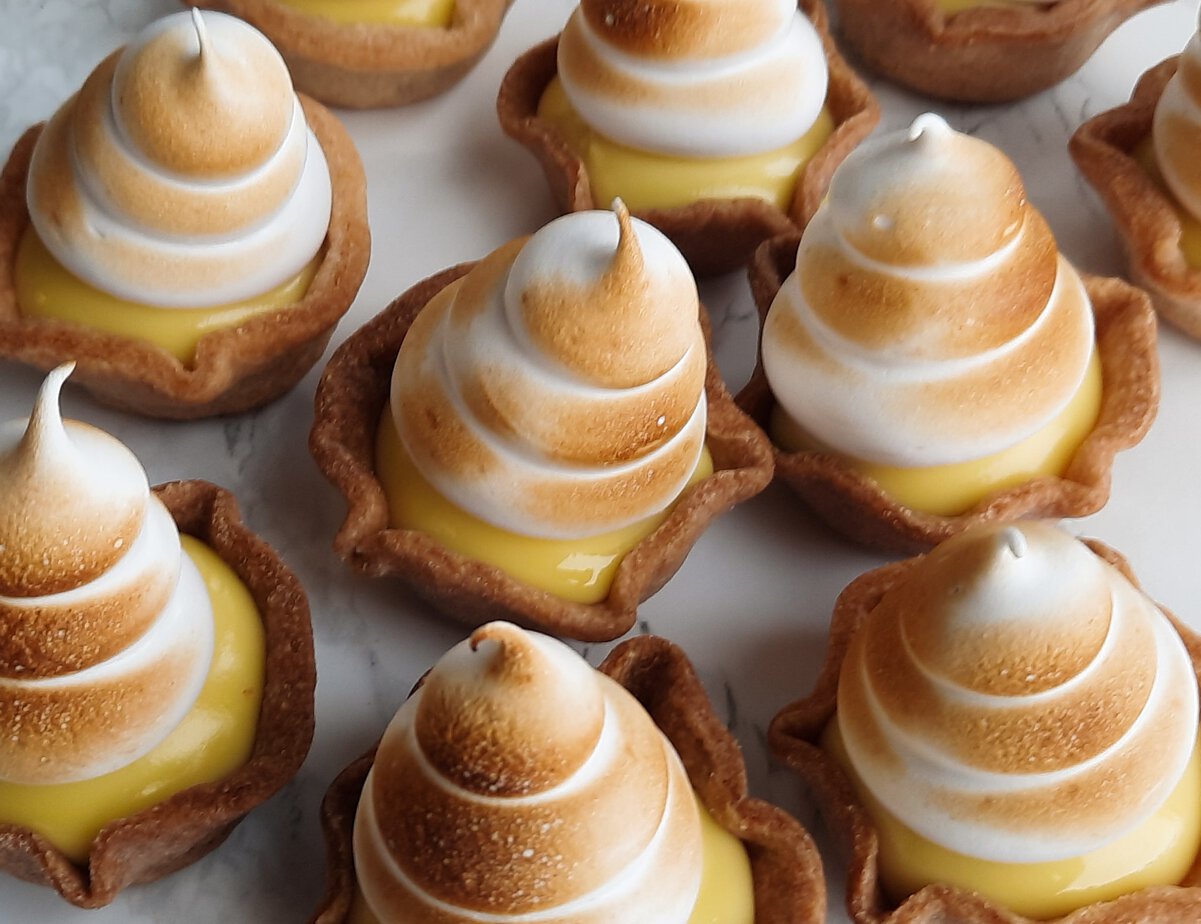
It gives you a crisp, crumbly crust that’s sturdy enough for a lemon tart or a batch of mini tartlets. When thoroughly chilled, it’s easy to work with. You’ll find the rest of my gluten-free basics in the same place.
What is gluten-free, lactose-free sweet pastry?
Sweet pastry is a foundational dough for pies and sweet tartlets. This gluten- and lactose-free version stays true to classic French pastry, with sugar, eggs, and plant-based fat, while using a blend of gluten-free flours to keep it easy to handle.
Your choice of gluten-free flour and butter substitute directly affects the dough’s texture and structure. When the dough rolls out easily, you’ll work faster and get a more even result. This recipe also uses less sugar than a traditional sweet pastry.
The main ingredients
The gluten-free flour is the trickiest part here. Schar Bread Mix and Caputo gluten-free flour are both excellent choices for this delicate dough, and a gluten-free flour blend with xanthan gum also works well. For the most accurate results, weigh all the ingredients in metric from the start.
As for the fat, salted plant butter adds both structure and flavor. Violife works well, but other brands can too. The eggs bind the dough, and the sugar level is slightly lower than in a standard sweet pastry.
Technical tips and common pitfalls
Work on the countertop or on a silicone pastry mat. First mix the dry ingredients with the flour, then add the cold plant butter and the eggs. Rub everything together with your fingertips or cut it in with a pastry cutter until the mixture resembles coarse crumbs.
Then bring the dough together. Knead briefly, just until it holds together, no more. Shape it into a ball, wrap it tightly in plastic wrap, and chill it for at least 1 hour.
Keep the dough very cold for rolling. Roll it out between two sheets of baking paper to prevent sticking to the work surface and rolling pin, and to reduce tearing. Use gentle, even pressure to keep the thickness uniform.
Aim for a thickness of about 3 to 4 mm for the best bake, and use thickness guides if you have them. If the dough warms up and becomes difficult to handle, return it to the refrigerator for a few minutes before continuing.
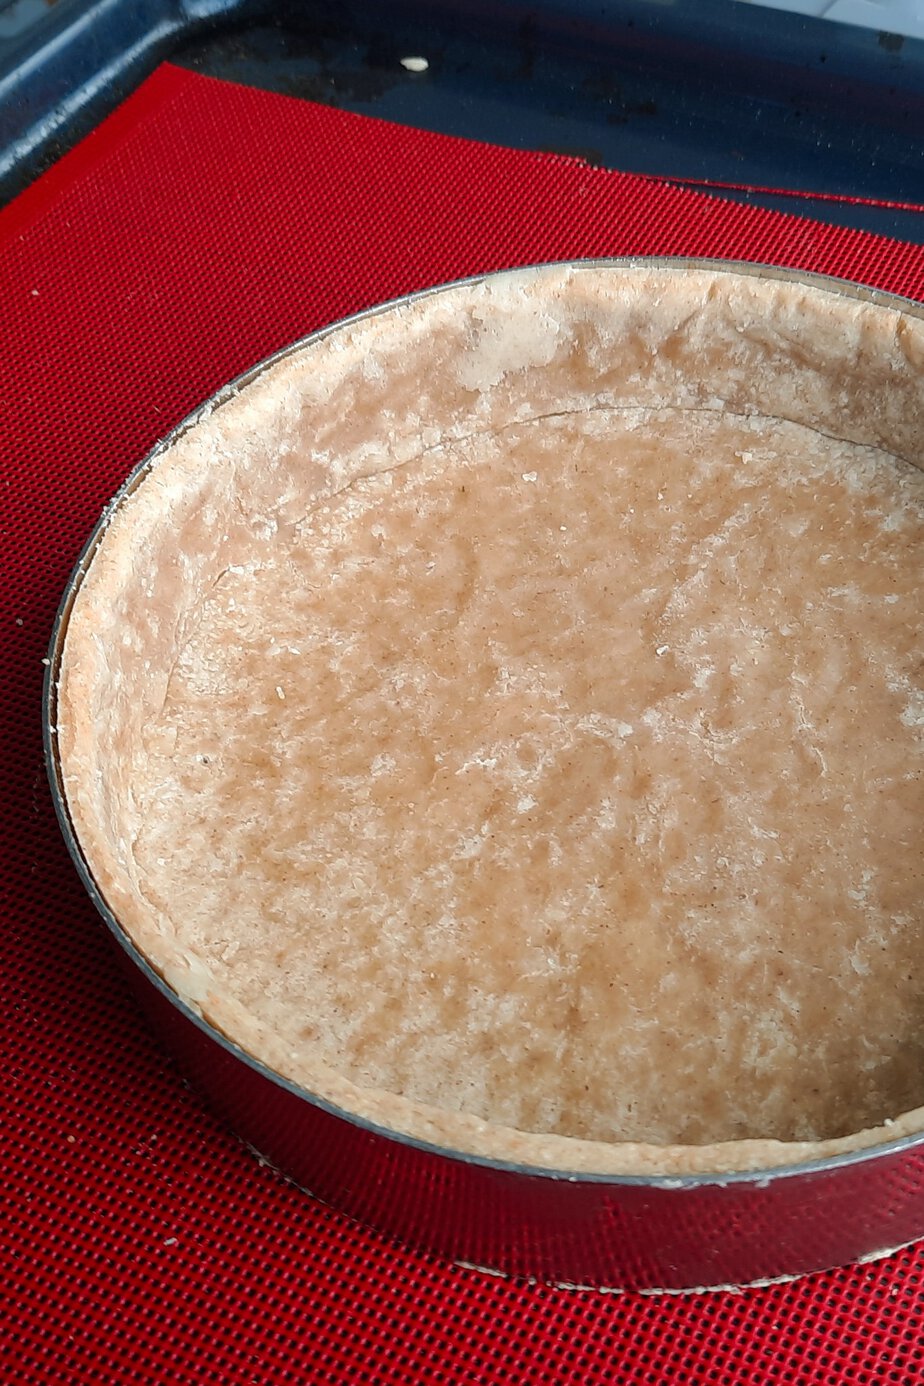
For small tartlets, cut out the shapes with a cookie cutter, then gently line the molds. For one large shell, lift the dough carefully and place it in a tart pan or ring. Prick the base with a fork or skewer to keep it from puffing up, then trim the edges.
Once the large shell is lined, chill it in the freezer or refrigerator for 20 minutes before baking. If you have a perforated silicone baking mat, use it: it encourages more even baking and helps prevent the base from puffing up or sinking.
If the filling will go back into the oven, blind bake the shell first. In that case, line it with a sheet of baking paper and fill it with pie weights or dried beans to keep the dough from rising. Make sure the oven is fully preheated.
For a large shell, bake for 15 minutes at 175°C in the preheated oven. Remove the weights and baking paper, then continue baking for 7 to 10 minutes. If your filling is unbaked and needs longer in the oven than the crust does, this blind bake is not necessary.
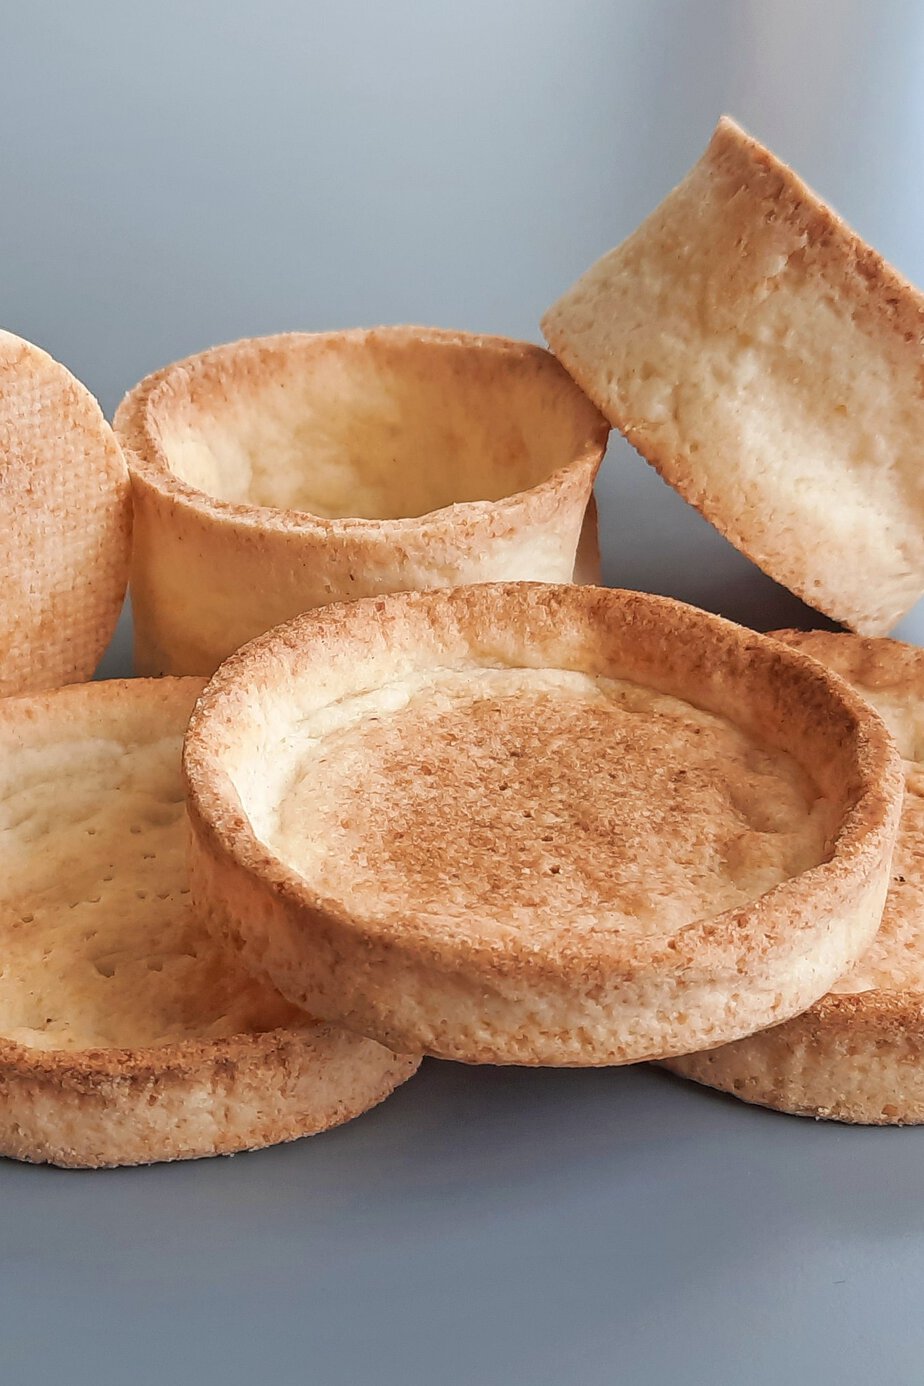
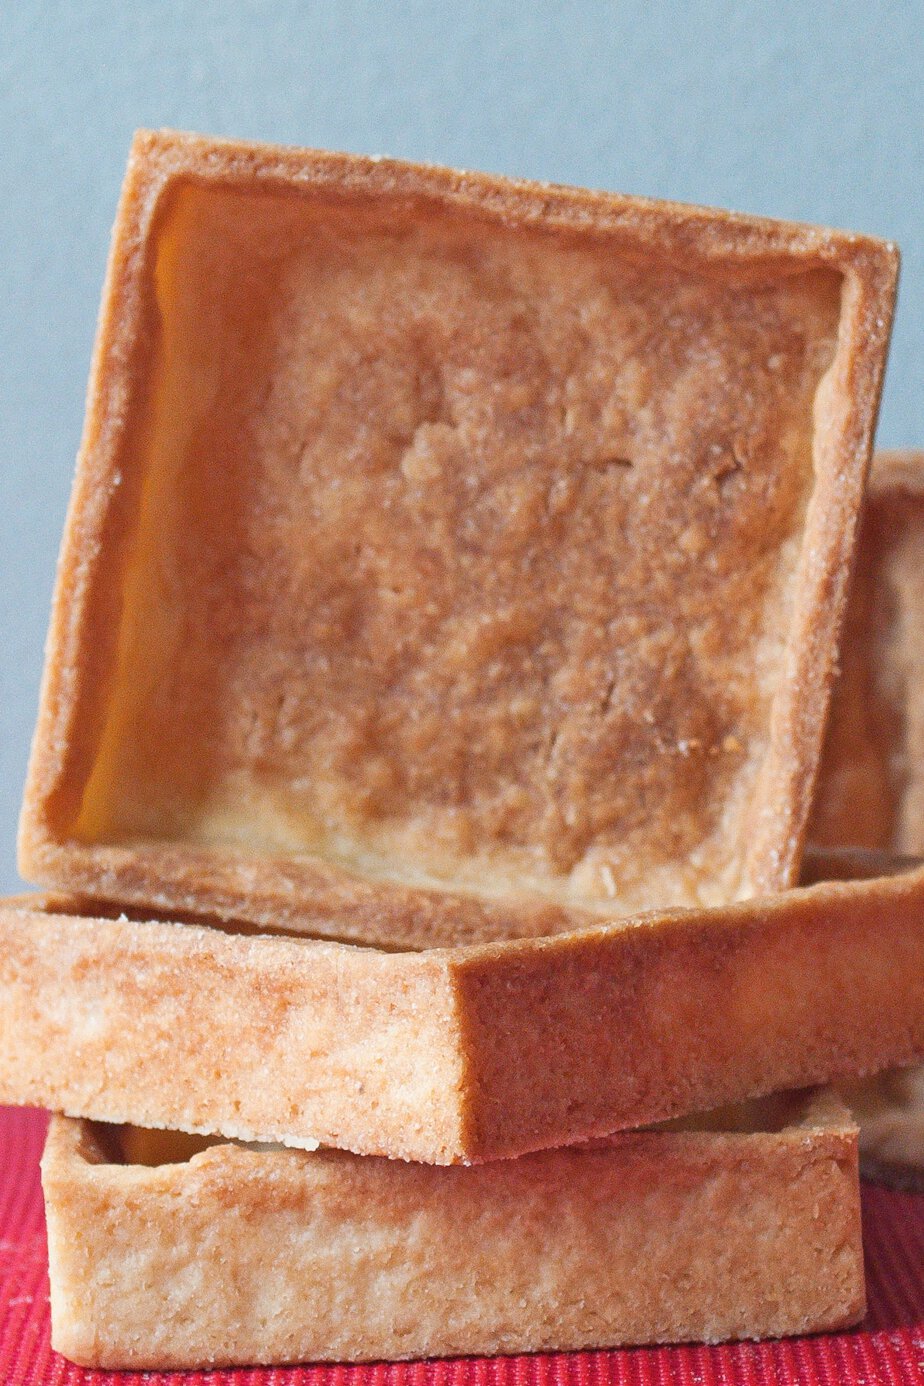
For small tartlets, bake for 12 to 15 minutes. More generally, a fully baked shell should come out golden, usually after 12 to 15 minutes at 175°C, with adjustments depending on your oven and the actual thickness of the dough. Keep a close eye on the color: sweet pastry browns quickly.
After baking, always place the shells on a wire rack and let them cool at room temperature before filling. This helps keep them from softening once the filling is added.
Troubleshooting
If a pre-baked shell cracks, patch it with a thin piece of raw dough from the scraps. Then return the shell to the oven for a few minutes. If you want to keep it from browning too much during this step, cover it with a sheet of aluminum foil.
There’s no need to return it to the oven if the repaired shell will be filled with an unbaked filling. In every case, let it cool before filling so the patch can firm up and properly support the weight of the filling.
You’ll find the rest of my gluten-free recipes in the same place.
Recipe developed by chef Rommel Reyes. Discover his work on Instagram, his Substack newsletter, and his YouTube channel.
Ingredients
- 300 g Schar Bread Mix or any gluten-free flour blend with xanthan gum
- 100 g cold salted vegan butter, cut into cubes preferably Violife Salted
- 100 g sugar
- 1 pinch salt
- 120 g eggs 2 large eggs
Instructions
Method
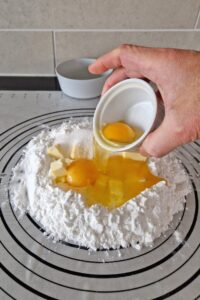
- Combine the flour and remaining dry ingredients on a work surface or silicone pastry mat, then make a well in the center.
- Add the vegan butter and eggs.
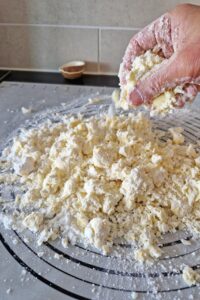
- Work the mixture with your fingertips or a pastry cutter until it resembles coarse crumbs.
- Knead briefly until the dough comes together.
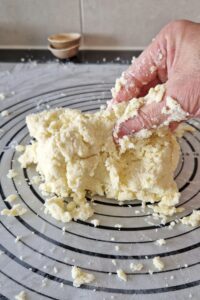
- Shape the dough into a ball, wrap it in plastic wrap, and refrigerate for at least 1 hour.
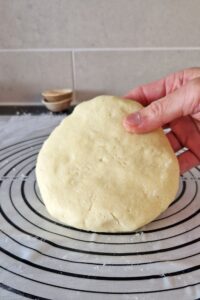
- Roll out the well-chilled dough between two sheets of parchment paper.
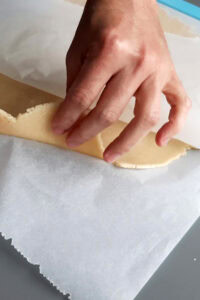
- Aim for a thickness of about 3 to 4 mm for the best bake.
- Use pastry rolling guides to keep the thickness even.
- For smaller tartlets, cut the dough into the desired shapes with cookie cutters.
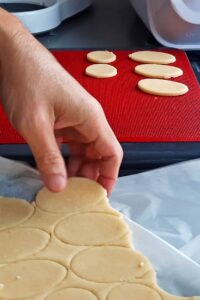
- Gently press the cut dough into the tartlet molds.
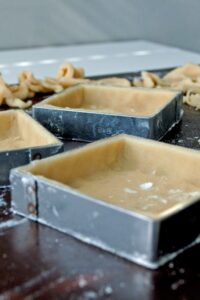
- Carefully lift the dough and place it in a tart pan or tart ring for larger shells.
- Prick the base with a fork, then trim the edges.
- Chill or freeze for 20 minutes before baking.
- Blind-bake the large tart shell for 15 minutes at 175°C in a preheated oven.
- Remove the pie weights and parchment paper.
- Continue baking for 7 to 10 minutes more.
- Do not blind-bake if your filling is unbaked and needs more time in the oven than the crust.
- Bake the smaller tartlet shells for 12 to 15 minutes.
- Transfer the baked shell to a wire rack.
- Let cool at room temperature before using.