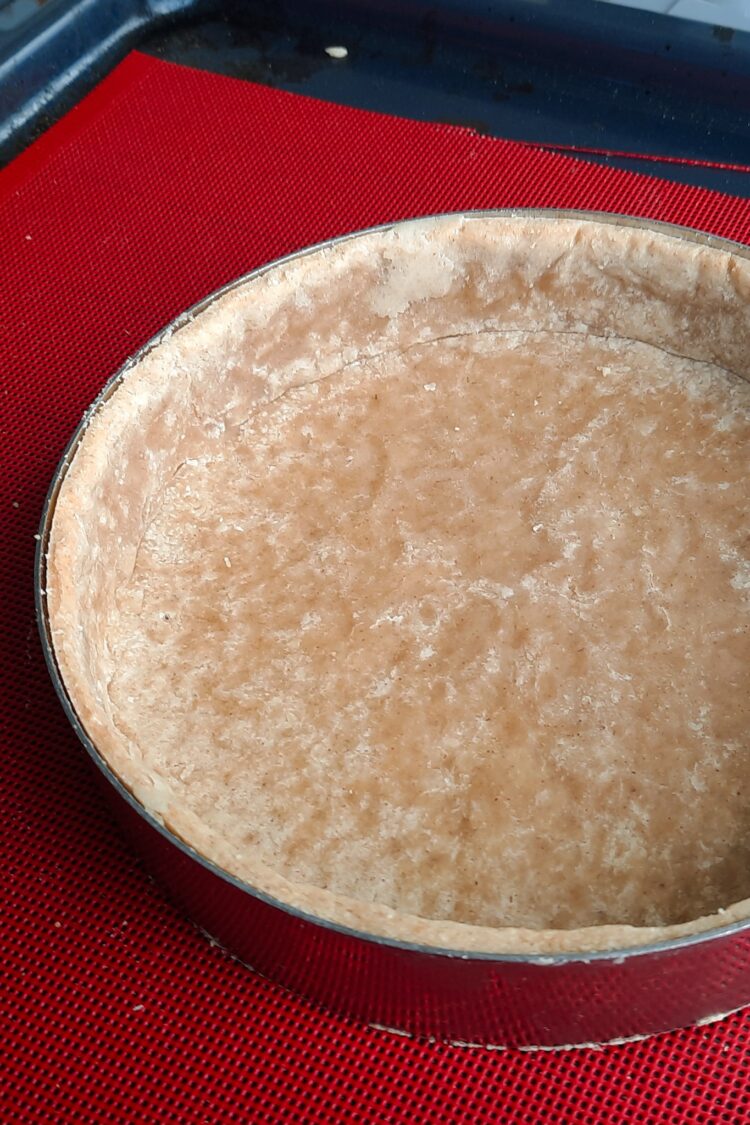
Looking for a pie dough that really holds its shape, without gluten or butter? This shortcrust pastry bakes up into a crisp, crumbly crust with a clean bite, just as good in a sweet tart as in a quiche. The first bite snaps cleanly, with no sandy texture and no soggy bottom.
The method is straightforward, as long as you keep the dough thoroughly chilled from start to finish. You’ll find this recipe alongside my gluten-free basics.
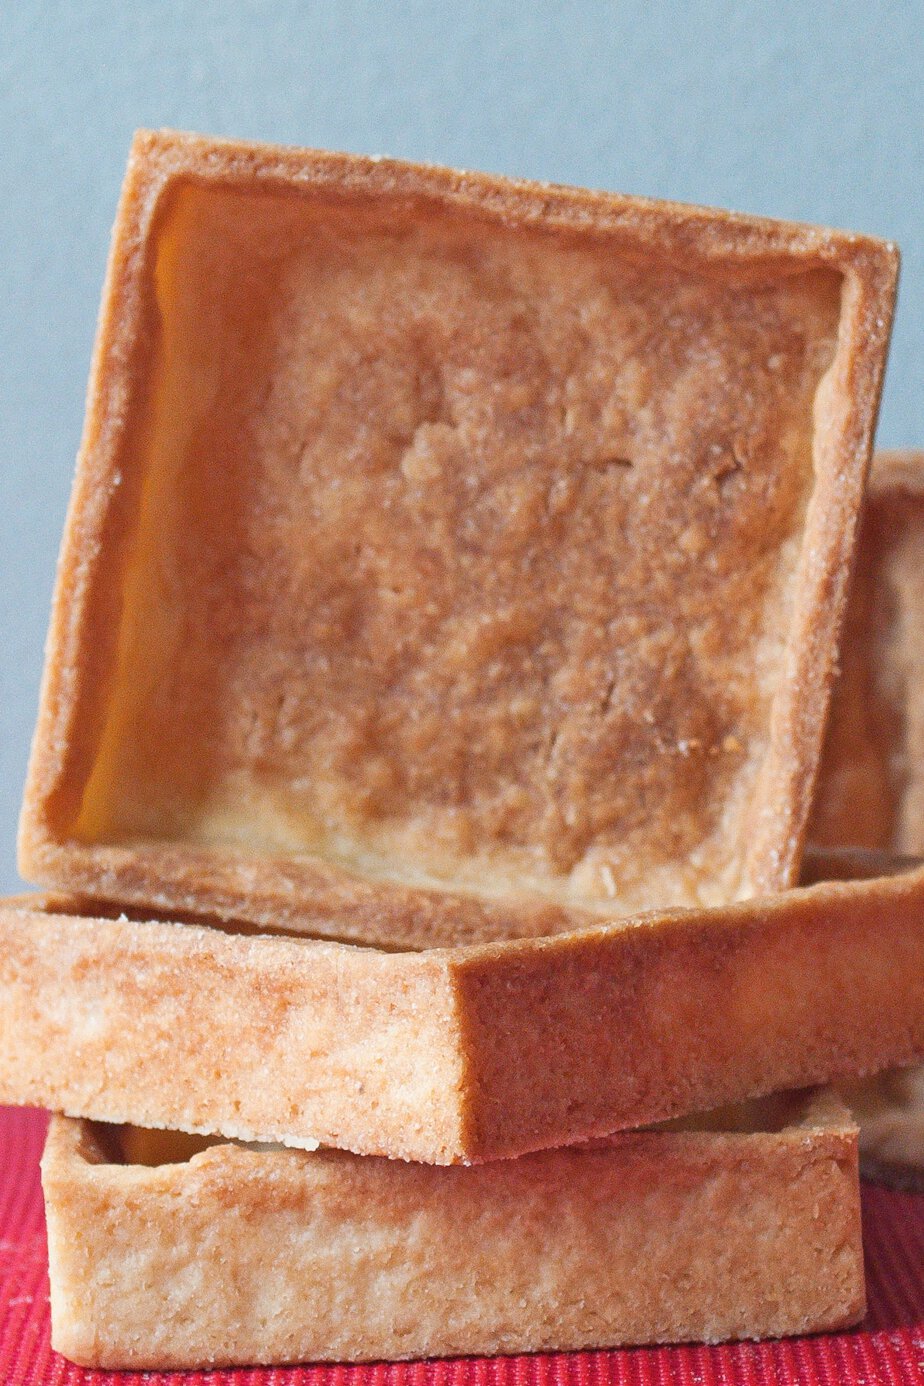
What is gluten-free, lactose-free shortcrust pastry?
It’s a short pastry for pies and tartlets, made here without gluten or dairy. The idea is simple: once you remove the gluten and butter from a classic shortcrust dough, you need to adjust both the flour and the technique. Choose the right substitute flour and handle the dough carefully, and you’ll get something remarkably close in both flavor and texture to a traditional shortcrust pastry.
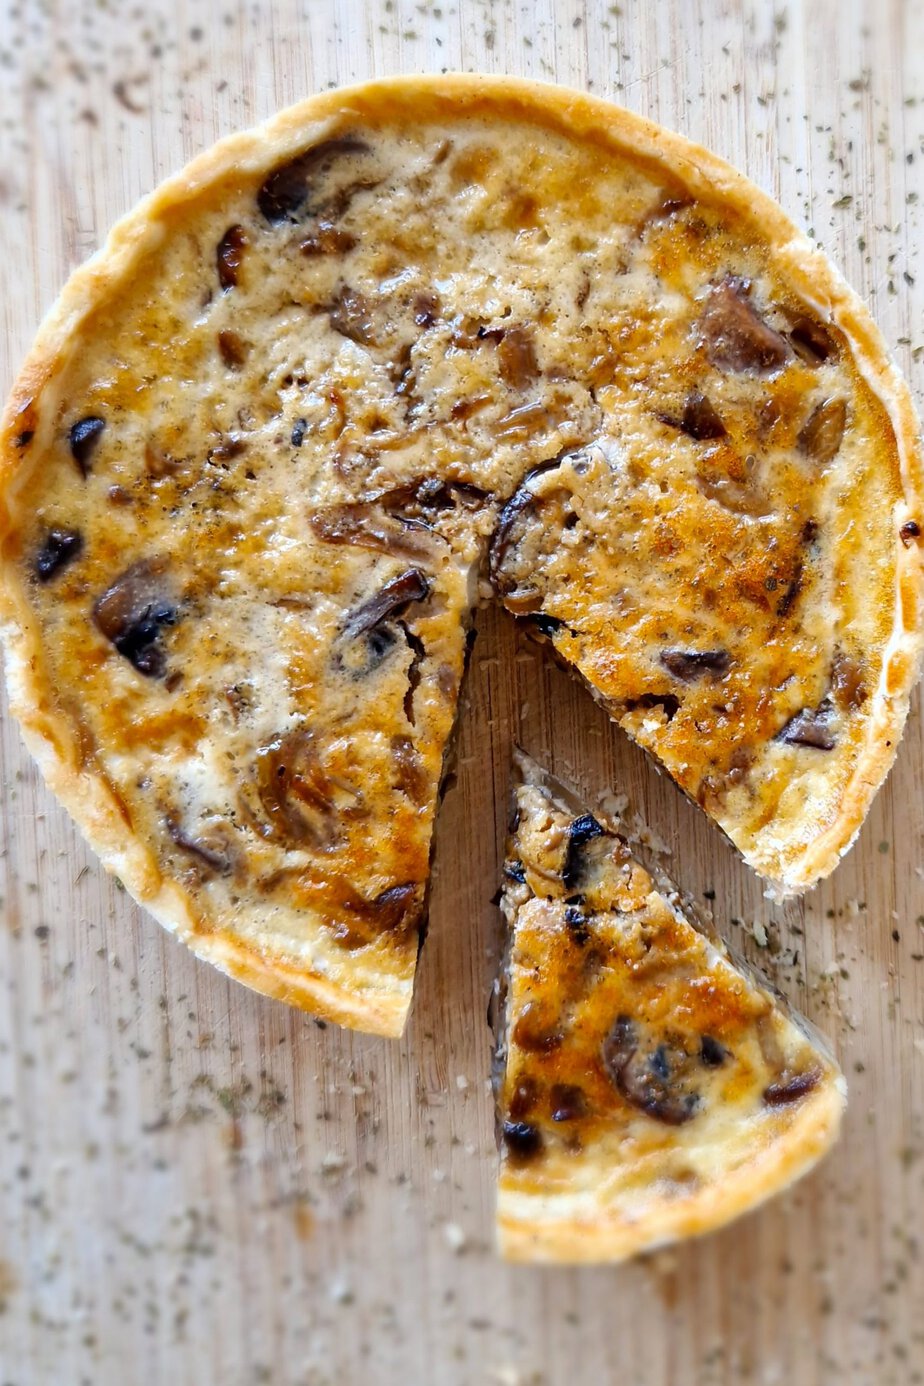
It works equally well for sweet tarts and savory bakes. It’s an especially good base for a gluten-free, lactose-free quiche.
The main ingredients
The flour provides structure. Here, I use Schär gluten-free bread mix, but any good store-bought gluten-free bread flour will work. In every case, weigh your ingredients in grams for precision from start to finish.
Salted plant-based butter brings both flavor and that tender, flaky crumb. It should be cold and cut into cubes before you add it. Violife salted plant butter works especially well.
The water must be ice-cold. It keeps the dough from warming up as you mix, so the plant butter doesn’t melt too soon. That’s what helps the crust stay tender and crumbly after baking.
Salt simply sharpens the flavor of the dough. The sugar stays in the background, but helps balance the overall taste. The egg helps the dough come together more easily.
Key techniques and pitfalls to avoid
Work on a flat surface or a silicone pastry mat. Spread out the flour, make a well in the center, then add the cold cubed plant butter, salt, sugar, and egg. Mix with your fingertips or a pastry cutter until the mixture looks coarse and crumbly, with uneven pieces.
Add the cold water, then mix just until the dough comes together. Stop as soon as it forms a cohesive mass; don’t overwork it. Shape it into a disk, wrap it in plastic wrap, and chill it in the refrigerator for at least 1 hour.
Roll out the dough without cracking it
The dough should be very cold before you roll it out; otherwise, it will stick more easily. Roll it between two sheets of parchment paper to your preferred thickness. This helps prevent tearing and keeps handling to a minimum.
Roll from the center outward to keep the shape even. If you have them, thickness guides are useful for getting an even sheet. Rotate the dough 90 degrees after every few passes of the rolling pin to keep it round and prevent it from sticking to the paper.
If a crack appears while rolling, simply press the dough back together with your fingers. To move it, roll it up around the rolling pin before laying it into the tart pan or tartlet tins. Once it’s in place, prick the base several times with a fork, then trim the edges neatly.
Chill before baking
Once the pan is lined, chill the dough again so it keeps its shape. Two timings are useful: 20 minutes in the refrigerator or freezer just before baking to firm it up, and at least 30 minutes in the pan before baking to help it hold even better. In both cases, the goal is the same: bake the dough very cold.
Blind-baking and baking
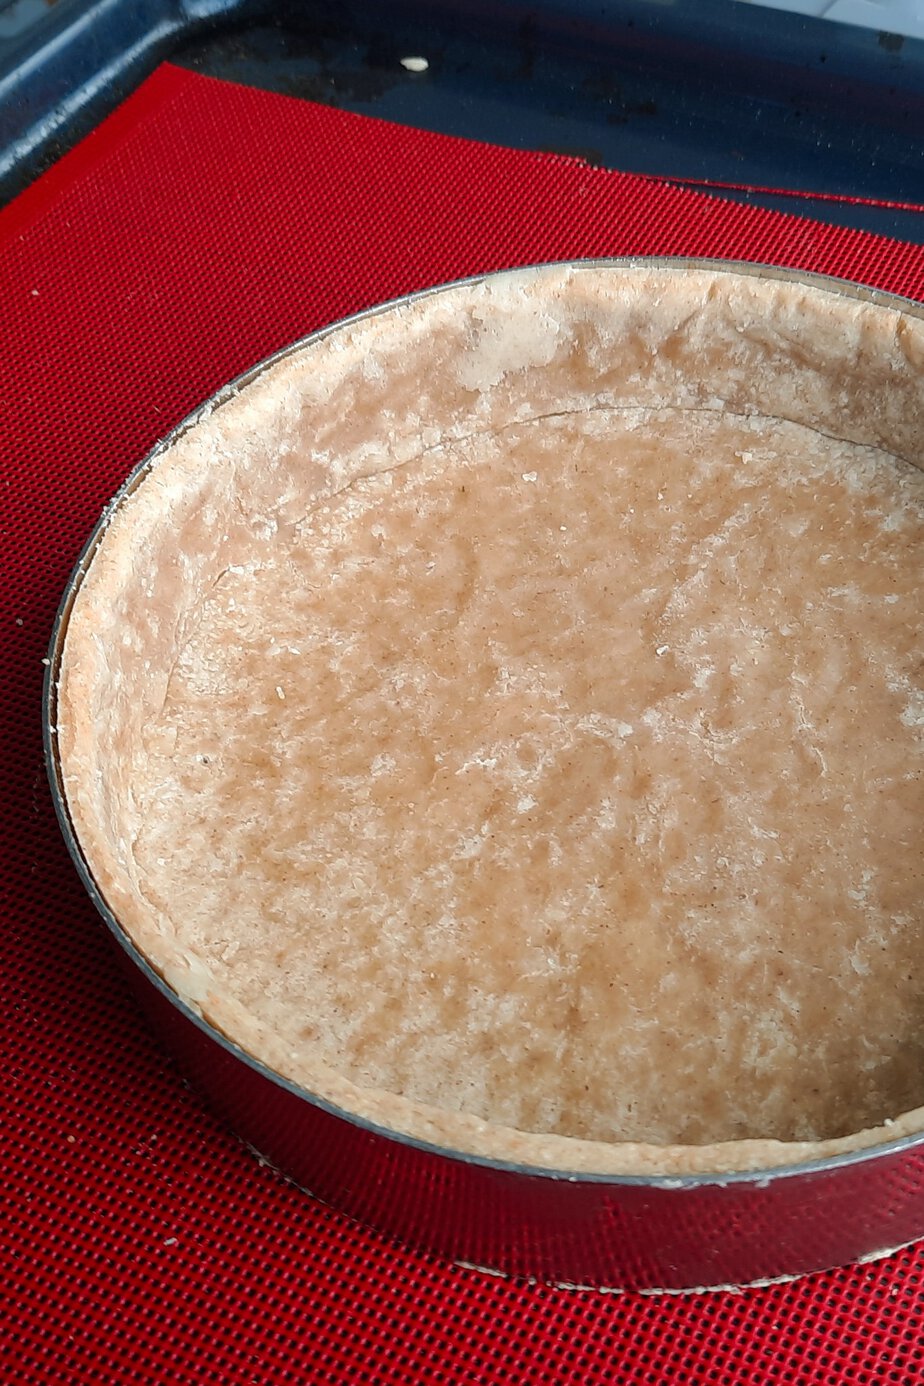
For a large tart, blind-bake if needed in a preheated 190°C oven for 15 to 20 minutes; as a general rule, 20 minutes at 190°C works well. Line the dough with parchment paper and fill it with pie weights or dried beans to keep it from puffing up.
After this first bake, remove the weights and return the pastry to the oven for 10 more minutes. For small tartlet shells, allow 15 to 18 minutes. Let the crust cool at room temperature, ideally on a rack, before filling so it stays crisp.
If the blind-baked crust cracks
A crack after blind baking is easy to repair. The simplest fix is to use a scrap of raw dough, rolled thin and cut to fit the damaged area. If you have no dough left, make a quick patch with a little flour and water.
Lightly moisten the edges of the crack with a little water to help the patch adhere. Set the dough patch in place, then press gently to seal it. If you’re using the flour-and-water paste, spread it with a spatula so it fully covers the gap.
If the repair is fairly large and needs to set, return the tart shell to the oven for a few minutes. Let it cool before filling so the patch firms up properly and holds once filled.
You’ll find more gluten-free recipes there too.
Recipe developed by Chef Rommel Reyes. Find more of his work on Instagram, his Substack newsletter, and his YouTube channel.
Gluten-Free Shortcrust Pastry
Ingredients
- 15 g water cold
- 270 g Schar Bread Mix or Caputo GF flour
- 150 g Violife Salted vegan butter cold, cut into cubes
- 3 g salt
- 5 g sugar
- 60 g egg
Instructions
Preparation
- Spread the gluten-free flour on a flat work surface or a silicone pastry mat, then make a well in the center.270 g Schar Bread Mix
- Add the cold butter cubes, salt, sugar, and egg.150 g Violife Salted vegan butter, 3 g salt, 5 g sugar, 60 g egg
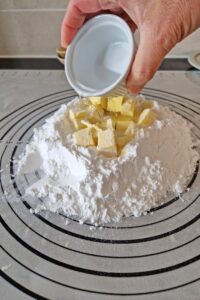
- Mix with your fingertips or a pastry cutter until the mixture forms coarse, crumbly pieces.
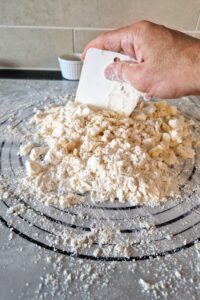
- Add the cold water and mix until the mixture comes together into a smooth dough.15 g water
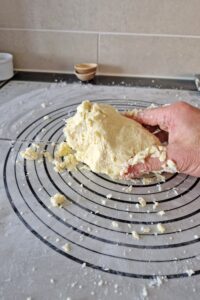
- Shape the dough into a disk, wrap it in plastic wrap, and chill it in the refrigerator for at least 1 hour.
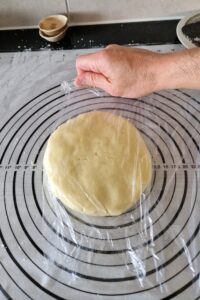
- Once chilled, roll out the dough to your desired thickness between two sheets of parchment paper.
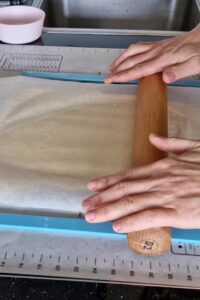
- Use dough guide strips to ensure an even thickness.
- Transfer the dough to a tart pan or tartlet pans using a rolling pin.
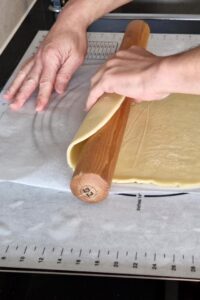
- Prick the base several times with a fork, then trim the edges.
- Place in the freezer or refrigerator for 20 minutes before baking to firm up.
- If needed, blind-bake a large tart shell for 15-20 minutes at 190°C in a preheated oven.
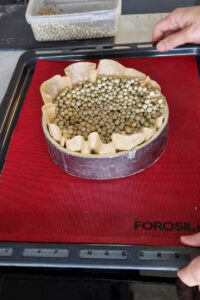
- Remove the pie weights, then continue baking for 10 more minutes.
- Bake the small tartlet shells for 15 to 18 minutes.
- Let cool to room temperature before using.