Looking for a gluten-free sandwich bread that actually holds together, without crumbling when sliced? Here, the crumb stays soft and slightly springy, with a lightly sweet note that works beautifully in sandwiches.
The surprising part is the dough: it looks too loose, almost like a thick cake batter, yet that’s exactly what makes it work. Chef Rommel Reyes discovered this by accident when he decided to bake a dough he thought was a failure. You’ll find this recipe alongside my gluten-free breads.
What is gluten-free sandwich bread?
It’s a yeasted sandwich loaf made with all-purpose gluten-free flour, yeast, psyllium, eggs, oat milk, a little plant-based butter, and baking powder. Rommel Reyes’s version yields a very high-hydration dough, nothing like a firm, elastic bread dough. Even after resting, it should still look like a thick cake batter, not a ball you could knead by hand.
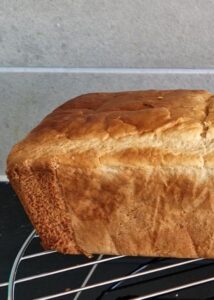
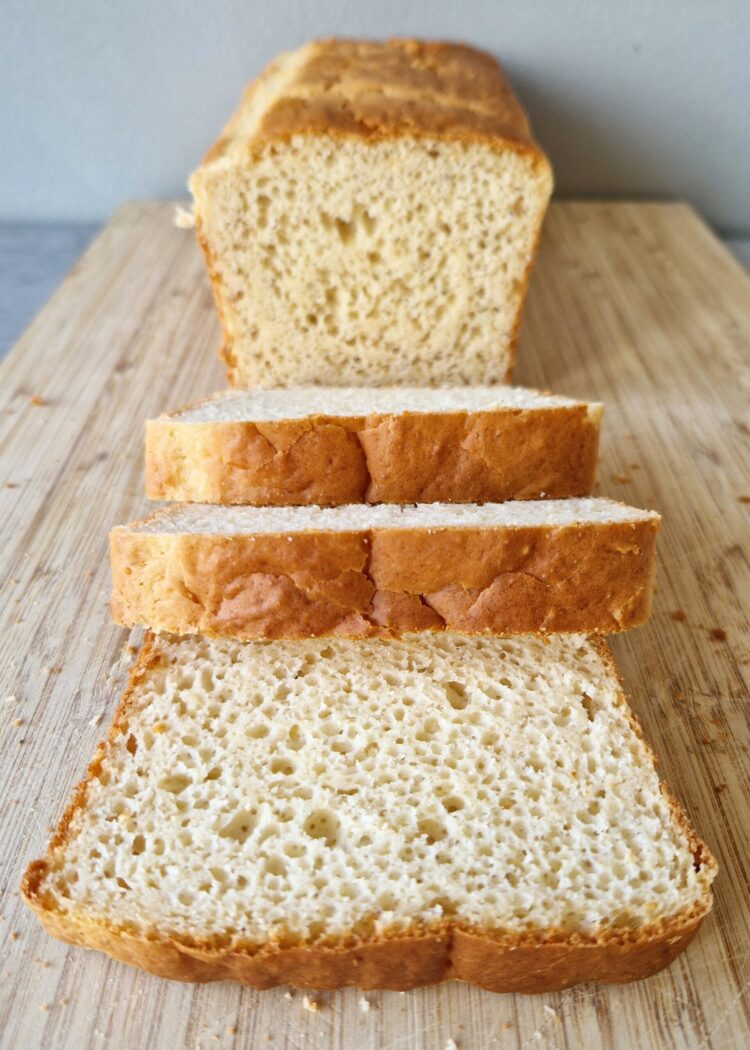
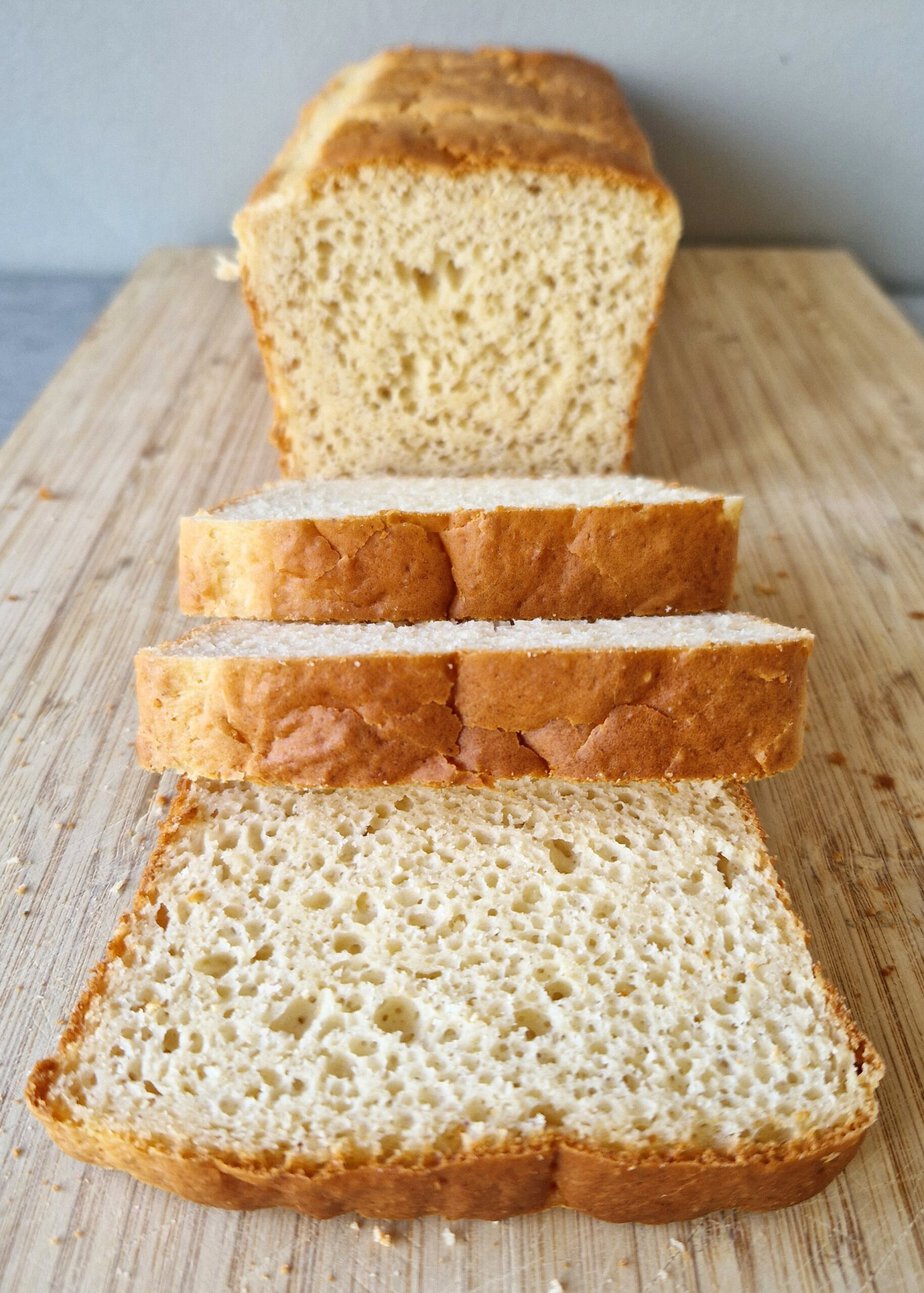
Once baked, the loaf comes out with a golden crust, often a little paler than a classic bread loaf. The crumb stays soft, light, and almost spongy, without turning crumbly. That’s exactly what you want from a gluten-free sandwich bread.
How the recipe came about
Chef Rommel Reyes says he started with a simple store-bought gluten-free flour blend, without a very fixed plan. After adding the eggs for softness and the oat milk for texture and flavor, he ended up with nearly double the amount of liquid, leaving him with a dough that seemed far too loose.
Instead of throwing it out, he let it rest and baked it as is. The dough thickened a little, without ever becoming a true bread dough, and still rose beautifully. That test shaped the whole idea behind the recipe: a dough that seems too loose isn’t necessarily destined for the trash; on the contrary, it can make an excellent loaf.
The main ingredients
All-purpose gluten-free flour is the foundation. This kind of blend combines flours and starches with binders such as xanthan gum, guar gum, or sometimes psyllium powder. You can use a generic supermarket blend; there’s no need for a specialized product as long as it’s truly an all-purpose gluten-free flour.
Psyllium is the key structural ingredient. Here, it’s irreplaceable: it binds the dough, retains water, and helps recreate the structure you’d expect from wheat bread. Oat milk brings both flavor and texture while keeping the bread soft and moist without dairy.
Eggs add richness, but that’s not all. They also help emulsify the mixture and create a smoother dough. Instant yeast provides the main rise, while baking powder gives it an extra lift in the oven if the dough needs a little more volume.
Technical tips and pitfalls to avoid
Start by weighing every ingredient: this recipe is designed to be made by weight, in metric, for accuracy. With a dough this hydrated, even a small difference shows up right away.
Mix the dry ingredients very well before adding the rest: gluten-free flour, salt, sugar, and baking powder. Separately, mix the psyllium with the oat milk and let it soak for at least 2 minutes. That brief hydration matters, and the longer rest continues the process: over 3 to 4 hours, the psyllium absorbs more liquid and thickens the dough.
Then add the instant yeast to the psyllium mixture and stir until dissolved. Pour in the beaten eggs and the very soft plant-based butter. For mixing, use the stand mixer paddle attachment, not the hook, and mix on medium-high speed for about 5 minutes, until the dough is smooth and homogeneous. Meanwhile, scrape down the sides and bottom of the bowl from time to time with a flexible spatula to incorporate all the flour.
What the dough should look like
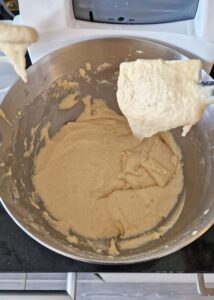
This is the point that throws people off the most: don’t expect a firm, elastic dough that holds itself like a classic bread dough. Here, the right texture looks more like a thick cake batter. Even if it thickens a little as it rests, it should keep that very soft appearance.
That loose consistency is exactly what gives you a tender, light crumb after baking. If the dough seems too soft, don’t worry. In this recipe, a dough that looks like a failure at first can still bake beautifully and turn into a successful loaf.
Proofing times
After mixing, cover and let rise at room temperature for at least 1 hour 30 minutes. The cue to watch is volume: the first rise is complete when the dough has doubled. A good rise after about 1 hour is also a reassuring sign, even if the dough still looks like cake batter.
Then deflate the dough with a flexible spatula before transferring it to a loaf pan lined with parchment paper. Since it’s very soft, spread it out and distribute it evenly in the pan with an offset spatula, then smooth the top before the final proof. Cover again and let it rise in a warm place for at least 30 minutes, until the dough has doubled in volume.
Baking and cooling
Bake in a preheated oven at 175 °C for 27 to 29 minutes. The right visual cue is a golden crust. The bread may stay a little paler than a classic loaf, and that’s perfectly normal.
Let it cool slightly before removing it from the pan. Then turn it out and let it cool on a rack before slicing. This resting time keeps you from crushing the crumb while it’s still fragile and warm.
If you cook gluten-free every day, you’ll find it all here.
Recipe developed by Chef Rommel Reyes. Find more of his work on Instagram, in his Substack newsletter, and on his YouTube channel.
Gluten-Free Sandwich Bread
Ingredients
- 300 g gluten-free all-purpose flour
- 2 g salt
- 70 g sugar
- 8 g baking powder
- 220 g oat milk at room temperature
- 6 g psyllium
- 6 g instant yeast
- 180 g beaten eggs
- 50 g dairy-free butter softened
Instructions
Mixing the dough
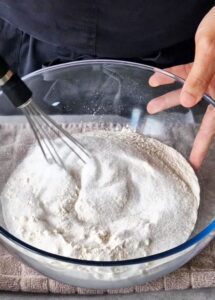
- Whisk the gluten-free flour, salt, sugar, and baking powder thoroughly in a bowl.300 g gluten-free all-purpose flour, 2 g salt, 70 g sugar, 8 g baking powder
- Mix the psyllium and oat milk in the bowl of a stand mixer, then let stand for at least 2 minutes.6 g psyllium, 220 g oat milk
- Add the active yeast and stir until dissolved.6 g instant yeast
- Add the beaten eggs and softened dairy-free butter.180 g beaten eggs, 50 g dairy-free butter
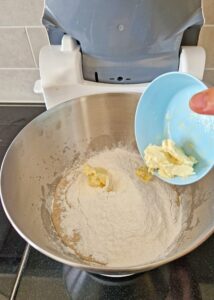
- Using the paddle attachment, mix the dough on medium-high speed for about 5 minutes, or until smooth and uniform.
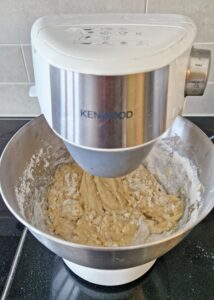
- Occasionally scrape down the sides and bottom of the bowl with a rubber spatula to make sure all the flour is fully incorporated.
Proofing and baking
- Cover the dough with plastic wrap.
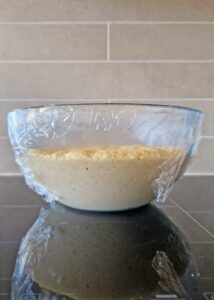
- Let the dough rise at room temperature for at least 1 hour 30 minutes.
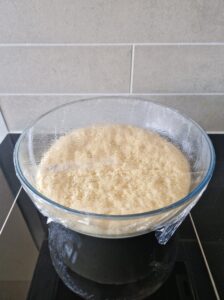
- Deflate the dough with a rubber spatula.
- Transfer it to a loaf pan lined with parchment paper.
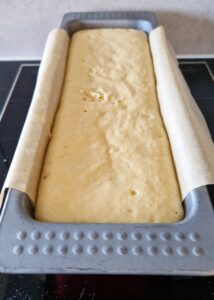
- Smooth the top with the spatula.
- Cover with plastic wrap and let rise in a warm place for at least 30 minutes, or until doubled in size.
- Bake in a preheated 175 °C oven for 27-29 minutes, or until the crust is golden brown.
- Let the bread cool slightly before removing it from the loaf pan.
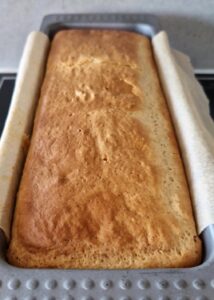
- Remove the bread from the pan.
- Let cool on a wire rack before slicing.