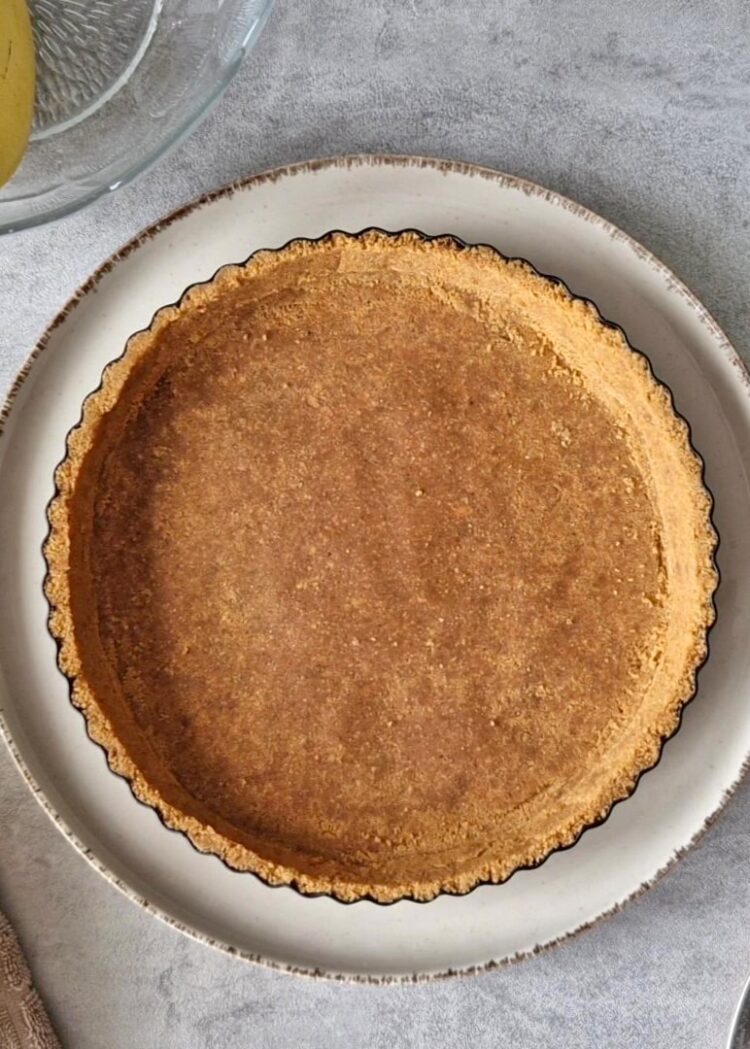
Looking for a simple crust for a gluten-free cheesecake, tart, or pie? It all comes down to two things: Graham-style biscuits crushed into fine crumbs and melted fat.
The result is a tidy, compact crust—crumbly, crunchy, and sturdy enough to support a creamy filling. It comes together quickly and works for all kinds of desserts. This recipe joins my other gluten-free bases.
What is a vegan gluten-free cookie crust?
It’s a crumb crust made with gluten-free Graham-style biscuits and melted plant-based fat. This recipe is designed specifically to create a proper crumb crust for vegan, gluten-free baking—not just to snack on the biscuits as they are.
This version works as the base for all kinds of desserts: pies, cheesecakes, and tarts. It can also be used in desserts made without refined sugar, depending on the filling you choose. Under a creamy vegan cheesecake filling, it keeps its shape and crunch beautifully.
The main ingredients
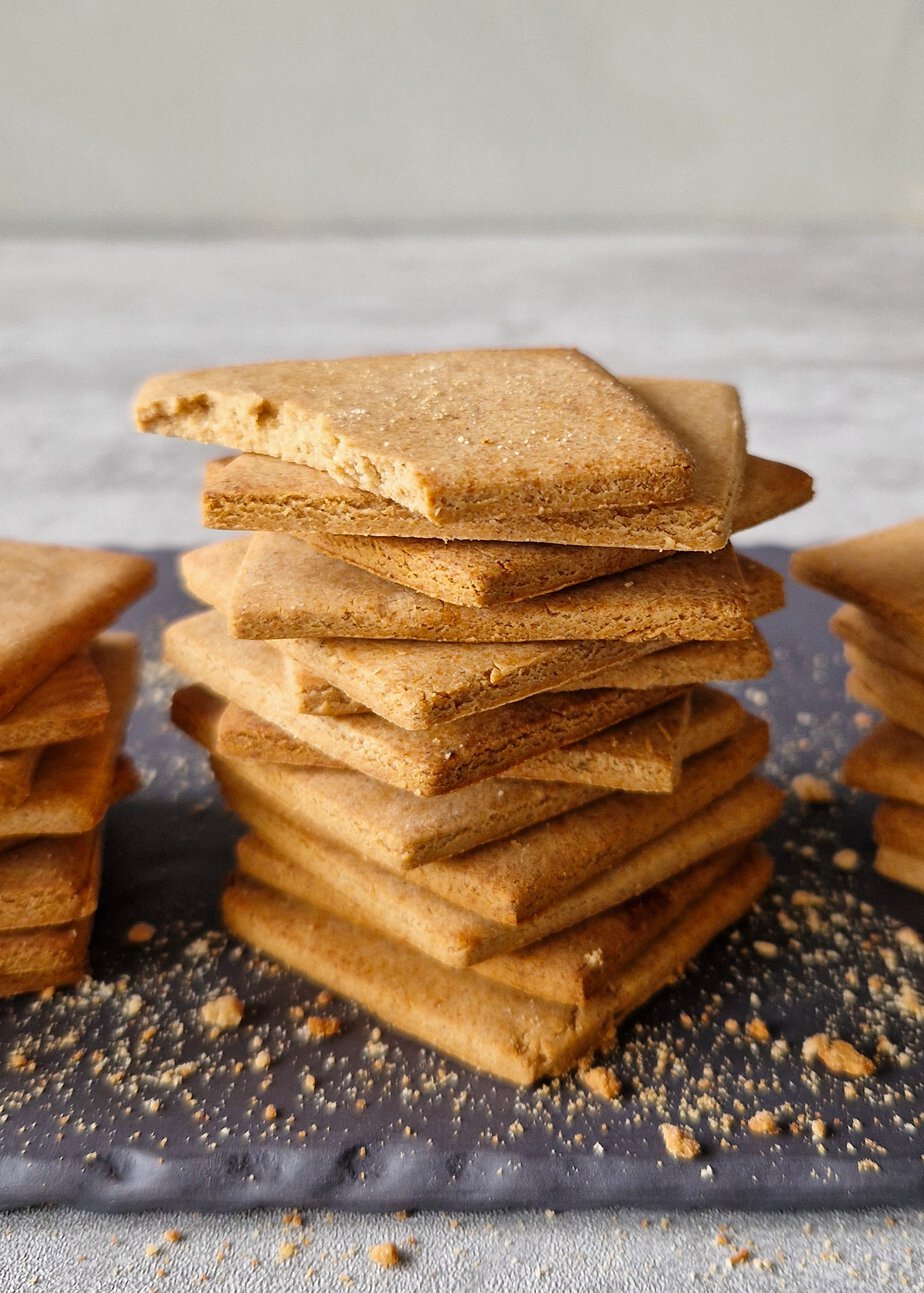
The gluten-free Graham-style biscuits provide all the structure. They’re made with a gluten-free flour blend without xanthan gum, and that’s the type of biscuit you should use here to keep the same texture balance.
The fat binds the crumbs together. Use melted vegan butter that is both gluten-free and lactose-free, and mix until evenly combined. If you’re making a no-bake version, melted coconut oil works well too.
This base works just as well for baked fruit tarts as it does for no-bake tarts filled with mousse or set cream. It also pairs especially well with vegan cheesecakes and pies because it stays pleasantly firm once pressed into the pan.
Technical tips and pitfalls to avoid
Work by weight. The quantities are given in metric for accuracy, and it matters here: with such a simple base, the wrong ratio of crumbs to fat is immediately noticeable.
Crush the biscuits into fine crumbs
For fine crumbs, use a food processor. If you don’t have one, place the biscuits in a zip-top plastic bag and crush them with a rolling pin. The more even the crumbs, the more neatly the crust will press together.
Mix thoroughly before pressing
Mix the crumbs with the melted vegan butter until no dry spots remain. For a no-bake version, the same principle applies whether you use melted vegan butter or melted coconut oil. You want a uniform mixture before transferring it to the pan.
Pressing the crust: the crucial step
The stability of a crumb crust depends on how firmly it is pressed. Spread the crumbs evenly to avoid gaps and uneven thickness, otherwise the crust may crumble or break when sliced.
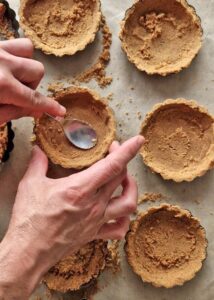
In a tart pan or pie dish, add the mixture, then press it down with the back of a spoon or a flat-bottomed glass. Start in the center, then work toward the edges, compacting well to create a tight, even layer.
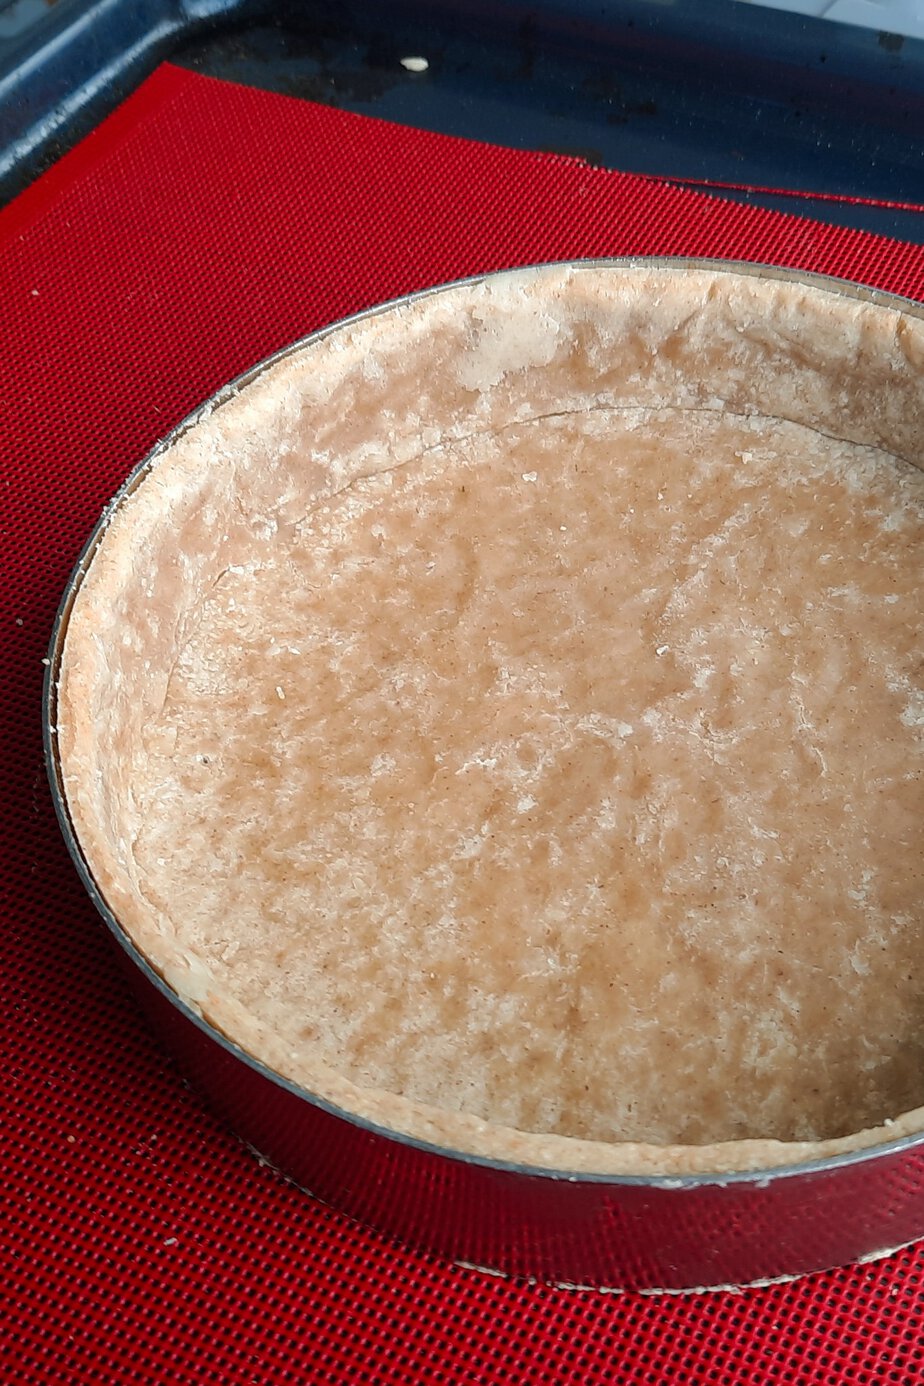
In a pastry ring or springform pan, use the same method, but also press the crumbs up the sides. The back of a spoon or a glass works very well here too. Take your time with the sides so the height and thickness stay even all around.
Baked or no-bake
This base can be used in two ways: no-bake or baked with the dessert. For a no-bake version, press the crust into the pan, then chill it in the refrigerator before adding the filling. This method is especially well suited to no-bake vegan cheesecakes, tarts, and pies.
If you want a crispier crust, you can pre-bake it. This is especially useful for very moist fillings, since the crust resists moisture better and also develops a deeper golden color.
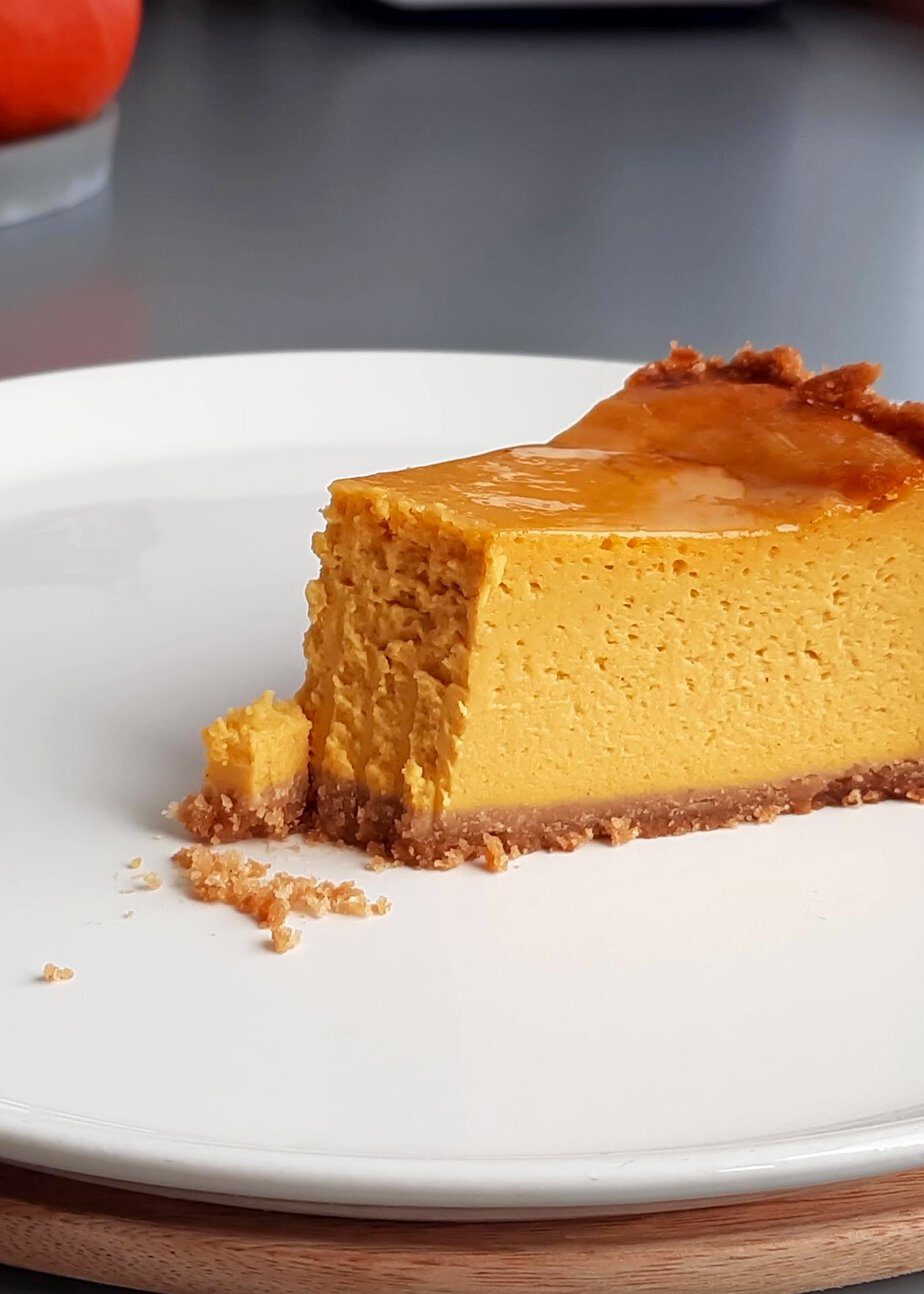
You’ll find more vegan gluten-free recipes in the same category.
Recipe developed by Chef Rommel Reyes. Find his work on Instagram, his Substack newsletter, and his YouTube channel.
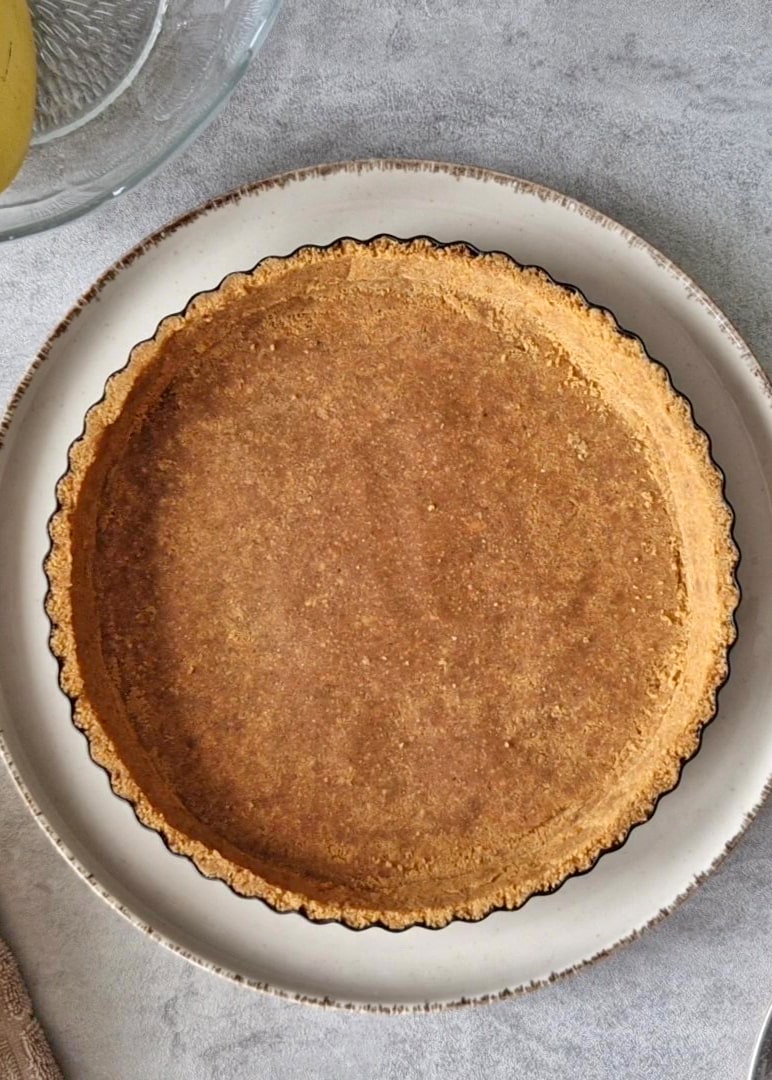
Gluten-Free Vegan Graham Cracker Crust
Ingredients
- 450 g Graham crackers homemade vegan gluten-free
- 150 g butter melted gluten-free, lactose-free vegan
Instructions
Preparation
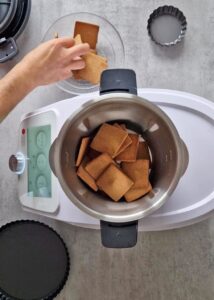
- Pulse the gluten-free Graham crackers in a food processor until finely ground, or place them in a resealable plastic bag and crush them with a rolling pin.450 g Graham crackers
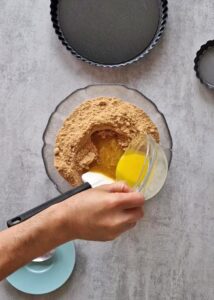
- Combine the crumbs and melted lactose-free vegan butter in a bowl until evenly moistened.150 g butter
- Transfer the crumb mixture to a tart or tartlet pan, then press it down evenly with the back of a spoon or a flat-bottomed glass.
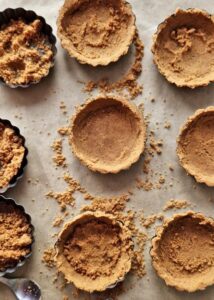
- Press the mixture from the center outward so the crust is compact and even.
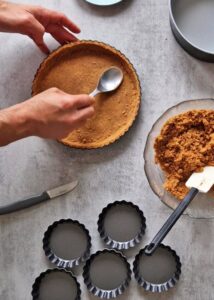
- Use the same method to press the crumbs into a metal pastry ring or a springform pan.
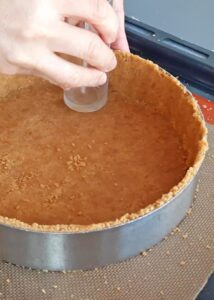
- Press the crumbs up the sides of the pan as well, using the back of a spoon or a glass.
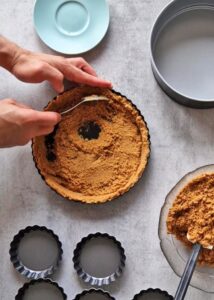
- Take your time pressing the crumbs firmly up the sides so the crust has an even height and thickness.