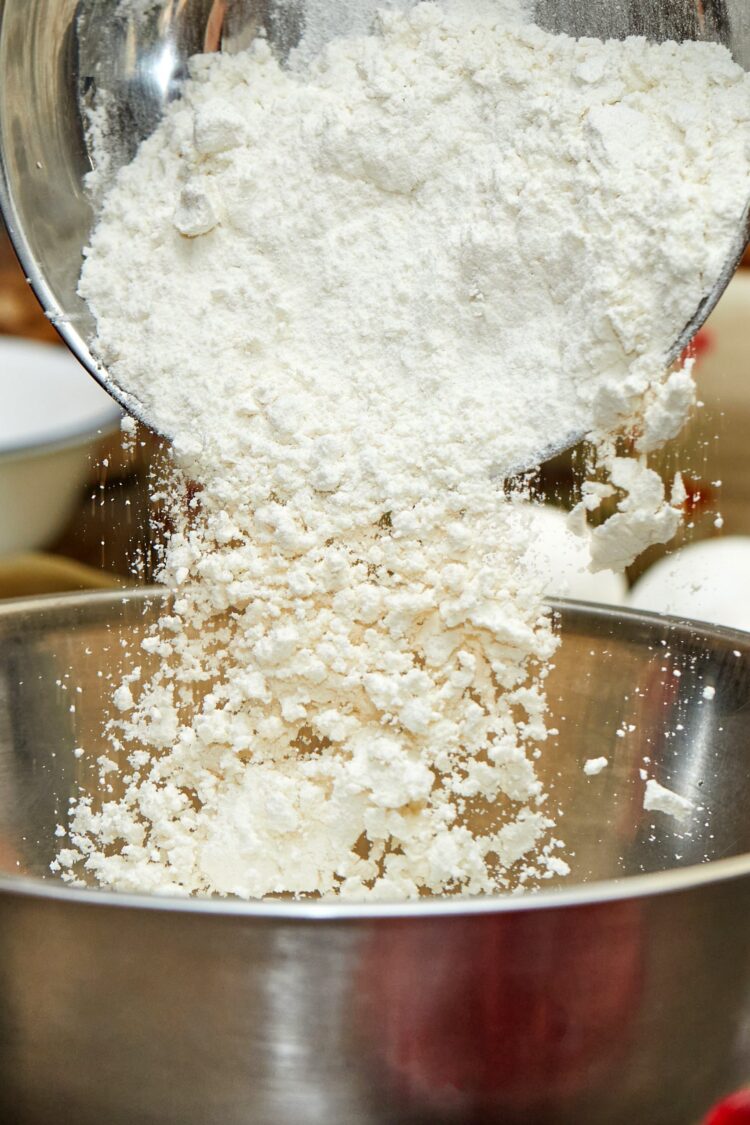
Gluten-free baking rarely fails by chance. In almost every case, the cause is one of these five: a poorly chosen flour blend, a wheat-based recipe converted blindly, dough handled too hastily, bread baked without steam, or ingredients measured by volume. All five can be corrected in a single session, and the site’s gluten-free recipes serve as a testing ground.
Start with a good store-bought blend
There is no point in making your own blend for every batch when you are starting out. A store-bought gluten-free blend is already a formulated mix: starches for lightness, one or two wholegrain flours for flavor, and a binder, xanthan gum or psyllium, to replace the network that gluten used to build on its own.
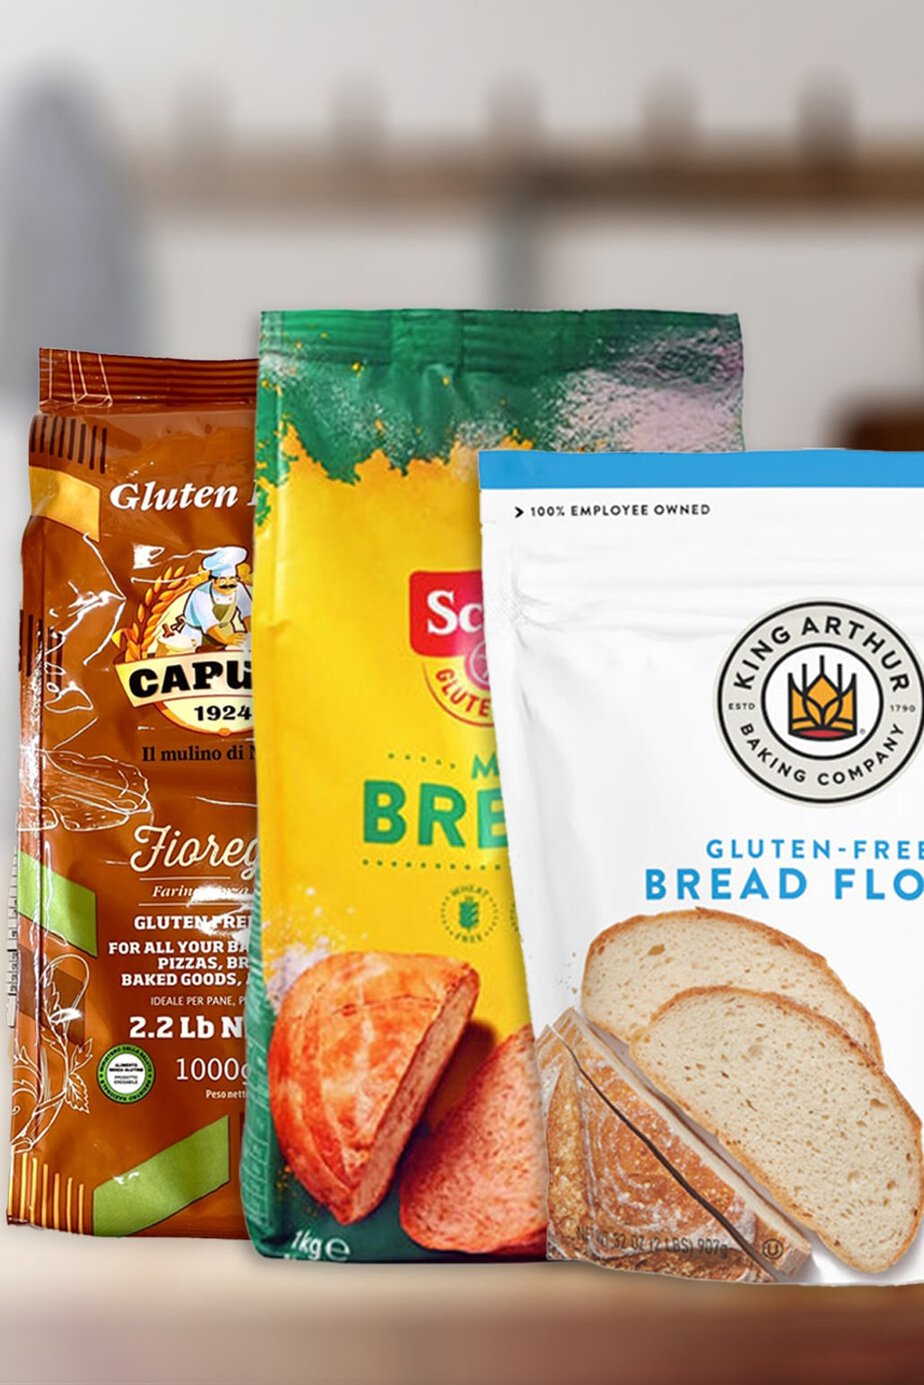
What matters is choosing a blend designed for the job. A bread mix, which is richer in fiber and gums, weighs down a sponge cake and gives it a bran-like taste. A pastry mix, on the other hand, will never support the crumb of a loaf. Schär, Caputo Fioreglut and store-brand blends are easy to find, both in health food stores and online. They are simply not interchangeable.
When you want to take control of the formula, our gum-free flour blend replaces these mixes in most cakes, and the bread flour comparison explains what each flour contributes. Almond flour and coconut flour, however, are not blends: they follow their own ratios, outlined in the coconut versus almond comparison.
Forget swapping wheat flour one for one
The “1:1 substitute” label printed on packages applies to weight, not results. The fiber and gums in a gluten-free blend bind much more water than wheat flour, and the batter keeps absorbing it during baking. Same recipe, same weight of flour, and the cake comes out dry and crumbly.
The second difference is more fundamental: there is no network to develop. Kneading gluten-free dough for twenty minutes builds nothing. Structure comes from psyllium, gum, eggs and starch that gelatinizes during baking. That is why our bread doughs are mixed in two minutes and left to rise as they are, as in the no-knead baguette.
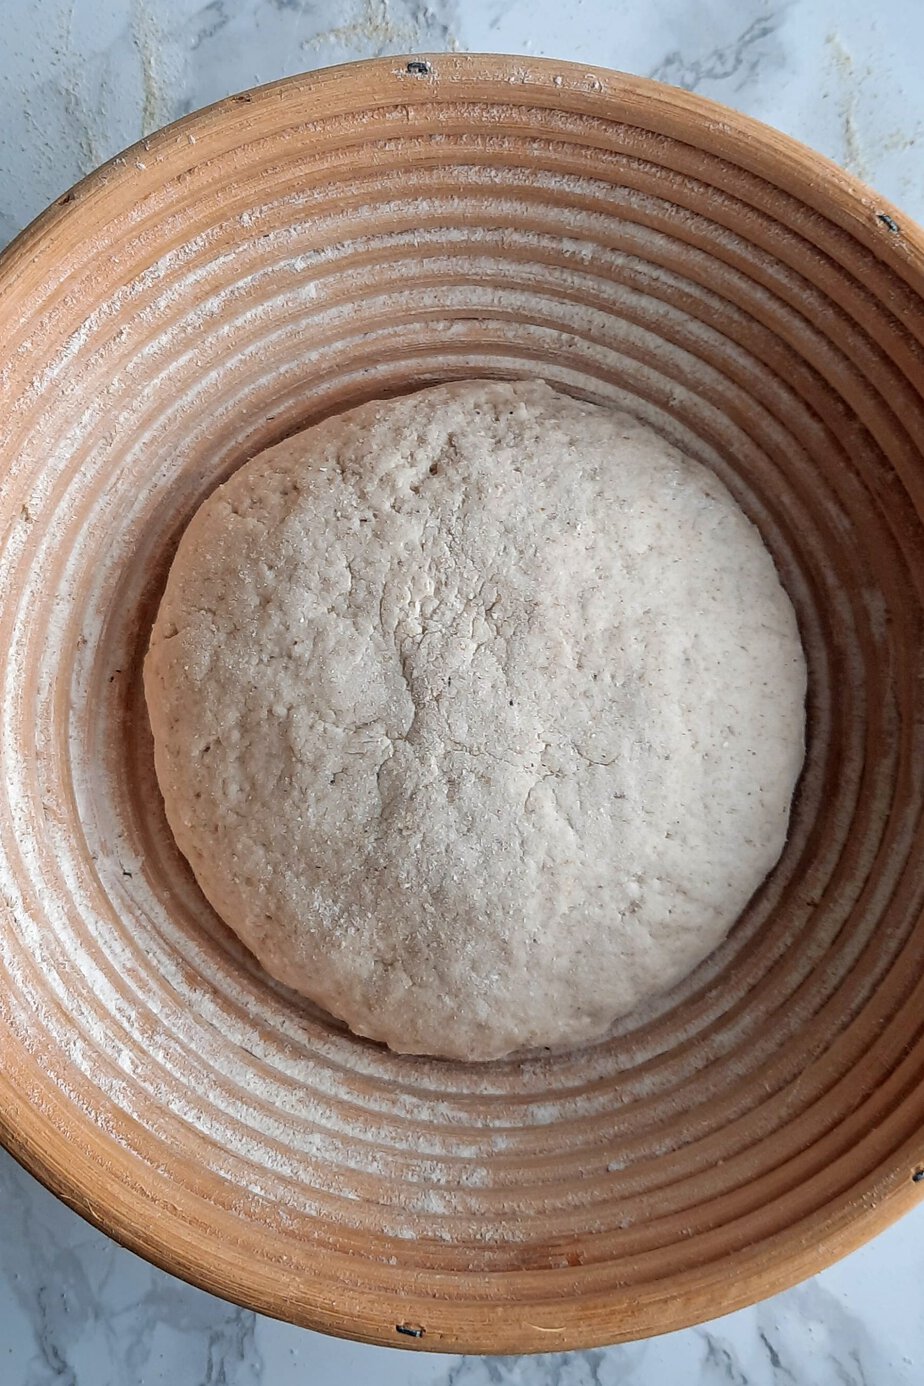
These doughs actually look more like a thick batter than a traditional bread dough. That is normal. Adding flour to get a familiar feel under your fingers remains the surest way to end up with a brick. The simplest approach is to start with recipes written to be gluten-free from the outset rather than converting your own.
Let the dough rest: that is when it hydrates
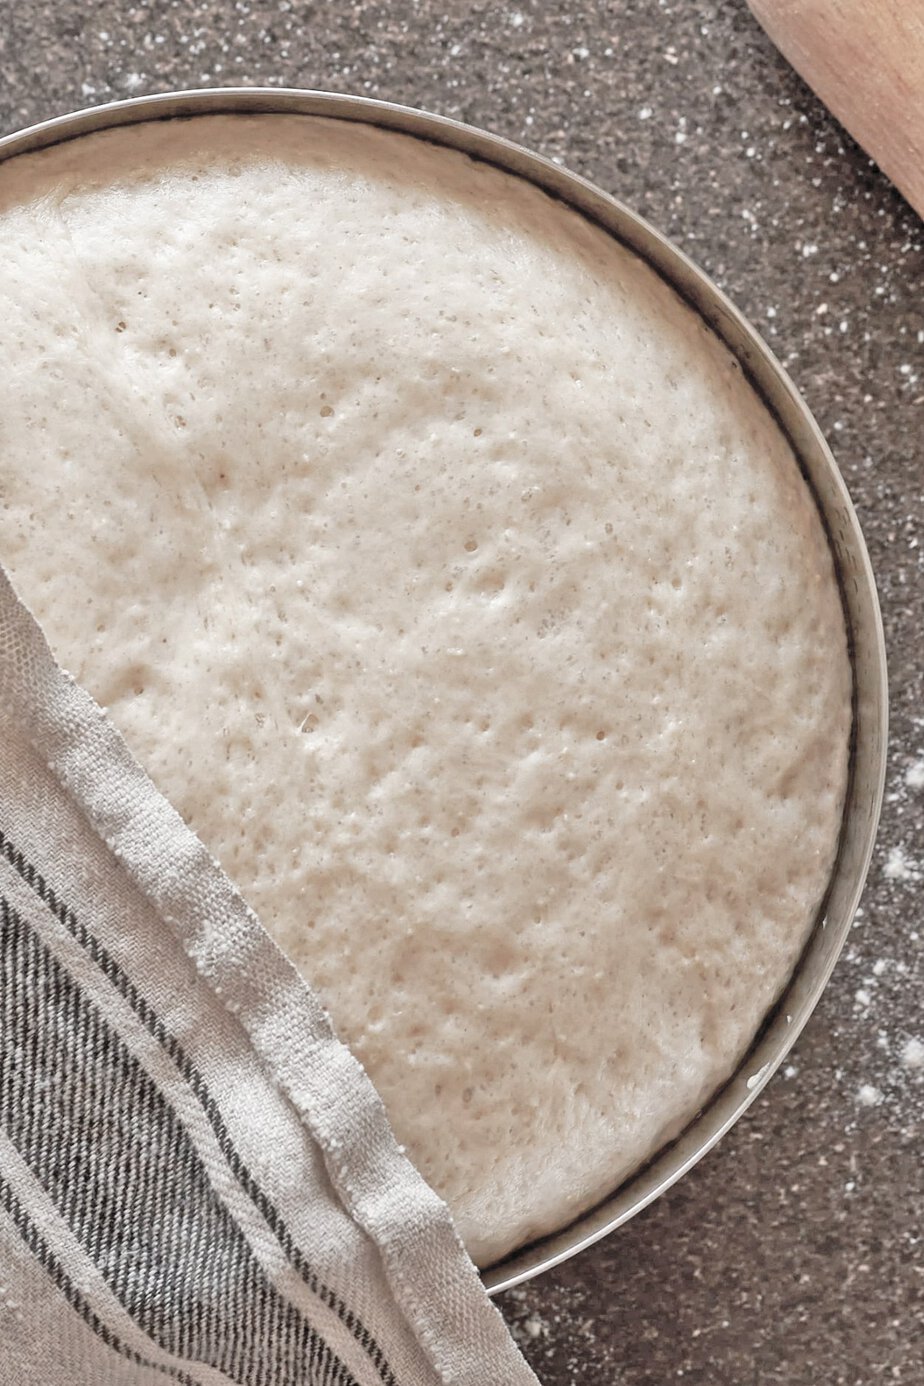
Gluten-free bread dough needs 20 to 40 minutes of rest before baking, covered with a damp cloth, in a warm, draft-free spot. The flours finish absorbing the water, the yeast gets to work, and the dough can be shaped without sticking as much. Beyond that, there is nothing to gain: without a gluten network to hold it up, overproofed dough collapses when it goes into the oven instead of rising.
For tart dough, resting happens in the cold. Wrap it in plastic wrap and leave it in the refrigerator for at least an hour: the fat firms up, the psyllium and gum finish swelling, and the dough rolls out without tearing. Our gluten-free shortcrust pastry and our sweet pastry both need resting, and both are rolled out between two sheets of parchment paper, never on a floured surface.
Bake bread with steam
Gluten-free bread browns less than wheat bread. The blend contains mostly starch and little protein, yet it is the interaction between proteins and sugars that gives a crust its color. Steam compensates: it keeps the surface supple while the bread finishes rising, then gelatinizes that surface, giving it shine and color.
In practice, place a saucepan or dish of boiling water at the bottom of the preheated oven just before putting the bread in. Twenty minutes of steam is enough; then remove the container so the crust can dry out and crisp up.
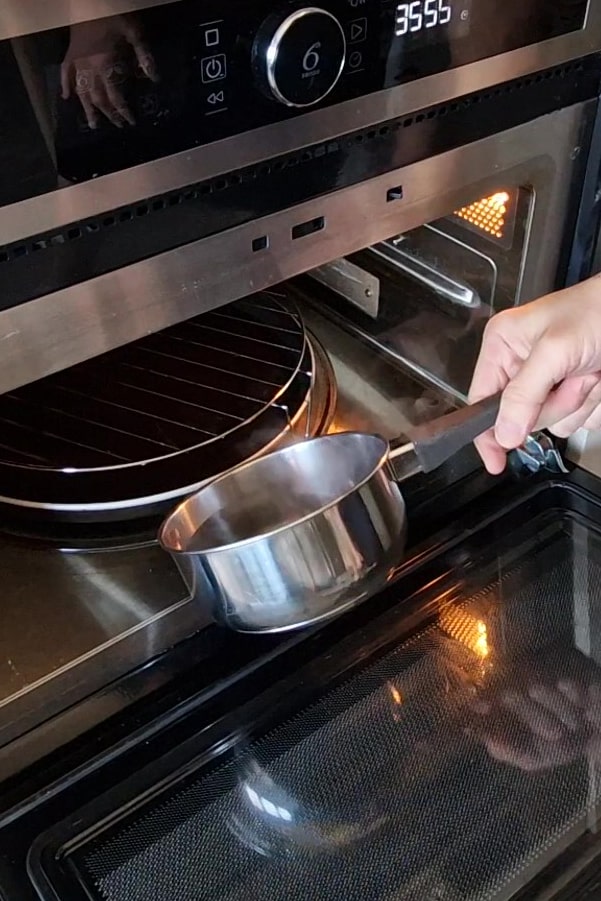
A Dutch oven does the same job on its own by trapping the bread’s moisture under its lid: that is the method used for Dutch oven bread. By contrast, sandwich bread baked in a loaf pan has no crust to develop and does perfectly well without steam.
Weigh everything, including liquids
A spoonful of cornstarch and a spoonful of brown rice flour do not weigh the same, and the difference shows directly in the crumb. A scale accurate to the gram, a tared bowl, and liquids weighed too: this is the only reliable way to measure when a recipe relies on starches. The guide to gram-level precision explains why guesswork costs more here than in conventional baking.
Where to start
Two recipes are enough to check the essentials. The gum-free gluten-free sponge cake tests your blend on its own, without cream to rescue the texture. The framboisier then brings together sponge, syrup and cream: it is the real test, and it uses no wheat flour at all.
If you are also replacing sugar, bear in mind that erythritol does not behave like sugar in the oven: it works in some recipes and ruins others. Our tests are in the dedicated guide. The same logic applies to milk: oat, almond and soy milk produce neither the same crumb nor the same cream, and the plant-based milk comparison tells you which to use for what. For everything else, recipes are organized by use under gluten-free breads and viennoiseries and gluten-free cakes and entremets.
Guide developed with chef Rommel Reyes. Find his work on Instagram, his Substack newsletter and his YouTube channel.