


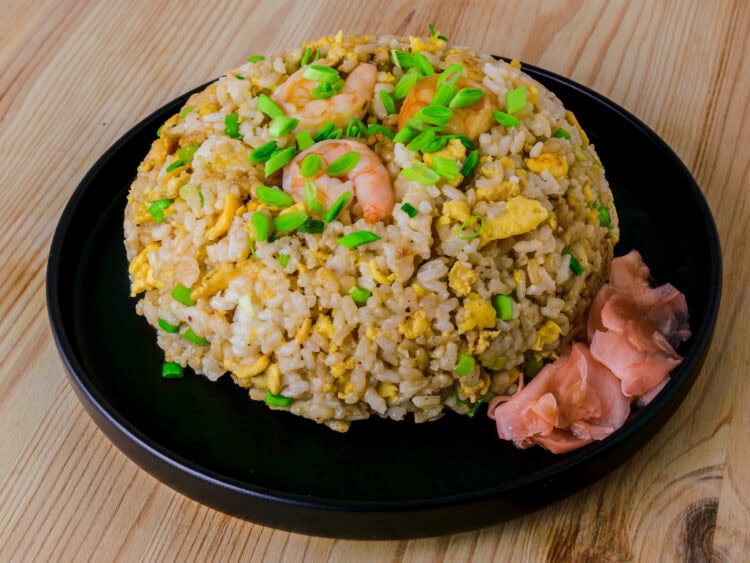
A simple, excellent take on Japanese-style fried rice
Fried rice is always simple, quick, and satisfying. This version, sitting at the crossroads of Japanese cuisine and Chinese cuisine, delivers deeply satisfying flavor with eggs and shrimp kissed with soy sauce.
What is Yakimeshi?
First things first: every Asian country has its own take on fried rice, with its own ingredients and techniques. In Japan, yakimeshi is the benchmark for fried rice.
In this dish, you repurpose leftover rice by stir-frying it with vegetables, eggs, and sometimes meat (or another protein) in a wok or a pan. “Chahan” is another term for Japanese fried rice—borrowed from Chinese—with a few subtle yet notable differences from yakimeshi.
That said, “chahan” is still widely used in Japan, and the two terms are often used interchangeably.
Where does Yakimeshi come from?
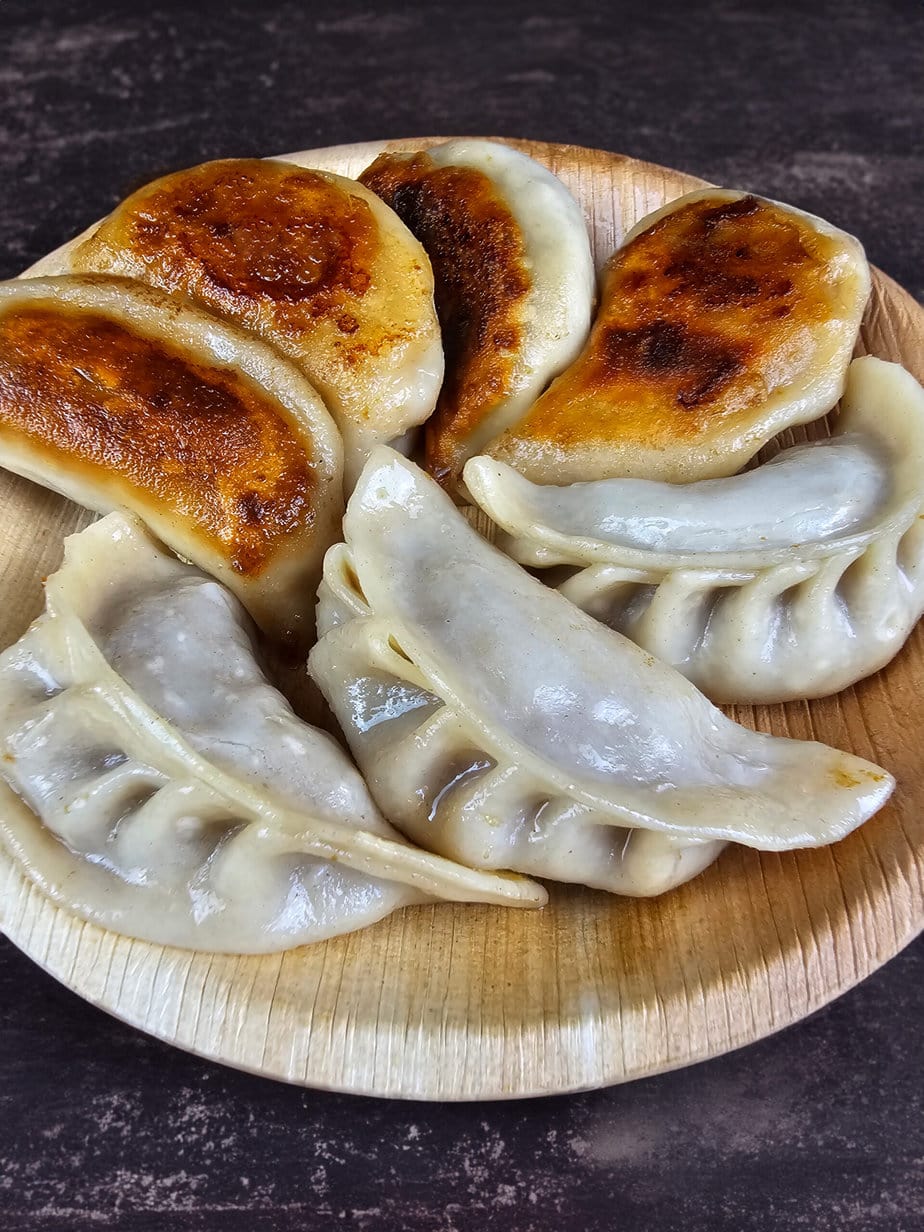
Chahan likely dates to the 1860s, when Chinese immigrants arrived at the port of Kobe, Japan. Yakimeshi is thus a Japanese adaptation—really a fusion of Chinese and Japanese cuisines—much like gyoza and ramen.
There aren’t many differences between the two. In the Japanese version, the eggs are cooked after the rice is added, unlike the Chinese recipe.
Yakimeshi is typically seasoned with soy sauce. In Osaka, a Worcestershire-style condiment known as “yakimeshi sauce” is also used. Another small distinction is the rice: yakimeshi is made with Japanese short-grain rice. In the end, the two names point to essentially the same dish—or at least the same end result on the plate.
Main ingredients of Yakimeshi
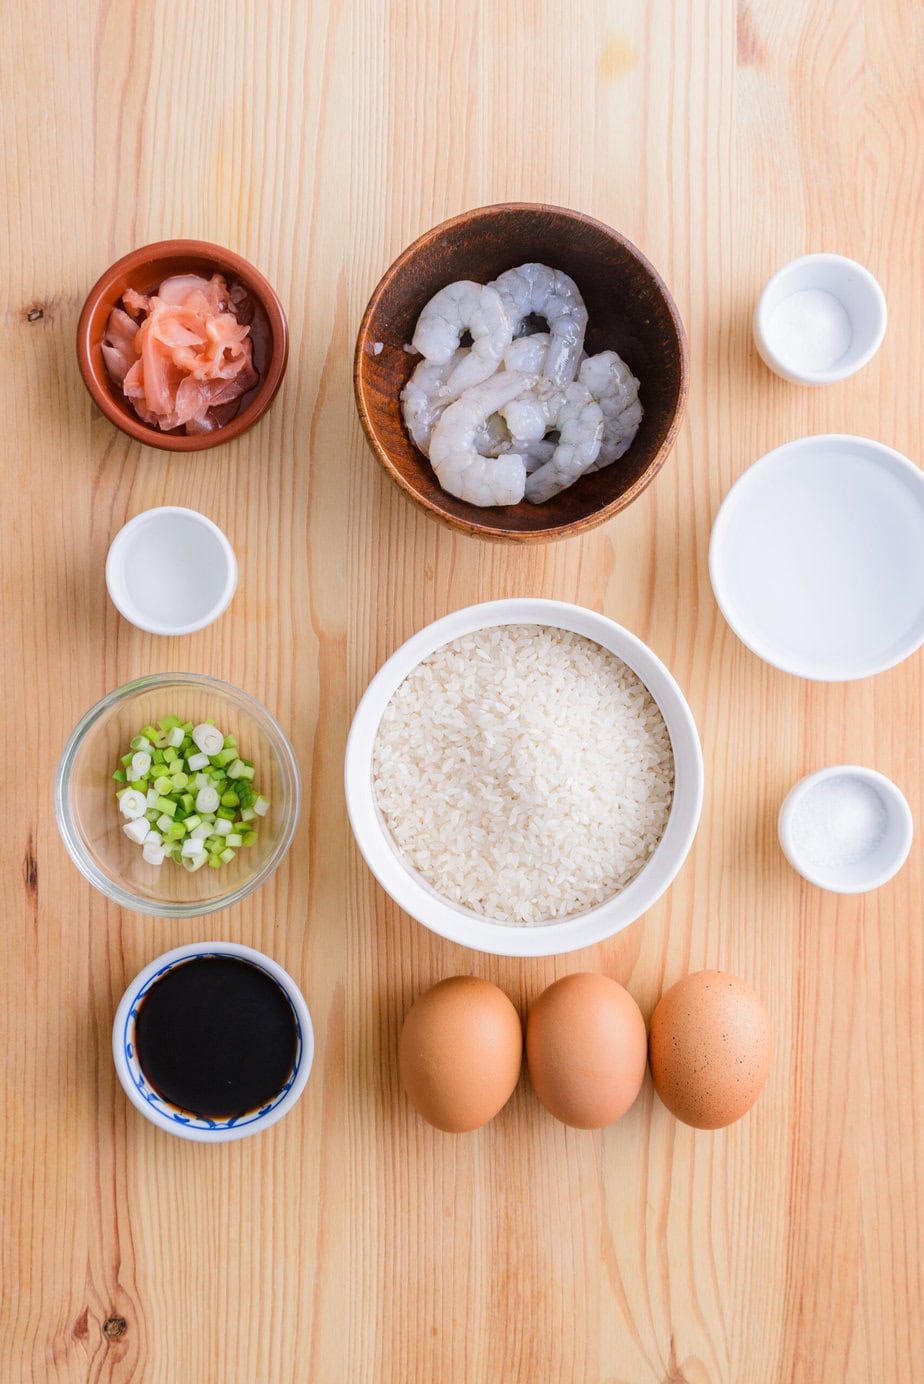
The rice: For this recipe, I use sushi rice. Ideally, use a Japanese short-grain rice. Have a look at my guide to the different types of rice to help you choose.
The eggs: They’re integral to many Japanese dishes. Don’t skip them here—use the best eggs you can find!
Sake: It’s the iconic drink of Japan. I highly recommend cooking with it—it works wonders, lending a delicate, floral note you can’t get otherwise.
Light soy sauce: Between dark and light, choose light soy sauce. It’s saltier and much lighter in body than dark soy sauce—ideal for this recipe. Or use tamari sauce.
The shrimp: This is the protein here. Choose fairly plump shrimp so they soak up the marinade well.
Tips for perfect Yakimeshi
I have a few tricks for making foolproof, flavorful fried rice, and it starts with the rice itself.
I recommend using leftovers or, ideally, rice cooked a few hours in advance. By leaving the rice in the fridge for a few days, the starch can “retrograde,” making the grains firmer and more brittle.
That makes it easier to handle and the stir-fry quicker to execute. Once reheated, the grains turn tender again without becoming mushy.
No leftover rice? Cook it with 10% less water (in a rice cooker).

Equipment
Ingredients
- 280 g sushi rice dry weight
- 3 eggs
- 1 stalk green onion thinly sliced
- 1 teaspoon sake
- 2 tablespoons light soy sauce
For garnish
- 1 tablespoon pickled ginger
Marinade
- 6 shrimp large, raw
- 60 ml water
- 0.5 teaspoon baking soda
- 1 teaspoon salt
Instructions
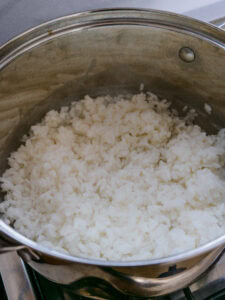
- Rinse the rice 5-6 times, then cook. Set aside.280 g sushi rice
- Peel and devein the shrimp, then place them in a small bowl. Add the baking soda, salt, and water. Let stand for 15 minutes up to 1 day to give the shrimp a springy, crisp texture and help them stay juicy.6 shrimp, 60 ml water, 0.5 teaspoon baking soda, 1 teaspoon salt

- Drain the shrimp and rinse well.
- Beat the eggs in a bowl with a pinch of salt.3 eggs

- Heat a skillet or wok over medium-high heat and add a generous amount of oil.
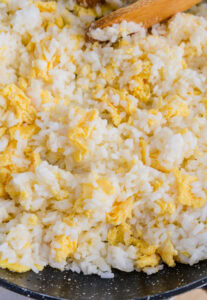
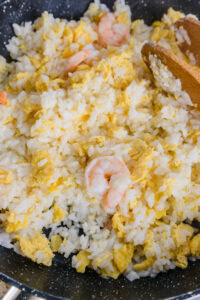
- Add the eggs to the pan. When they start to bubble and the bottom begins to set, add the cooked rice (the egg will still be runny on top).

- Toss quickly to coat the grains with egg, then break up the mixture. Stir-fry until the rice separates into small pieces, about 3 minutes.
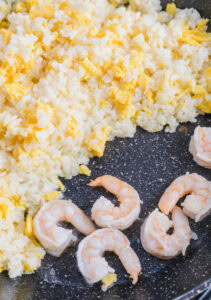
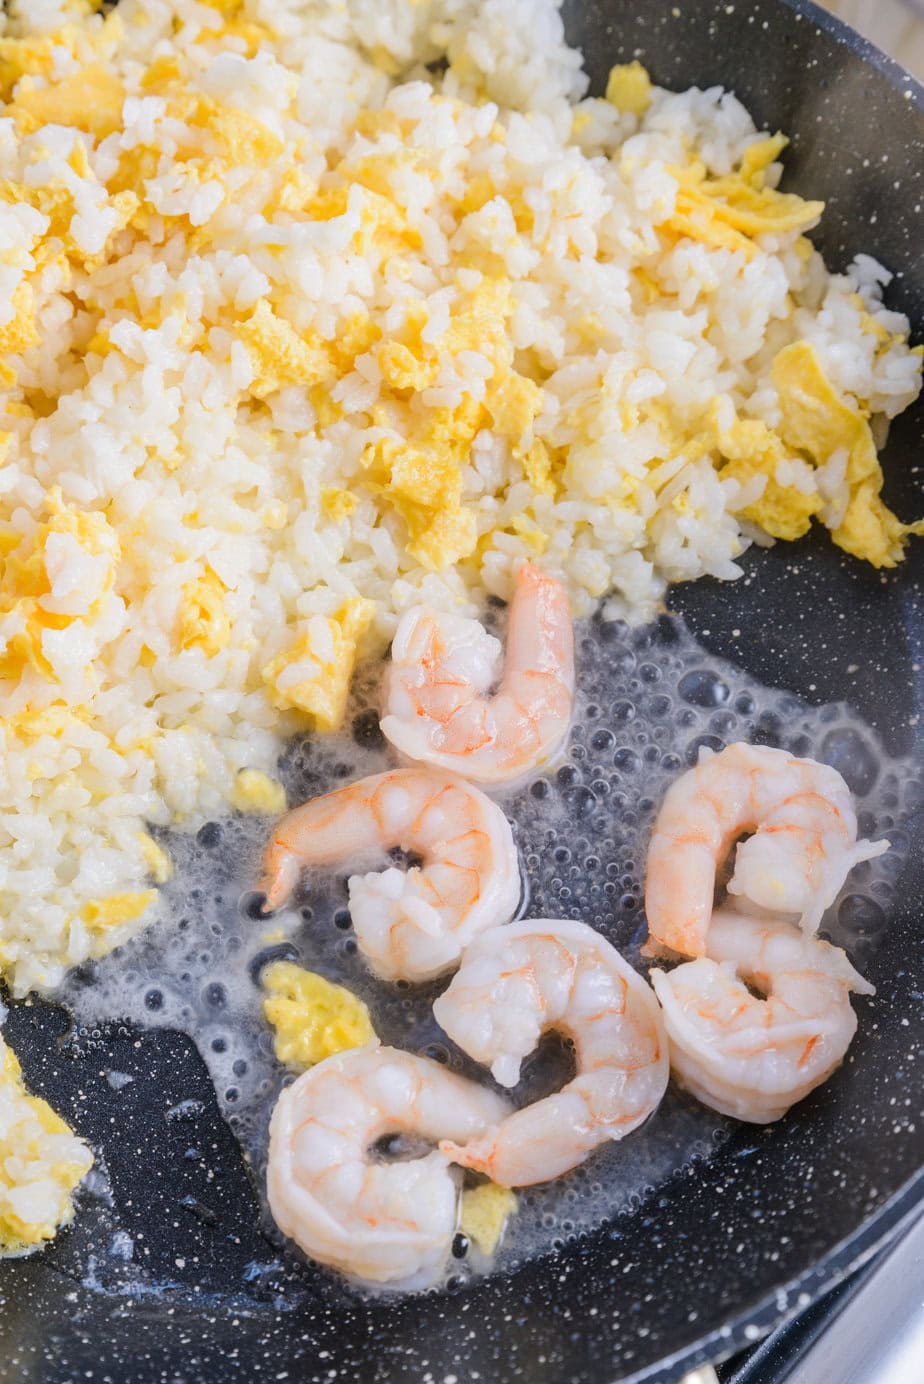
- Push the rice to one side of the pan and add the shrimp. Cook for about 30 seconds per side.
- Pour the sake over the shrimp and cook for another 20 seconds.1 teaspoon sake
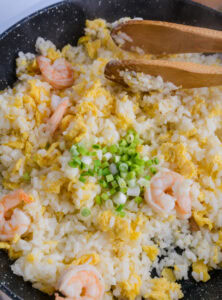
- Fold the shrimp into the rice. Stir-fry for about 1 minute.
- Add the sliced green onion and stir.1 stalk green onion
- Season the rice with salt and pepper. Cook for 2 to 3 minutes.
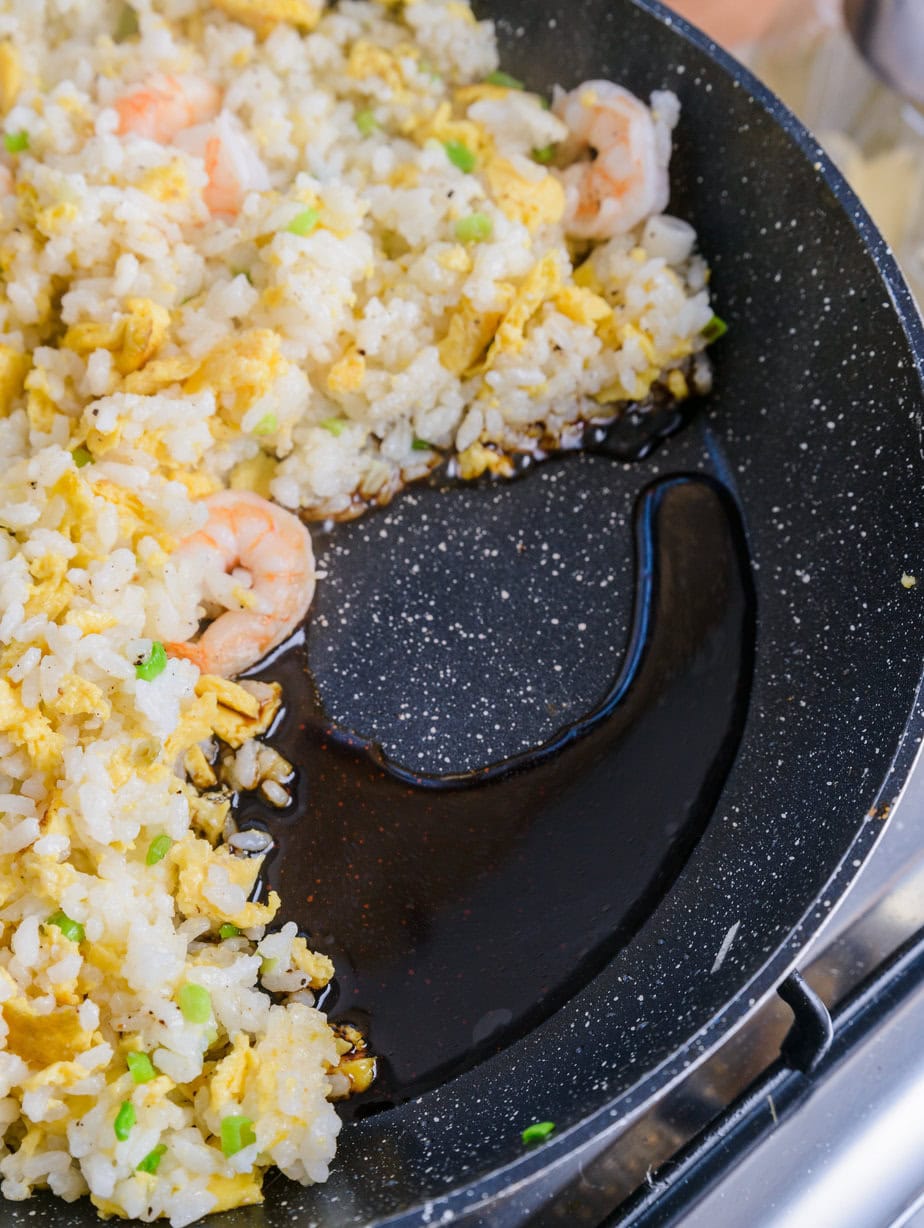
- Create a small well in the pan and pour in the soy sauce. Let it cook until very fragrant, then toss it into the rice before it burns. Once incorporated, turn off the heat.2 tablespoons light soy sauce
- Taste and adjust the seasoning as needed.
- Place the shrimp in a rice bowl first, then mound the rice on top.
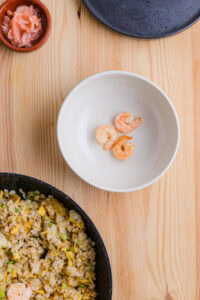
- Invert the bowl onto a plate and let it sit for 1 minute, then lift off the bowl to reveal a neat little mound.
- Garnish with pickled ginger on the side and a few sliced green onions.1 tablespoon pickled ginger

Made this yakimeshi about 4 times now, and it turns out perfectly every time, especially with the sake and that soy sauce well trick. Still just as satisfying as the first time, the shrimp stay so juicy 🙂
Made this yakimeshi tonight and the soy-sauce well trick gave it such a great toasted flavor; intentionally cooked extra rice because the leftovers were just as good the next day.
Made this yakimeshi with mirin instead of sake since that’s what I had, and it added a really nice gentle sweetness. Kept everything else the same and the rice still came out perfectly crisp and flavorful 🙂
Didn’t think I could pull off fried rice that actually tastes like something from a restaurant, but this yakimeshi turned out way better than expected and the egg coating trick really worked 🙂 Proud of myself for not overcooking the shrimp for once!