


A delicious kimchi recipe for authentic flavors at home
Perhaps the best-known staple in Korean cuisine, kimchi has taken the healthy-eating world by storm. But what exactly is kimchi, and why is it so popular? In this article, I’ll share its story, how to use it, and how it became the sensation it is today.
History and Origin of Kimchi
This beloved side dish began as simply salted vegetables. Like most ferments, it was originally a way to preserve produce for the cold months. No spices or extra seasonings—those came much later. The kimchi we know and love took years to evolve, and it still varies by region.
What is kimchi?
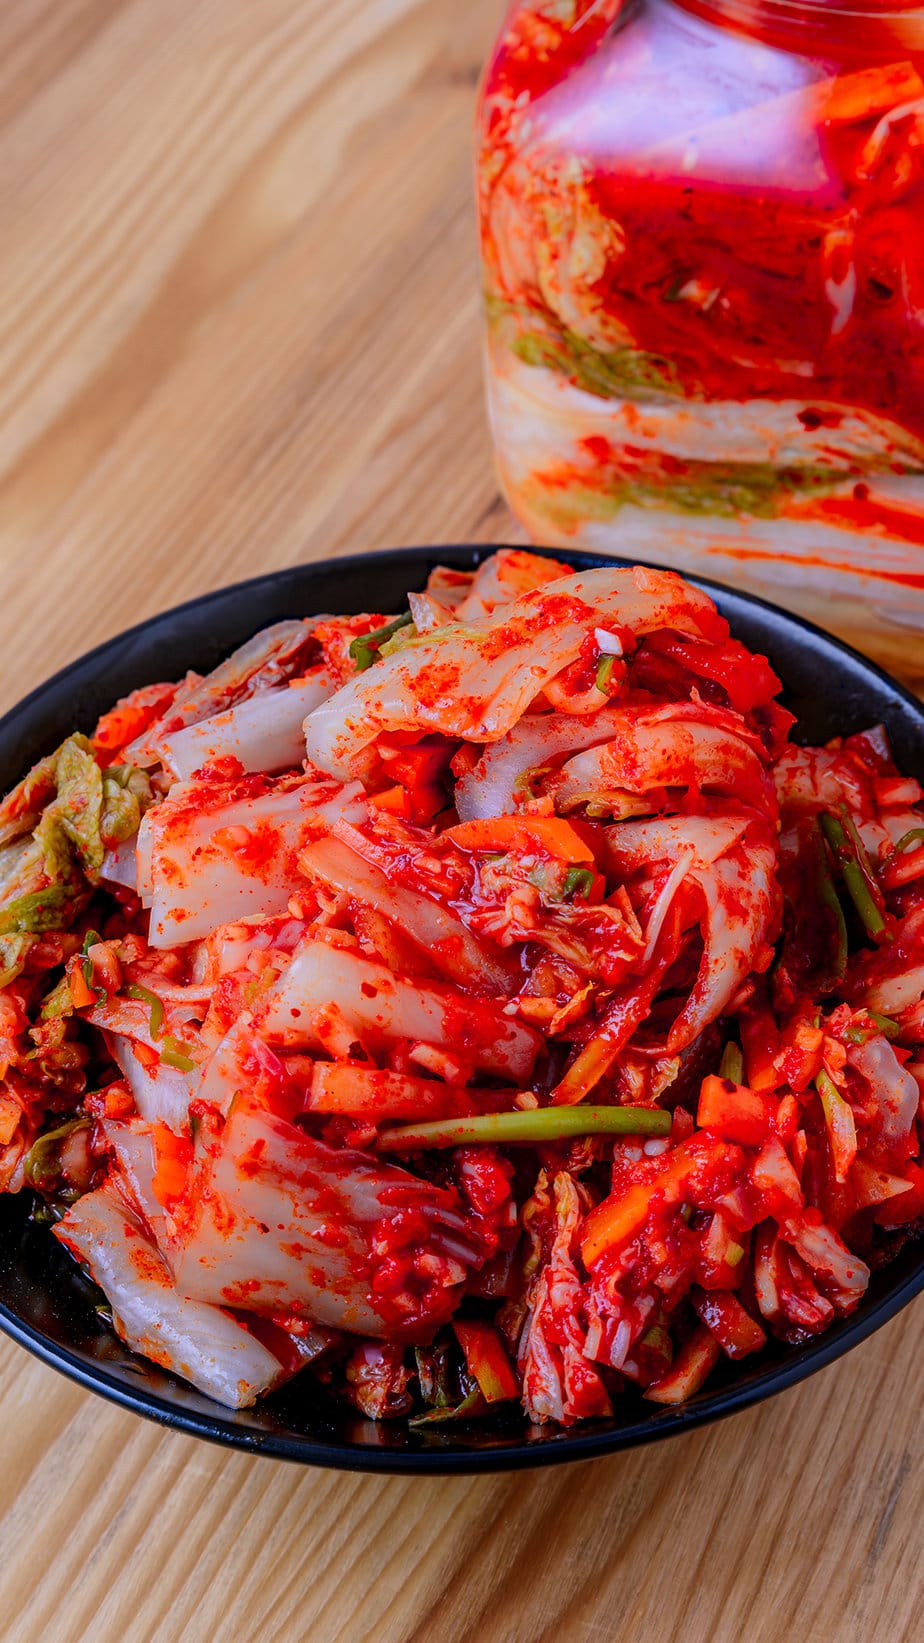
It’s a tricky question because kimchi isn’t just one thing. Most people know it as Napa cabbage fermented with gochujang, gochugaru, and other spices. While that certainly counts, there’s a wide range of other styles—not just the cabbage version. There are cucumber, radish, and perilla leaf kimchi, to name a few, but I’ll come back to that later.
Broadly speaking, kimchi is vegetables fermented with gochugaru, garlic, scallions, and anchovy paste, though every household does it a little differently. Once mixed, it’s packed into an airtight container to ferment.
Traditionally, fermentation took place in large earthenware jars, but these days it typically happens in a simple glass jar. There may never be a single definition of kimchi, and perhaps that’s what makes it so special—and why it’s such a cornerstone of Korean cuisine: it adapts to every palate. You can even stir-fry it with rice and tuna
The taste of kimchi
Flavor varies by style, but most share a similar profile. The spicy ferment yields a tangy, sweet, and spicy bite. With rich foods, it brings a fresh note that cuts through the fat—perfect alongside my Korean fried chicken.
Why is it so popular?
Beyond its delicious taste, kimchi is packed with health benefits yet very low in calories. It provides vitamin A, vitamin C, and many other vitamins and minerals, with only about 23 calories per 150 g. Thanks to fermentation, it’s also an excellent source of probiotics for gut health.
How to use it?
I hope this article has piqued your curiosity to give this delicious food a try. If you’re unsure how to use it, it might go to waste—and that’s not what we want. There are countless ways to enjoy kimchi; here are a few ideas by type :
Napa cabbage kimchi:
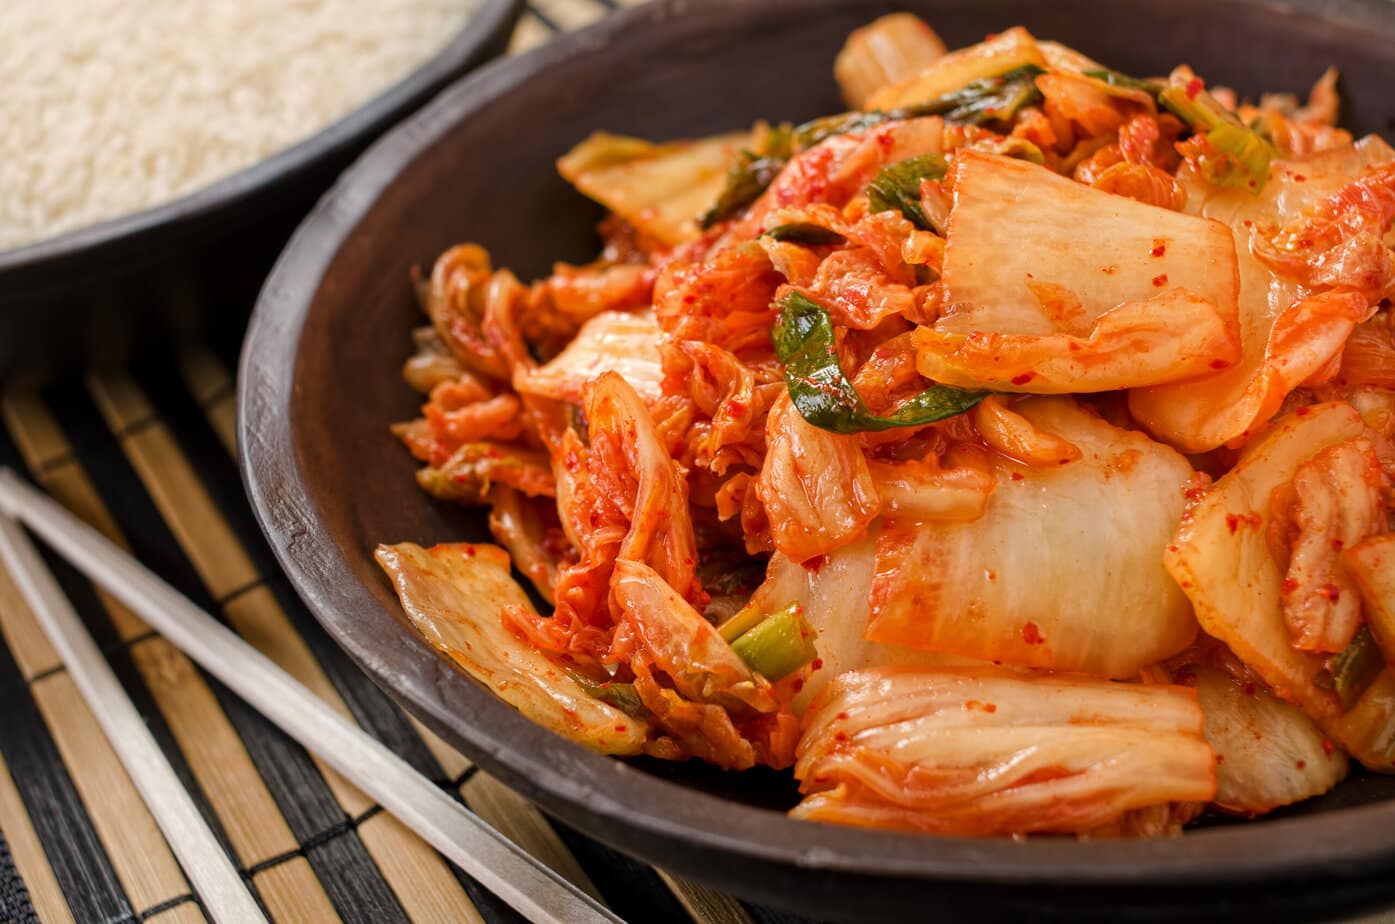
As the most common style, it’s used in all kinds of Korean dishes. Serve it as a side for your favorite fried chicken, or fold it into fried rice, kimchi jjigae, kimchi jeon (pancakes), or the latest trend: tuck it into a sandwich with melted cheese.
Radish kimchi:
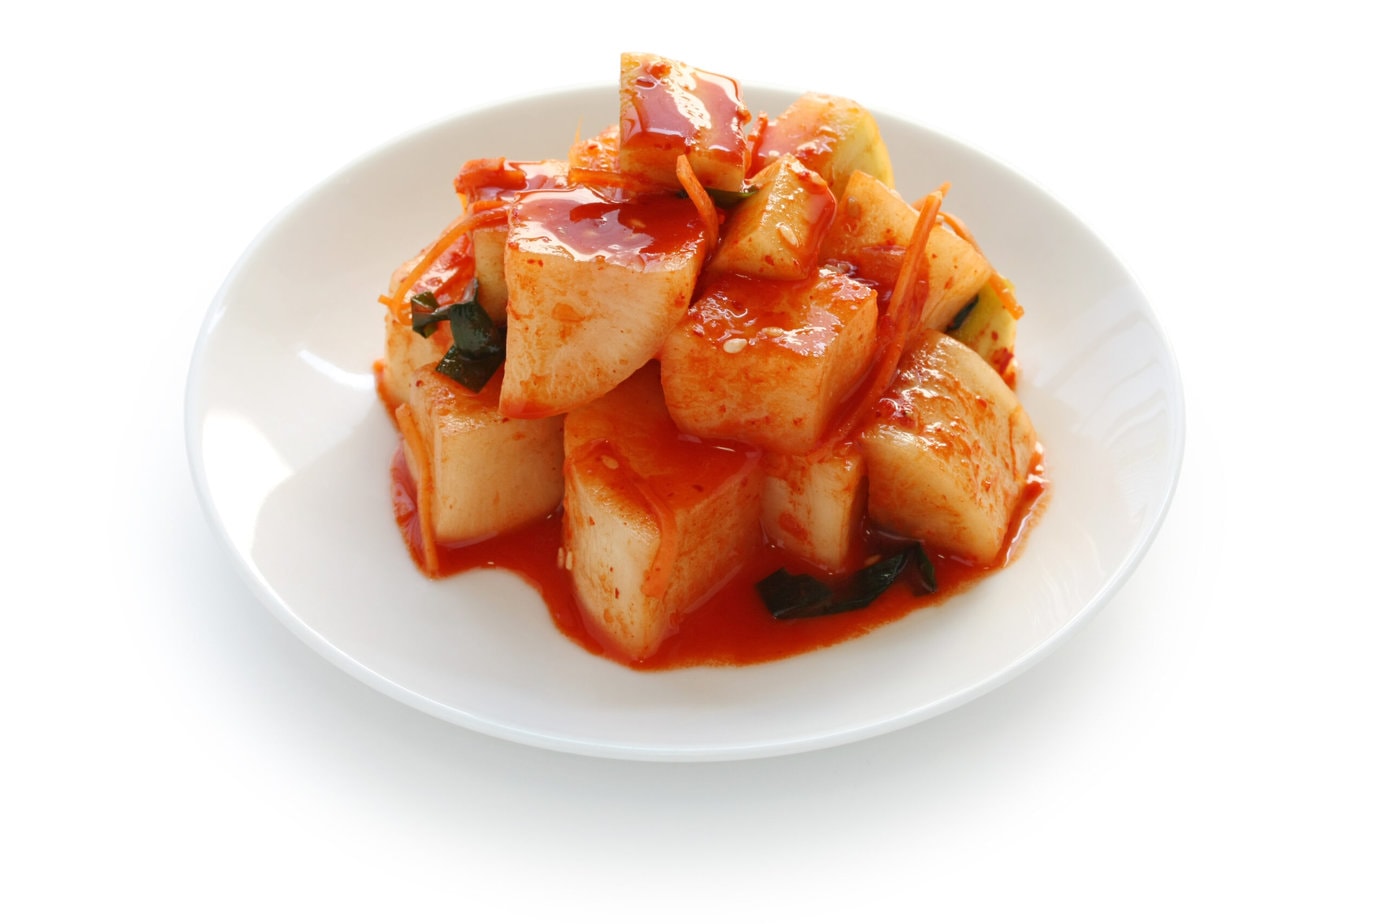
This style is perfect for soups and stews such as Korean beef bone soup (Seolleongtang) or hand-cut noodle soup (Kalguksu).
Cucumber kimchi:
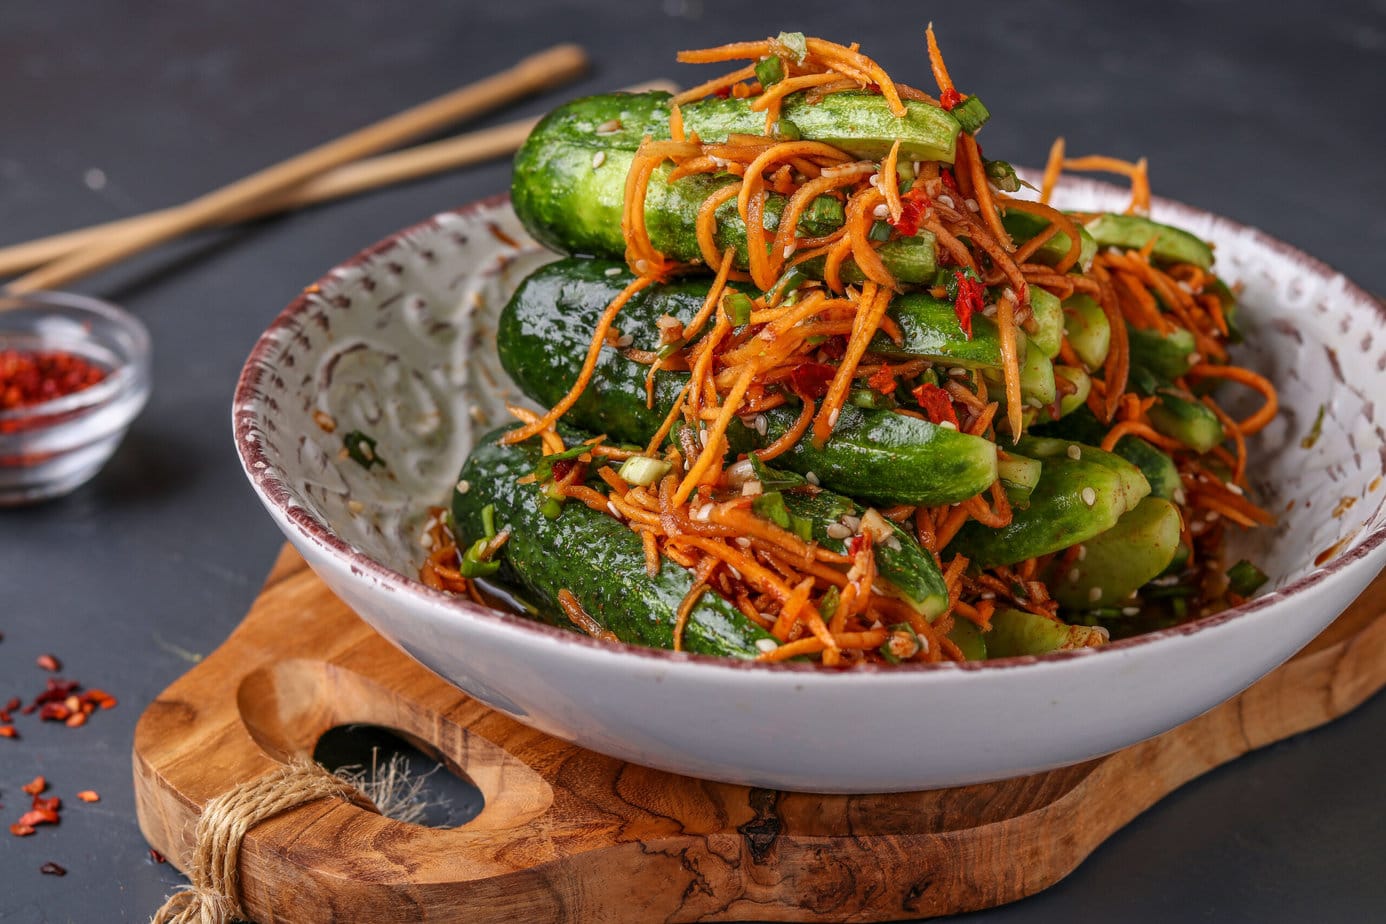
Cucumber kimchi is especially popular in summer because it’s so refreshing. It’s often served with Korean barbecue, but it also works with other « hot summer meals ». Its flavor is fairly assertive, so pair it with simpler dishes so it doesn’t overwhelm them. For example, it pairs wonderfully with sesame oil noodles.
The main ingredients of kimchi
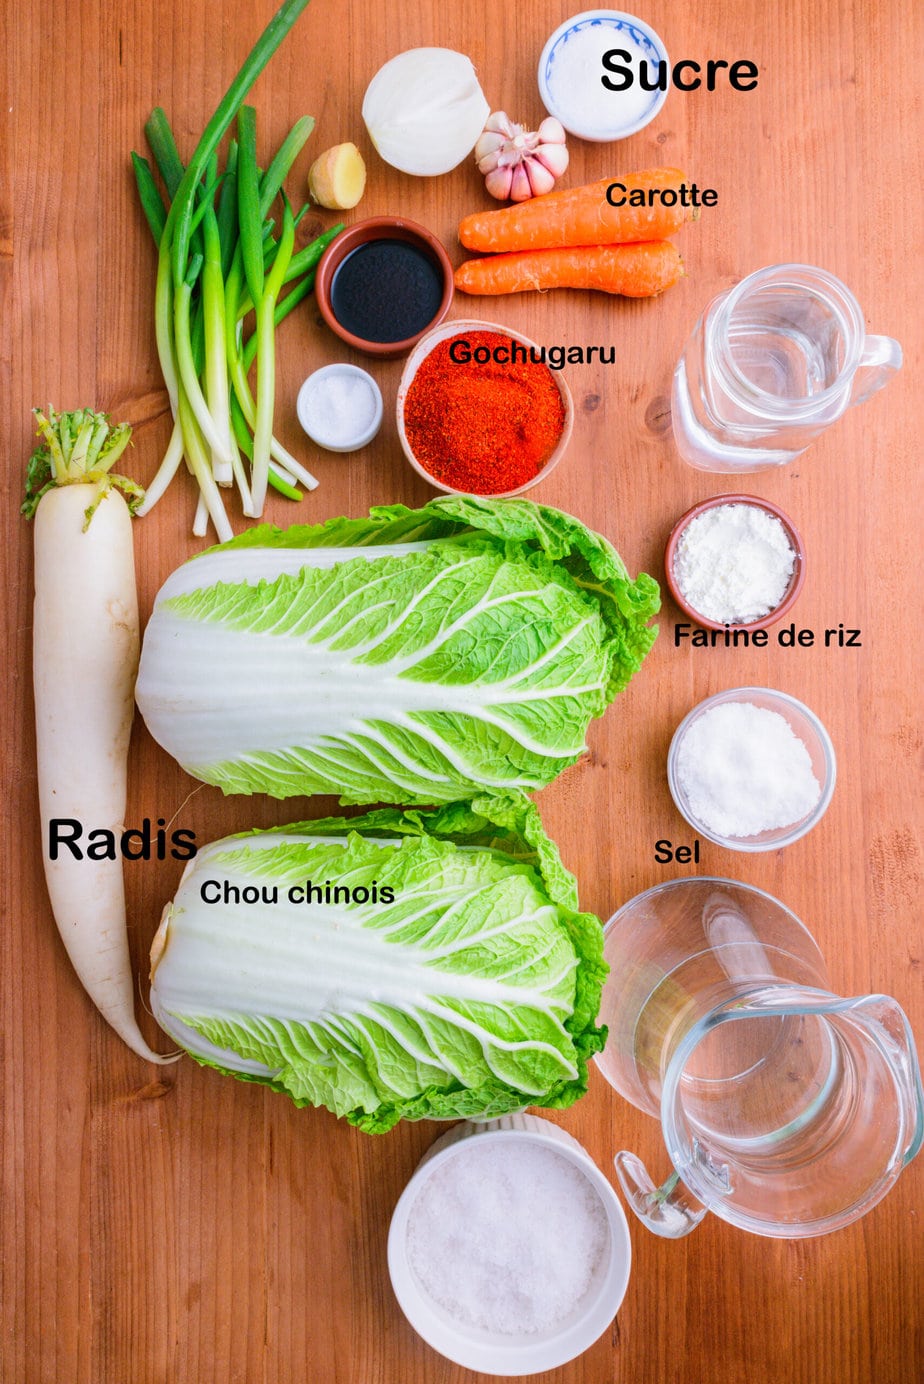
Ingredient notes
Korean sea salt isn’t essential; simply use coarse salt.
Salted shrimp aren’t essential, and Korean chives can be swapped for scallions.
Ingredients
- 4 kg Napa cabbage Remove any thick outer leaves, but leave the cabbage whole.
- 3.9 liters of water
- 285 g coarse Korean sea salt for the brine
- 97 g table salt medium-sized crystals (for sprinkling)
Kimchi Seasoning / Kimchi Paste
- 2 tablespoons glutinous rice flour
- 360 ml water
- 145 g gochugaru
- 540 g Korean radish (or daikon) julienned
- 1 tablespoon fine sea salt
- 3.5 tablespoons fish sauce
- 2 tablespoons salted fermented shrimp chopped
- 90 g Korean chives cut into 5 cm long segments
- 140 g carrots julienned
- 42 g minced garlic
- 0.5 tablespoon minced ginger
- 2 tablespoons sugar
- 75 g onion blended (with an immersion blender or vegetable chopper) or finely grated
Instructions
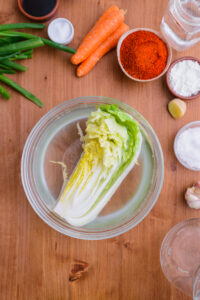
- Cut the Napa cabbage into quarters and rinse under running water. Keep the core intact.
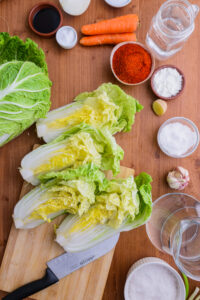
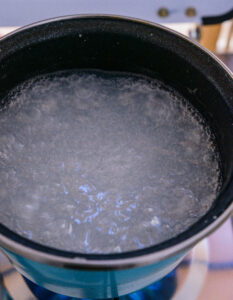
- Dissolve the coarse salt in the water in a large bowl.
- Dip the cabbage quarters in the brine, one at a time.
- Transfer each quarter to a tray to salt further.
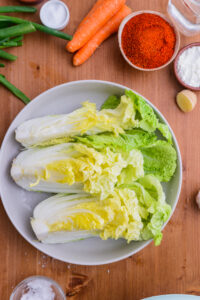
- Sprinkle some table salt and rub it into the thick white parts of the leaves. Gently open each leaf and sprinkle salt onto the thick white parts. Repeat with the remaining cabbage. Reserve the brine you used to soak the cabbage for later.
- Place the salted cabbage in a large plastic bag or a large bucket (cabbage wedge side facing up) and pour in the reserved brine.
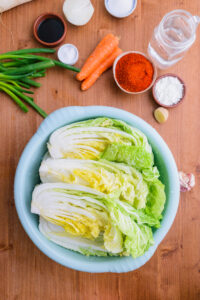
- Close the plastic bag. If you're using a bucket, place something heavy on the cabbage to weigh it down (e.g., a heavy pot filled with water).

- Let the cabbage brine for 6 hours, turning it upside down every 2 hours. Using a large food-grade plastic bag makes flipping much easier than using a large bucket.
- When brining is finished, rinse the cabbage under running water, paying special attention to the thick white parts, to remove excess salt. Set in a colander to drain for 1 hour.
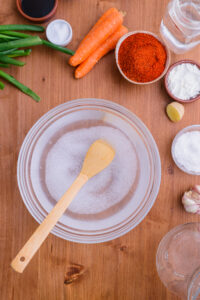
- Meanwhile, prepare the sweet rice paste. Combine the glutinous rice flour and water in a saucepan.
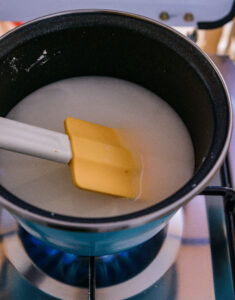
- Bring to a boil over medium heat and cook for 5 to 8 minutes, until thickened.
- Once thickened, transfer the rice paste to a medium bowl and let cool.
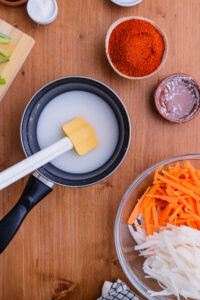
- Once cooled, add the gochugaru and mix well.
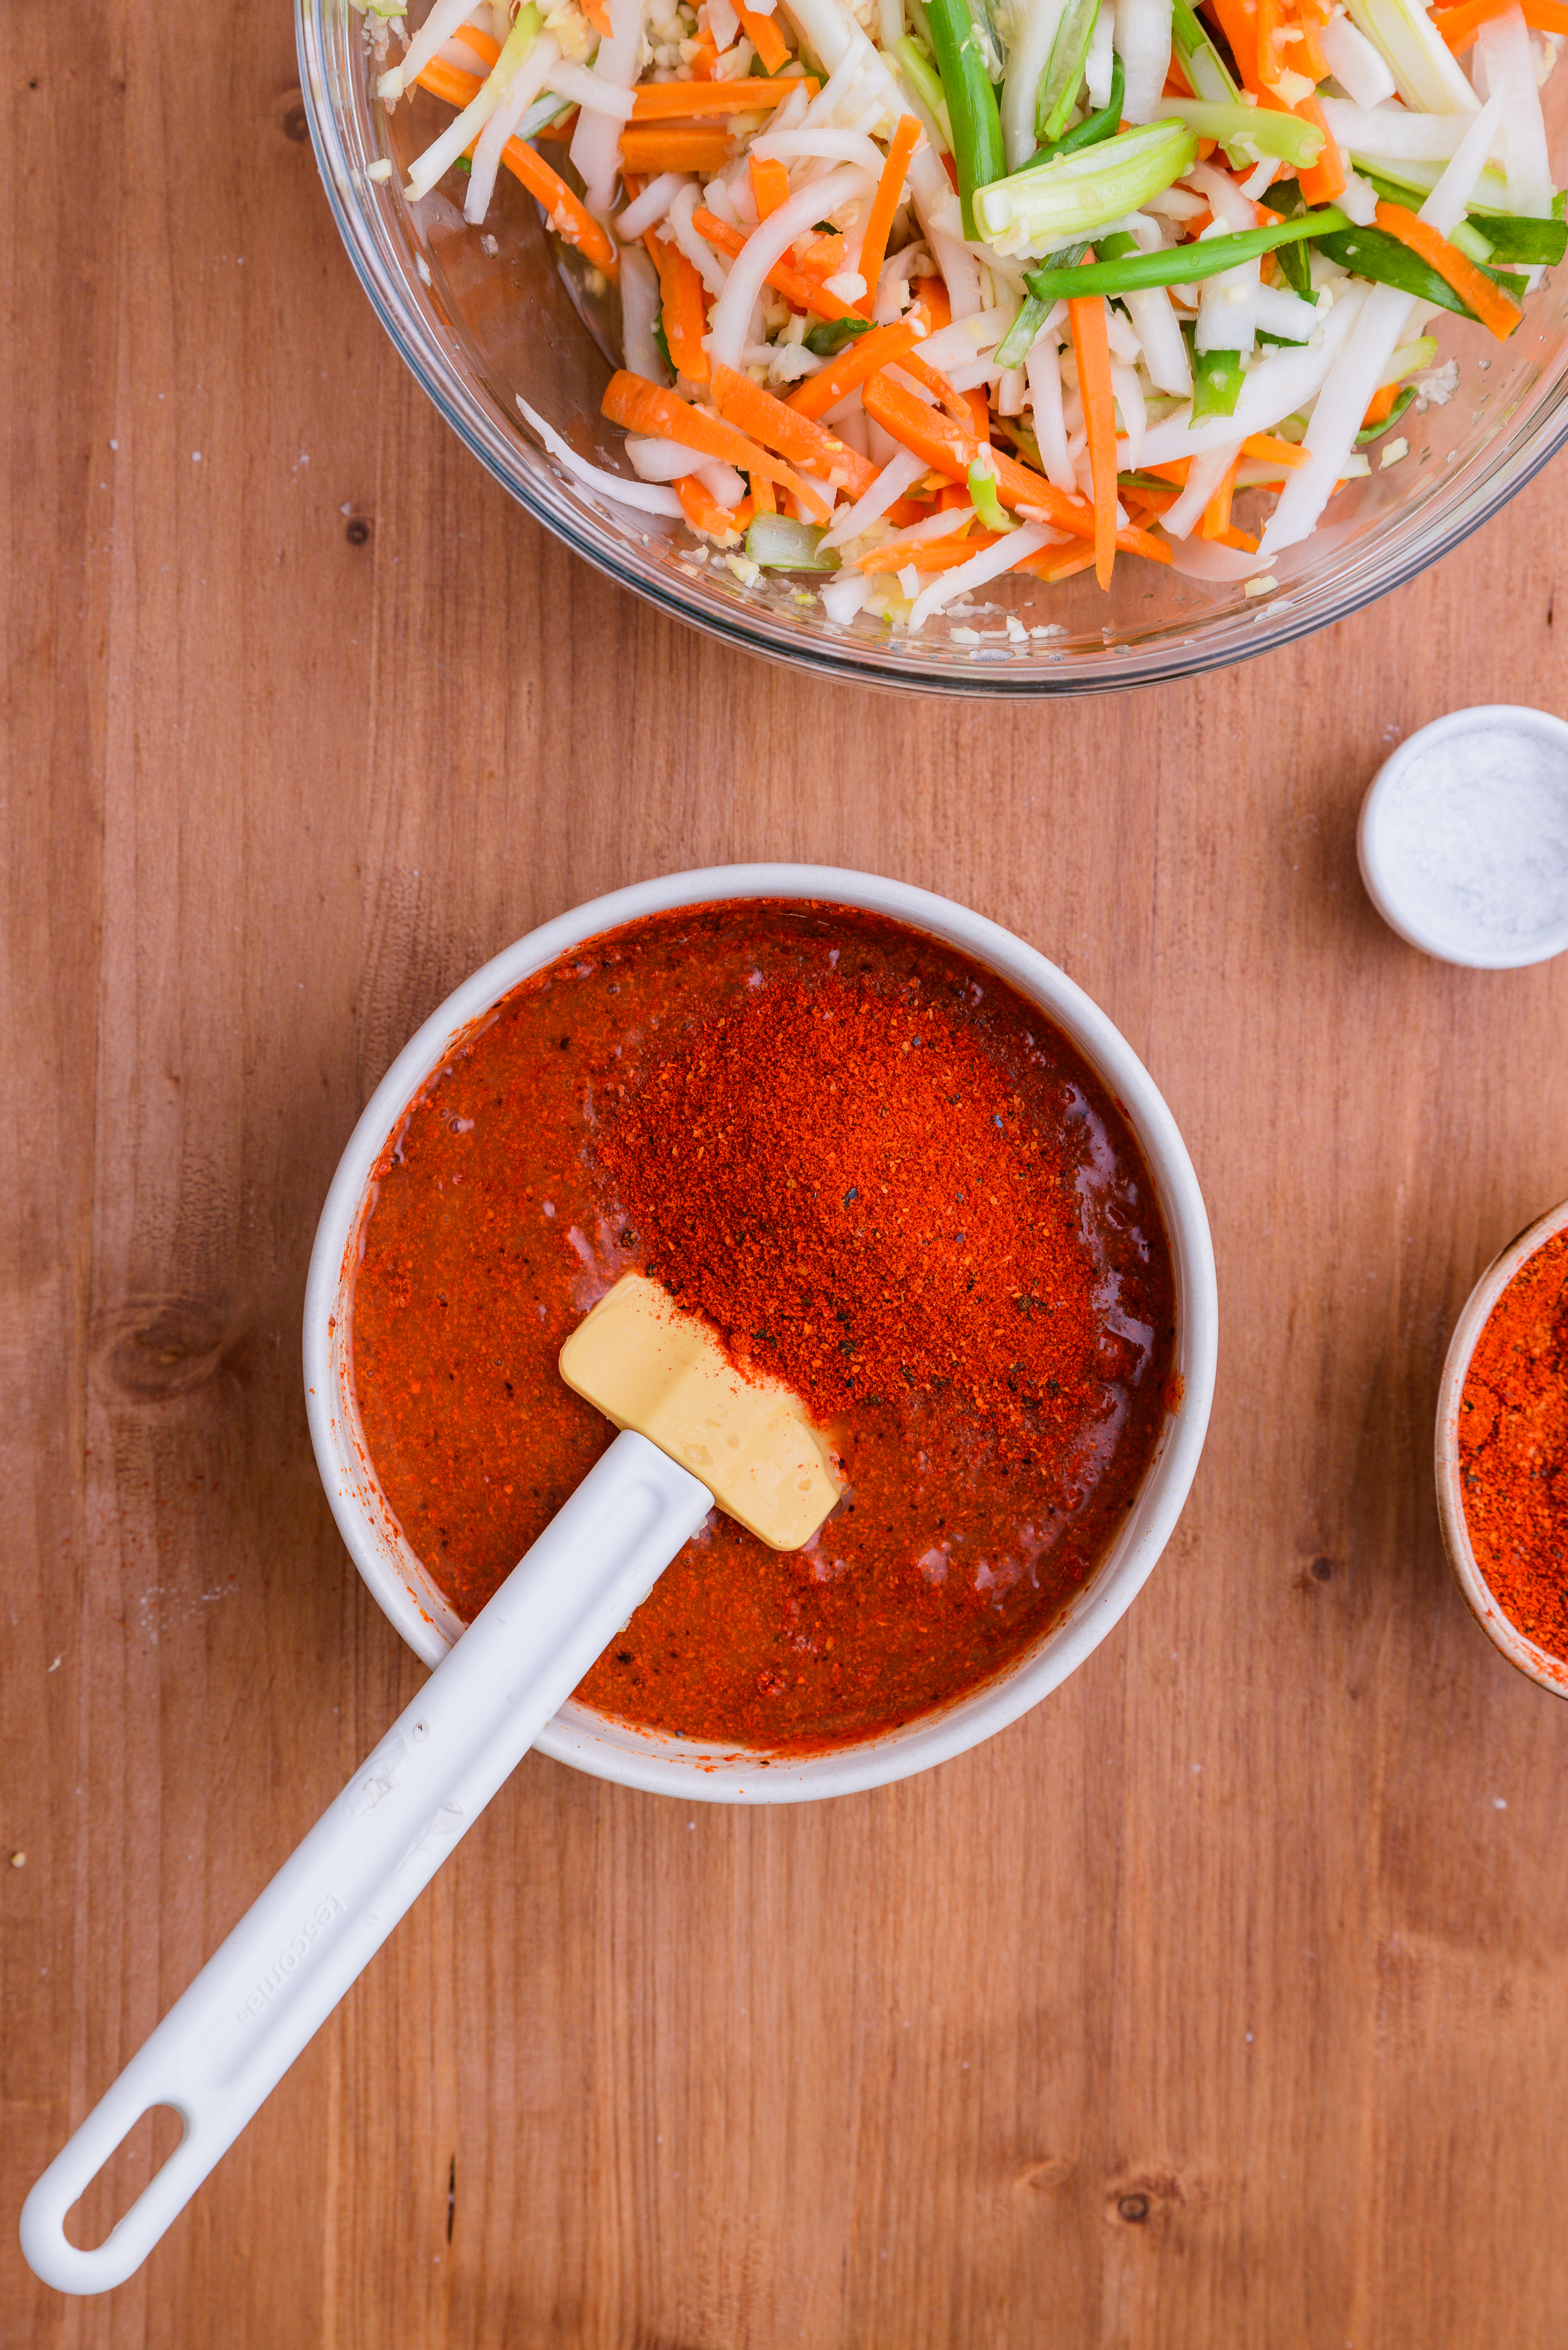
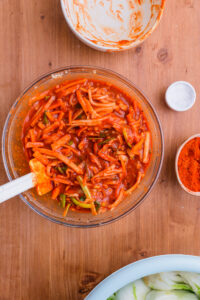
- In a large mixing bowl, combine the radish, fine sea salt, fish sauce, and salted shrimp. Let stand for 10 minutes to lightly season the radish. Add the Korean chives, carrots, minced garlic, minced ginger, sugar, blended onion, and the gochugaru mixture. Mix well. The kimchi seasoning/paste is now ready to use.
- Place one cabbage quarter on a tray. Spread the seasoning over each leaf (you only need to season one side). Use 1 to 2 small handfuls of seasoning per quarter. Repeat with the remaining cabbage. Do not detach the leaves from the core; keeping them attached helps them hold together.
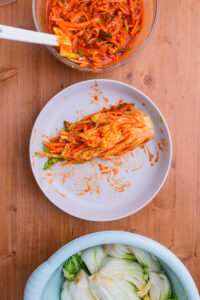
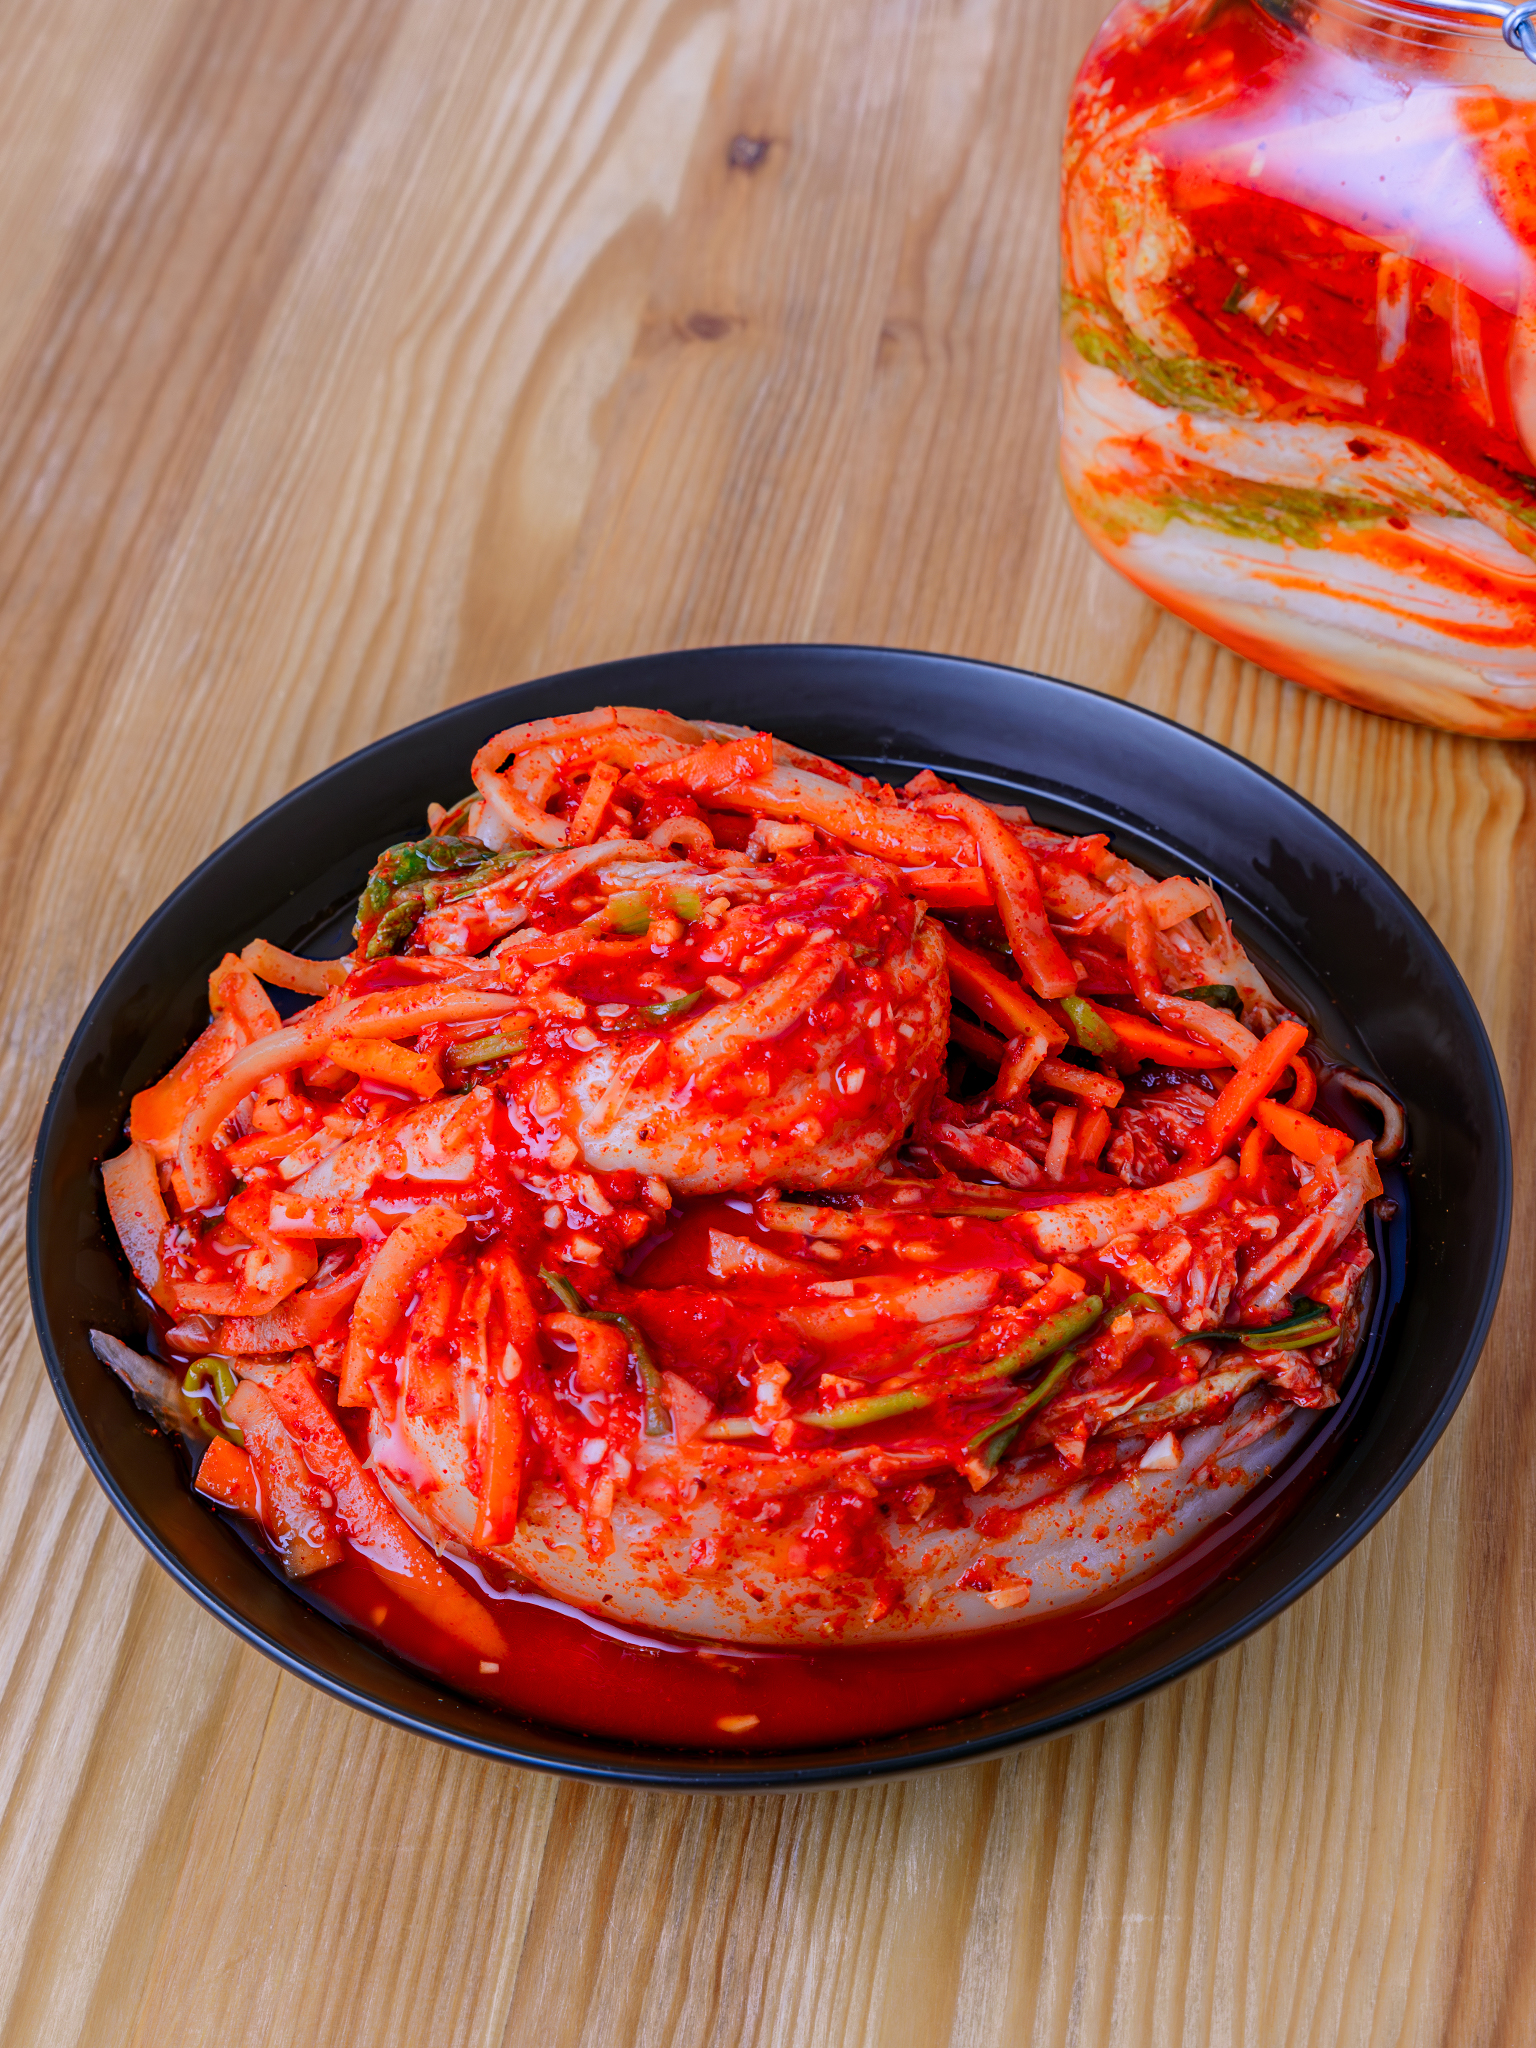
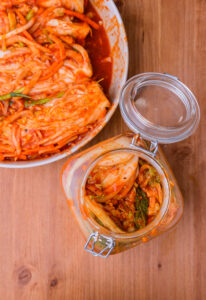
- Transfer the kimchi to a kimchi container or another airtight container and seal. Leave at room temperature for 24 hours, then refrigerate. You can start eating it once chilled, but waiting another 3 to 4 days will develop deeper flavor.

Made this kimchi over the weekend and swapped the Korean chives for scallions since that’s what I had on hand. Let it ferment at room temp closer to 36 hours before refrigerating, and the tangy, spicy flavor came out even better 🙂
Made a big batch of this kimchi and the flavor is fantastic; the leftovers were honestly just as good the next day after chilling in the fridge 🙂
Made a batch on a rainy afternoon and the spicy, tangy flavors turned the whole kitchen into the coziest little place, total comfort food vibes. It’s so satisfying tucked next to a warm bowl of rice or stirred into fried rice when you just want to feel comforted 😊
Mon partenaire, d’habitude très difficile avec tout ce qui est fermenté, en a repris deux fois et j’avoue que ça m’a surprise 😊 Cette recette donne un kimchi bien équilibré, piquant juste comme il faut et super parfumé.