A complete guide to Japan’s beloved stuffed rice balls so you can bring Japan into your kitchen
What are onigiri?
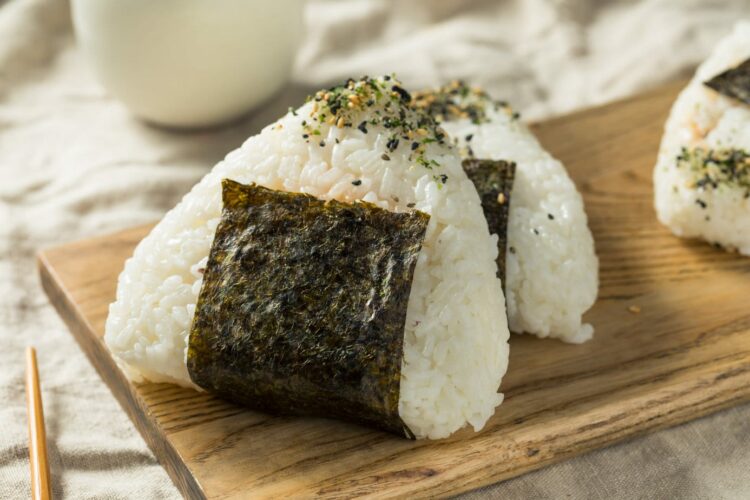
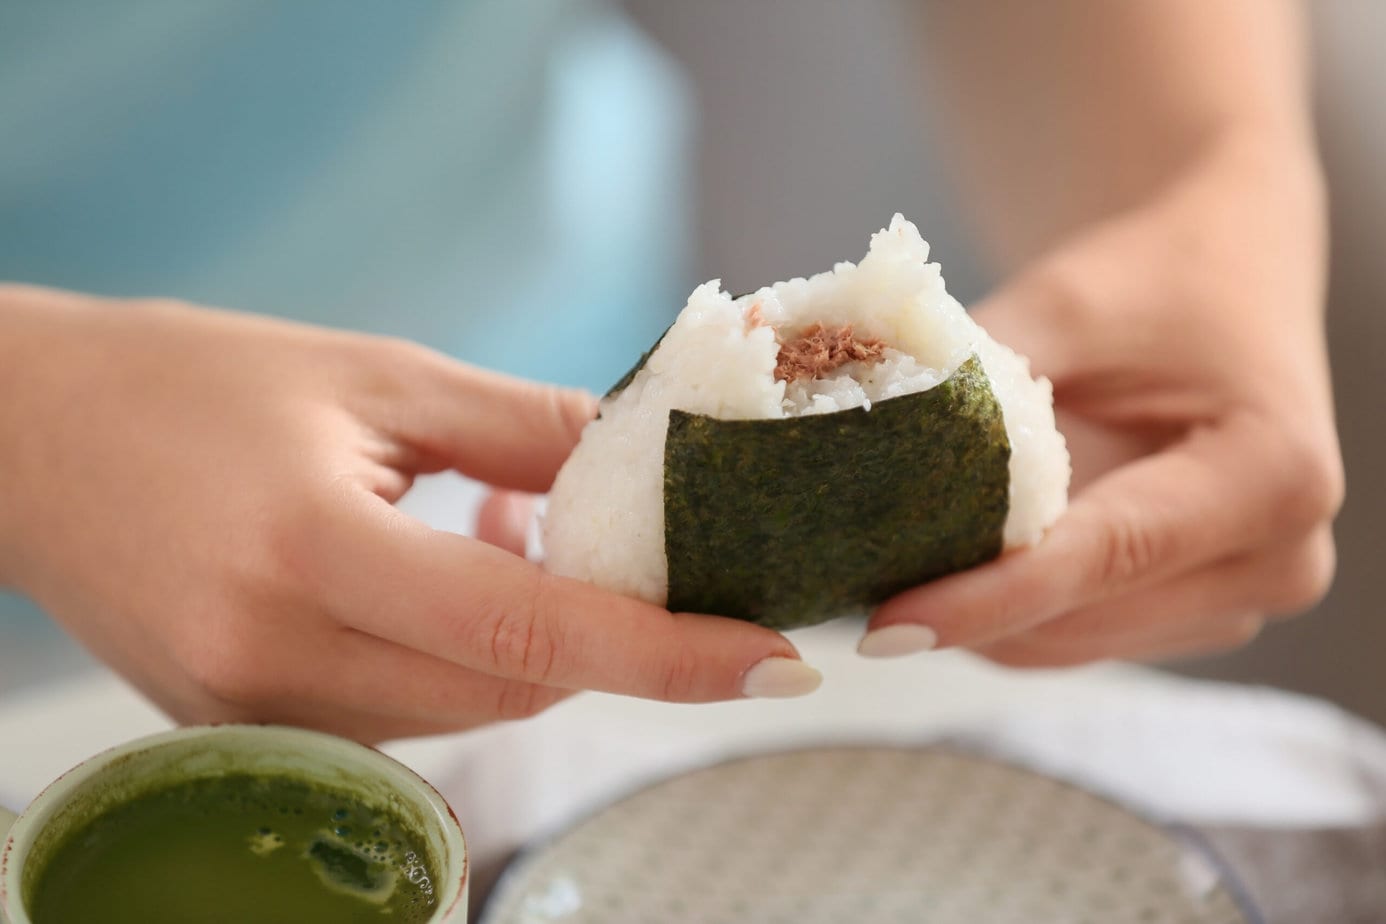
Has the “🍙” emoji always puzzled you too? It’s an onigiri! This iconic snack from Japanese cuisine is essentially a ball of cooked rice, often triangular, wrapped in a sheet of nori seaweed (the same used for maki rolls). You’ll find simple onigiri with just lightly salted rice, or more creative onigiri, often stuffed with various fillings.
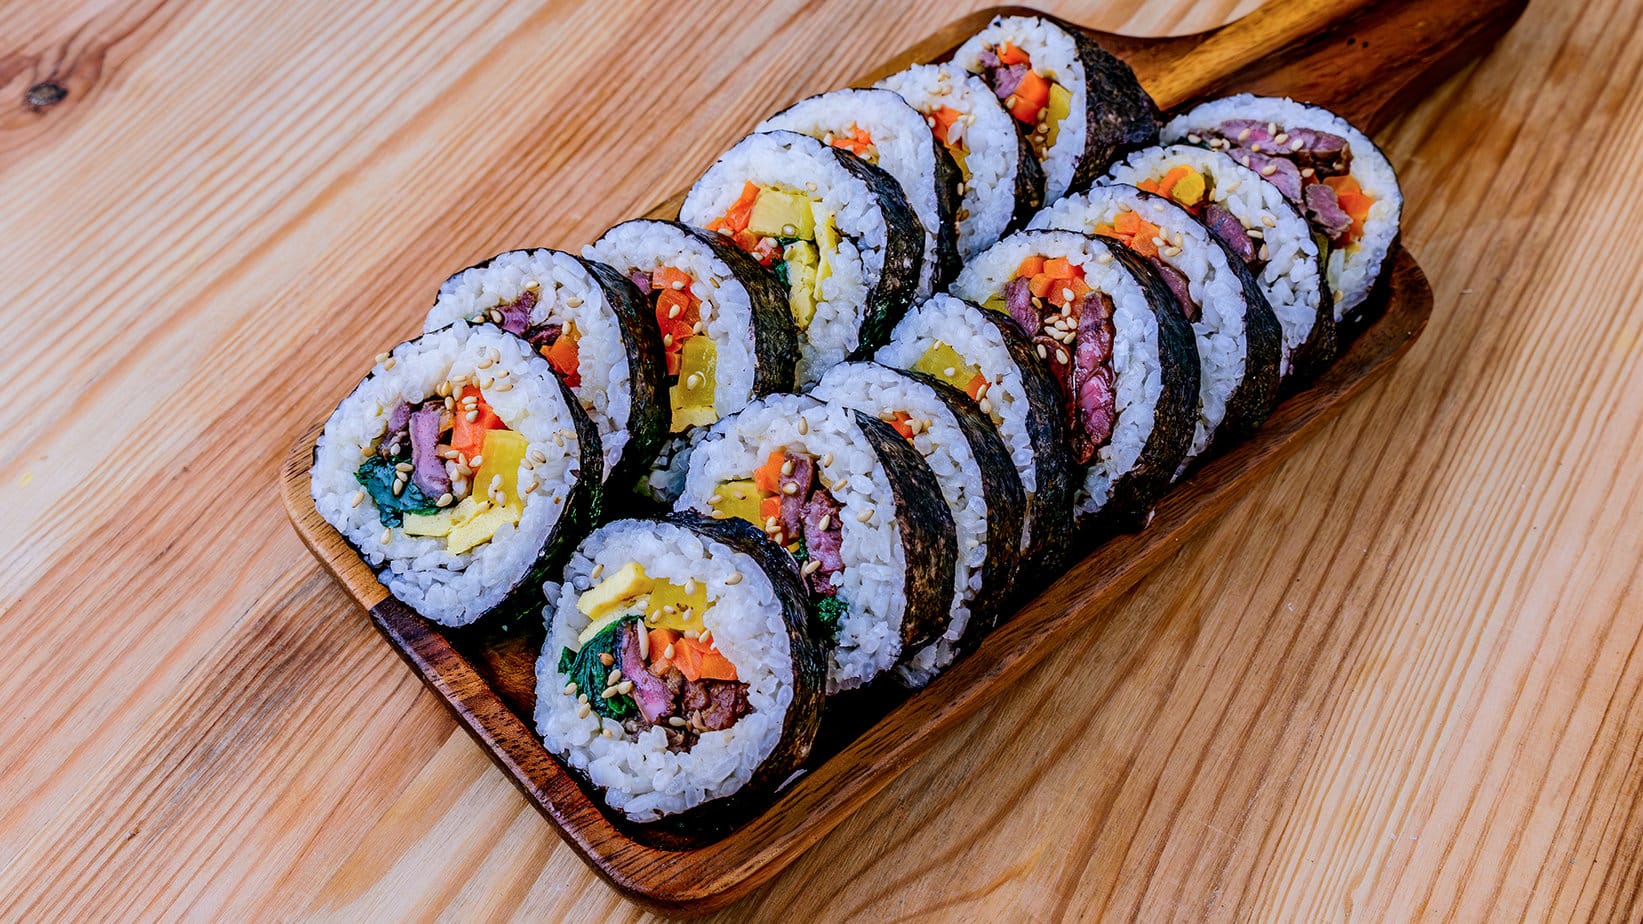
“So it’s just triangular sushi, right?”… Not quite! The main difference with sushi is that onigiri are made with plain steamed rice, lightly seasoned with salt and sometimes furikake, whereas sushi rice is enhanced with sugar and rice vinegar.
The idea is to spotlight the filling; the rice is simply a neutral carrier, while the filling can be quite elaborate.
The origin of onigiri
Onigiri played a role similar to a sandwich in Japanese culture. Originally, rice was pressed into small salted balls (for preservation), making a practical snack for soldiers, samurai, farmers in the fields, and travelers of all kinds.
These little balls were easy to carry and eat by hand. Over time, people began stuffing them with salty or tart foods, which helped preserve the rice.
When to eat onigiri?
Even today, onigiri still have a picnic vibe. Reach for them when you need a quick energy boost. They’re perfect to pack for school, work, or any outing. In Japan, they’re a staple of bento culture.
How to make great onigiri?
The main ingredients of onigiri
Much like a simple sandwich, you need just a few ingredients: cooked rice and sheets of nori seaweed. For the rice, I generally use white short-grain rice. For the nori, use the same sheets you wrap your maki rolls with.
The Filling (tuna, salmon, chicken, veggie)
You can stuff your onigiri with pretty much anything you like. The only limit is your imagination! Among the most common fillings are raw salmon, raw tuna, and cooked chicken …
More elaborate versions might fill the rice with bonito flakes marinated in soy sauce, cooked tuna bound with Japanese mayo, or fish roe (masago)… Sweet-and-savory fans can even use pickled Japanese plum (that’s umeboshi) and all sorts of tsukemono or kamaboko like narutomaki!
Vegetarians will be right at home with fillings like torn nori or any vegetables you fancy!
Shapes and variations of onigiri
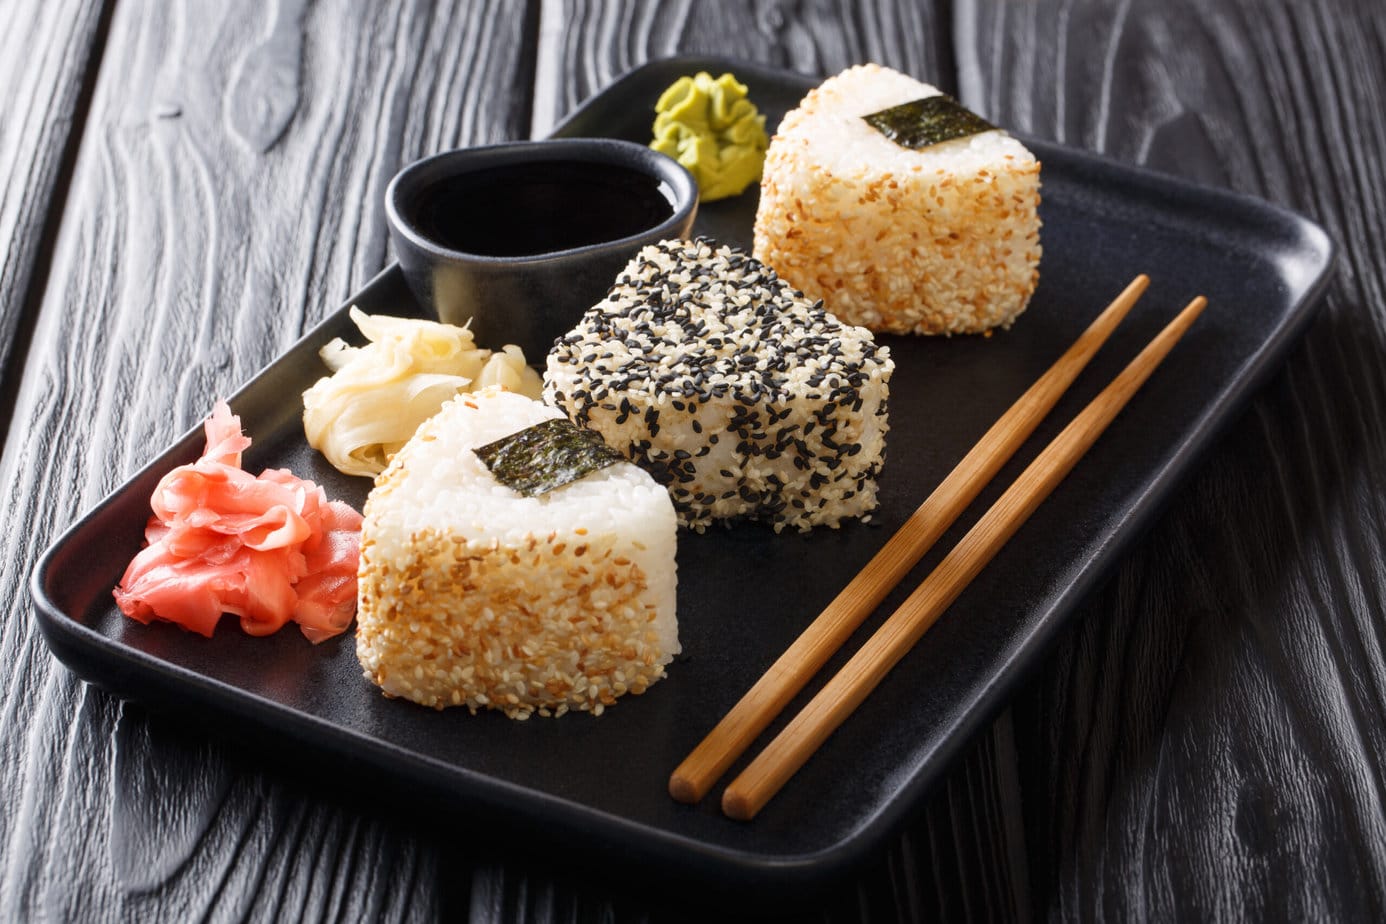
The iconic shape of onigiri is the triangle, no doubt because it makes the snack easy to eat. But to each their own! You can make them as balls, rounds, or cylinders…
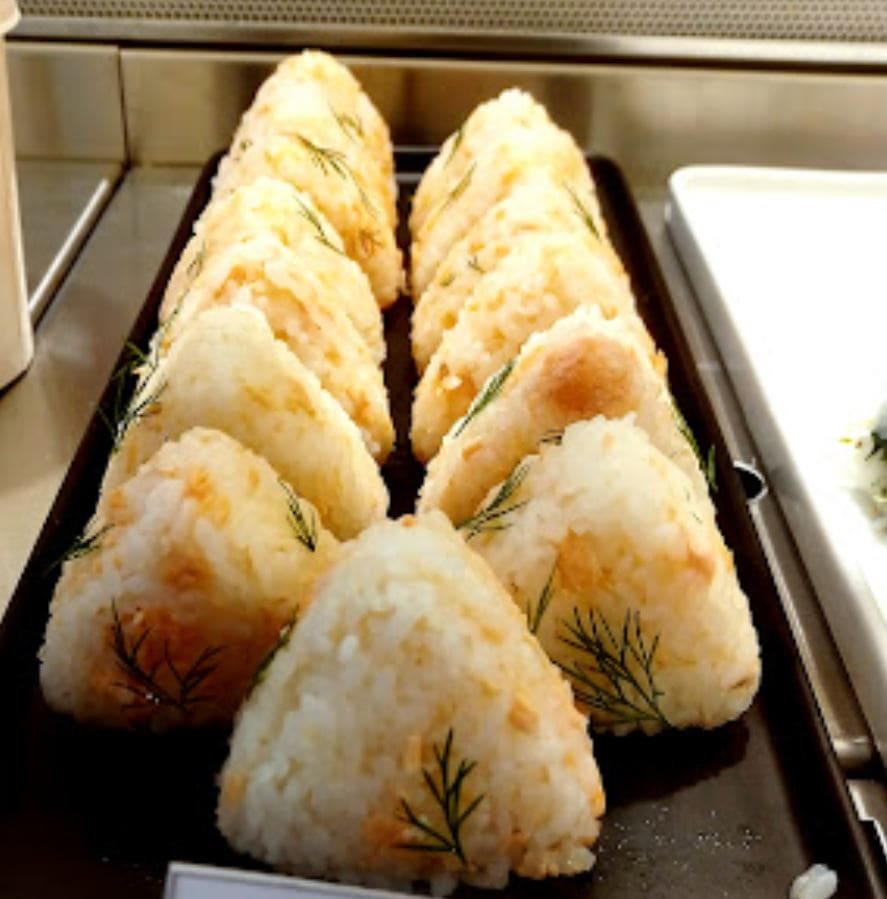
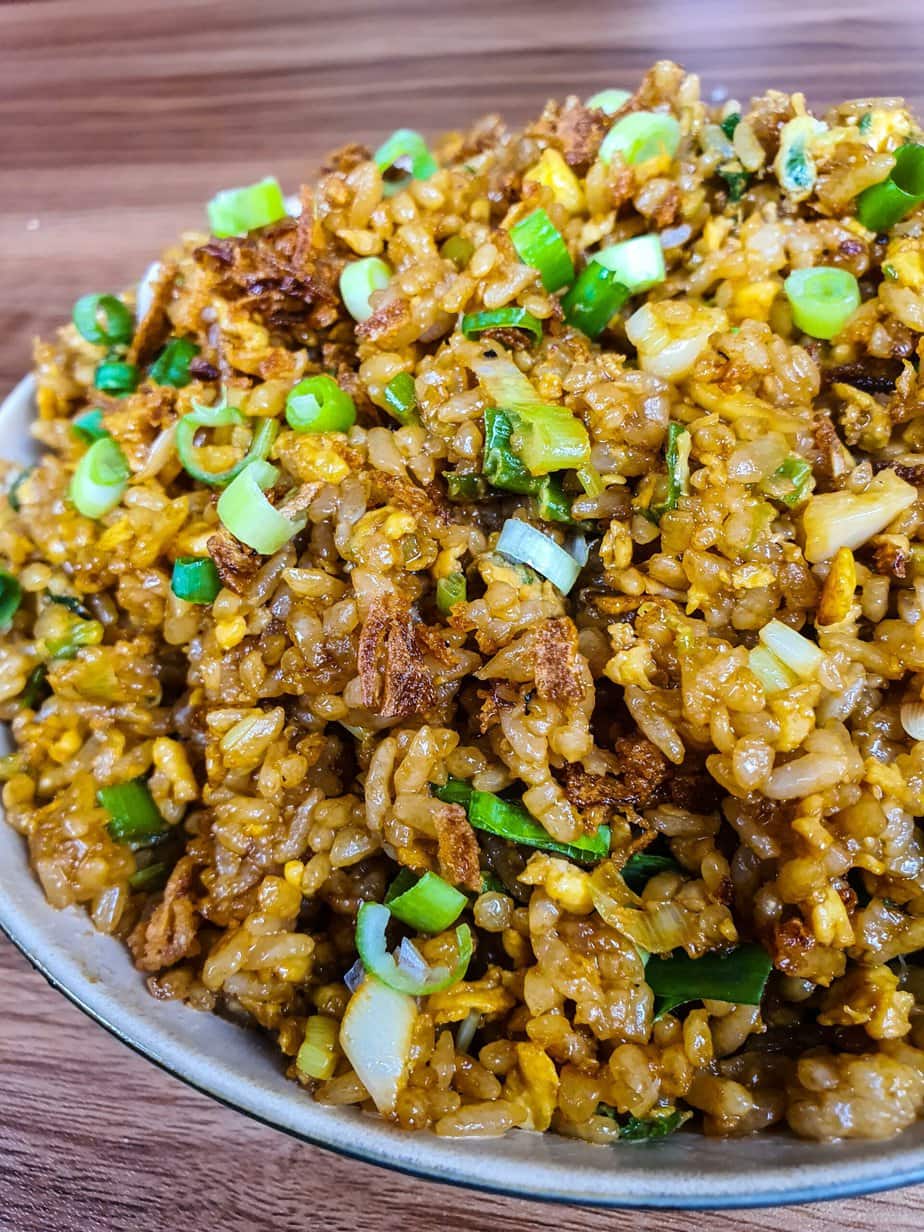
Sandwich fans can switch it up by building onigiri layer by layer instead of stuffing a single shape. The most indulgent will even grill their onigiri in a skillet (add a little oil!) to make yaki onigiri, or on the barbecue (lacquered with a bit of teriyaki sauce) to add a hint of smokiness and get crispier onigiri… If you liked my fried rice, you won’t be disappointed by grilled onigiri!
Wrapping your onigiri well
Here too, it’s up to you. Depending on how much nori you like, cut a small or large piece to attach to your onigiri—from the small rectangle that just covers the base of the triangle 🍙 to a full sheet that wraps the entire rice ball—anything goes!
Apply the nori while the rice is still warm so it adheres. Just note it will absorb moisture, and your onigiri will be less crisp.
Do you eat onigiri hot or cold?
Again, it’s up to you… It’s a snack you can eat hot or at room temperature. Many people prefer them warm, when the texture is crisp (especially if you give them a quick grill at the end). When it’s cold, onigiri is softer. If you have cold onigiri but want to eat them hot, I recommend reheating them for 15 to 30 seconds in the microwave.
How to store onigiri?
Onigiri are designed to stay fresh, even without refrigeration. Don’t forget a light seasoning of salt—it adds flavor and helps keep the rice fresh throughout the day.
Your choice of filling also affects shelf life: pickled plums help preserve onigiri thanks to their antibacterial properties, while tuna with mayonnaise should be eaten sooner.
As with many foods, store onigiri in a cool, dark place.

Ingredients
For the rice
- 540 g sushi rice Japonica rice
- 720 ml water
- 1 teaspoon salt
For the onigiri
- 4 sheets nori dried seaweed
- Japanese salted salmon homemade or store-bought (recipe follows)
- Okaka recipe follows
- tuna mayonnaise recipe follows
- 3 umeboshi Japanese pickled plum
- kombu seasoned and prepared
- toasted white and black sesame seeds for garnish
For the Japanese salted salmon (quick method)
- 1 salmon fillet
- salt
For the Okaka
- 6 g katsuobushi
- 2 tablespoons light soy sauce
For the tuna mayonnaise
- 70 g canned tuna
- 2 tablespoons Japanese mayonnaise
- 0.5 tablespoon light soy sauce
Instructions
Cooking the rice
- Place the rice in a large bowl, gently rinse while stirring, then drain the water. Repeat 3 to 4 times until the water is almost clear.540 g sushi rice
- For the stovetop method, see the next section.
- Let the rice soak in the water for 30 minutes. Transfer the rice to a colander and drain completely for at least 15 minutes.
- Combine the rice and the measured water in a heavy-bottomed saucepan with a tight-fitting lid. Cover and bring to a boil over medium heat.720 ml water
- Once the water boils, reduce the heat to the lowest setting, cover, and cook for 12 to 13 minutes until the water is absorbed. If there is still water after this time, cover and continue cooking for about 1 more minute.
- Remove the pot from the heat, keeping the lid on, and let it rest for 10 minutes so the rice finishes steaming.
- Remove the lid and transfer the rice to a large plate or a tray lined with parchment paper.
- Fluff the rice with a spatula. Let it cool until warm enough to handle without burning yourself, but do not let it cool completely.
Prepare the onigiri fillings
- While the rice soaks and drains (about 45 minutes), prepare the onigiri fillings.
Japanese salted salmon filling
- Sprinkle salt on both sides of the salmon fillet.1 salmon fillet
- Bake at 220 °C for 10 to 20 minutes. The Japanese salted salmon is ready when it is dry and flaky.
- Flake the cooked salmon and set aside.
Umeboshi filling
- Place the umeboshi (Japanese pickled plums) on a 25 cm x 25 cm sheet of plastic wrap.3 umeboshi
- Fold the plastic wrap over the umeboshi and squeeze out the pit from each one.
- Discard the pits and place the flesh on a small plate.
Okaka filling
- Place the katsuobushi (dried bonito flakes) in a bowl, add the soy sauce, and stir to combine. It should be moistened but not completely soaked.6 g katsuobushi, 2 tablespoons light soy sauce
Tuna mayonnaise filling
- In a bowl, combine the drained canned tuna, Japanese mayonnaise, and soy sauce.70 g canned tuna, 2 tablespoons Japanese mayonnaise, 2 tablespoons light soy sauce
- Stir until evenly mixed.
Seasoned kombu filling
- Place the seasoned kombu in a bowl and set aside for easy access later.
Make the onigiri
- See the alternative method below if you plan to serve the onigiri later or pack them for lunch.
- Cut the nori sheets into thirds.4 sheets nori
- Wet your hands to prevent the rice from sticking.
- Next, put some salt in your hand and rub it to spread it over your palms. How much salt? I dip two fingers into the salt and that's it.1 teaspoon salt
- Take a handful of warm rice in one hand. Make a small well in the center. Add about 1–2 teaspoons of filling. Mold the rice around it to completely enclose the filling.
- Gently press the rice around the filling to form a triangle. Use three fingers (thumb, index, and middle) to shape the corners. Your hands should be just firm enough so the onigiri doesn't fall apart. Do not pack the rice too tightly.
- Wrap each onigiri with a strip of nori. For crisp nori, wrap just before eating. Store the nori in an airtight container or bag so it doesn’t go stale.
- Place a little of the filling on the tip of each onigiri so you can tell what's inside.
Alternative method for make-ahead onigiri
- Use this method when serving the onigiri later or packing them for lunch.
- Line a small bowl with plastic wrap and add the rice.
- Lightly sprinkle with salt to help preserve the rice.
- To add a filling, make a small indentation in the center of the rice.
- Put 1 to 2 teaspoons of filling in the indentation.
- Gather the corners of the plastic wrap and twist several times to snugly wrap the rice.
- Shape the rice into a triangle in the same way as described earlier.
Serving
- Enjoy the onigiri warm or at room temperature.
Notes
- Eat within 6 hours: If packing for lunch, keep the onigiri cool and eat within 6 hours.
- Avoid refrigeration: Chilling makes the rice dry and hard, which isn't ideal for this dish.
- Avoid making too far ahead: It's best not to prepare onigiri long in advance.
- Storage tip: If you must refrigerate, wrap each onigiri in plastic wrap and then in thick kitchen towels to keep them fresh without getting overly cold.
- Revive dry onigiri: If your onigiri have dried out, grill them in a pan with a little soy sauce to make yaki onigiri.