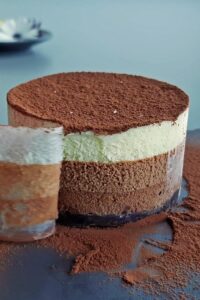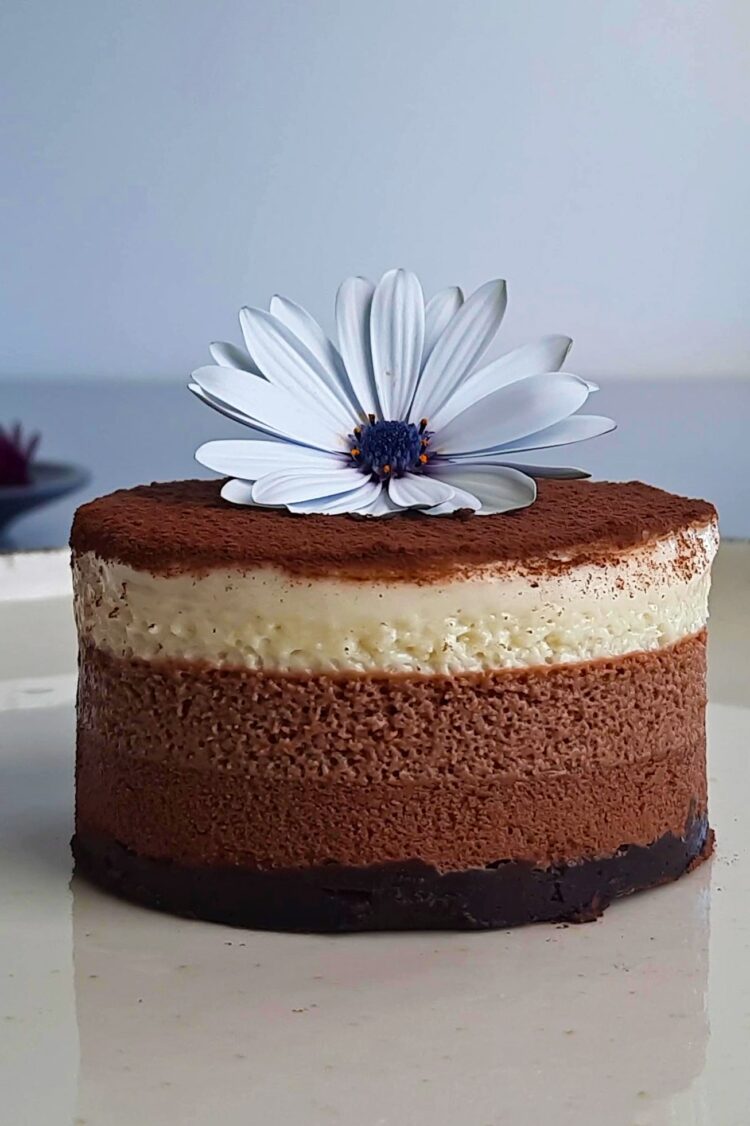
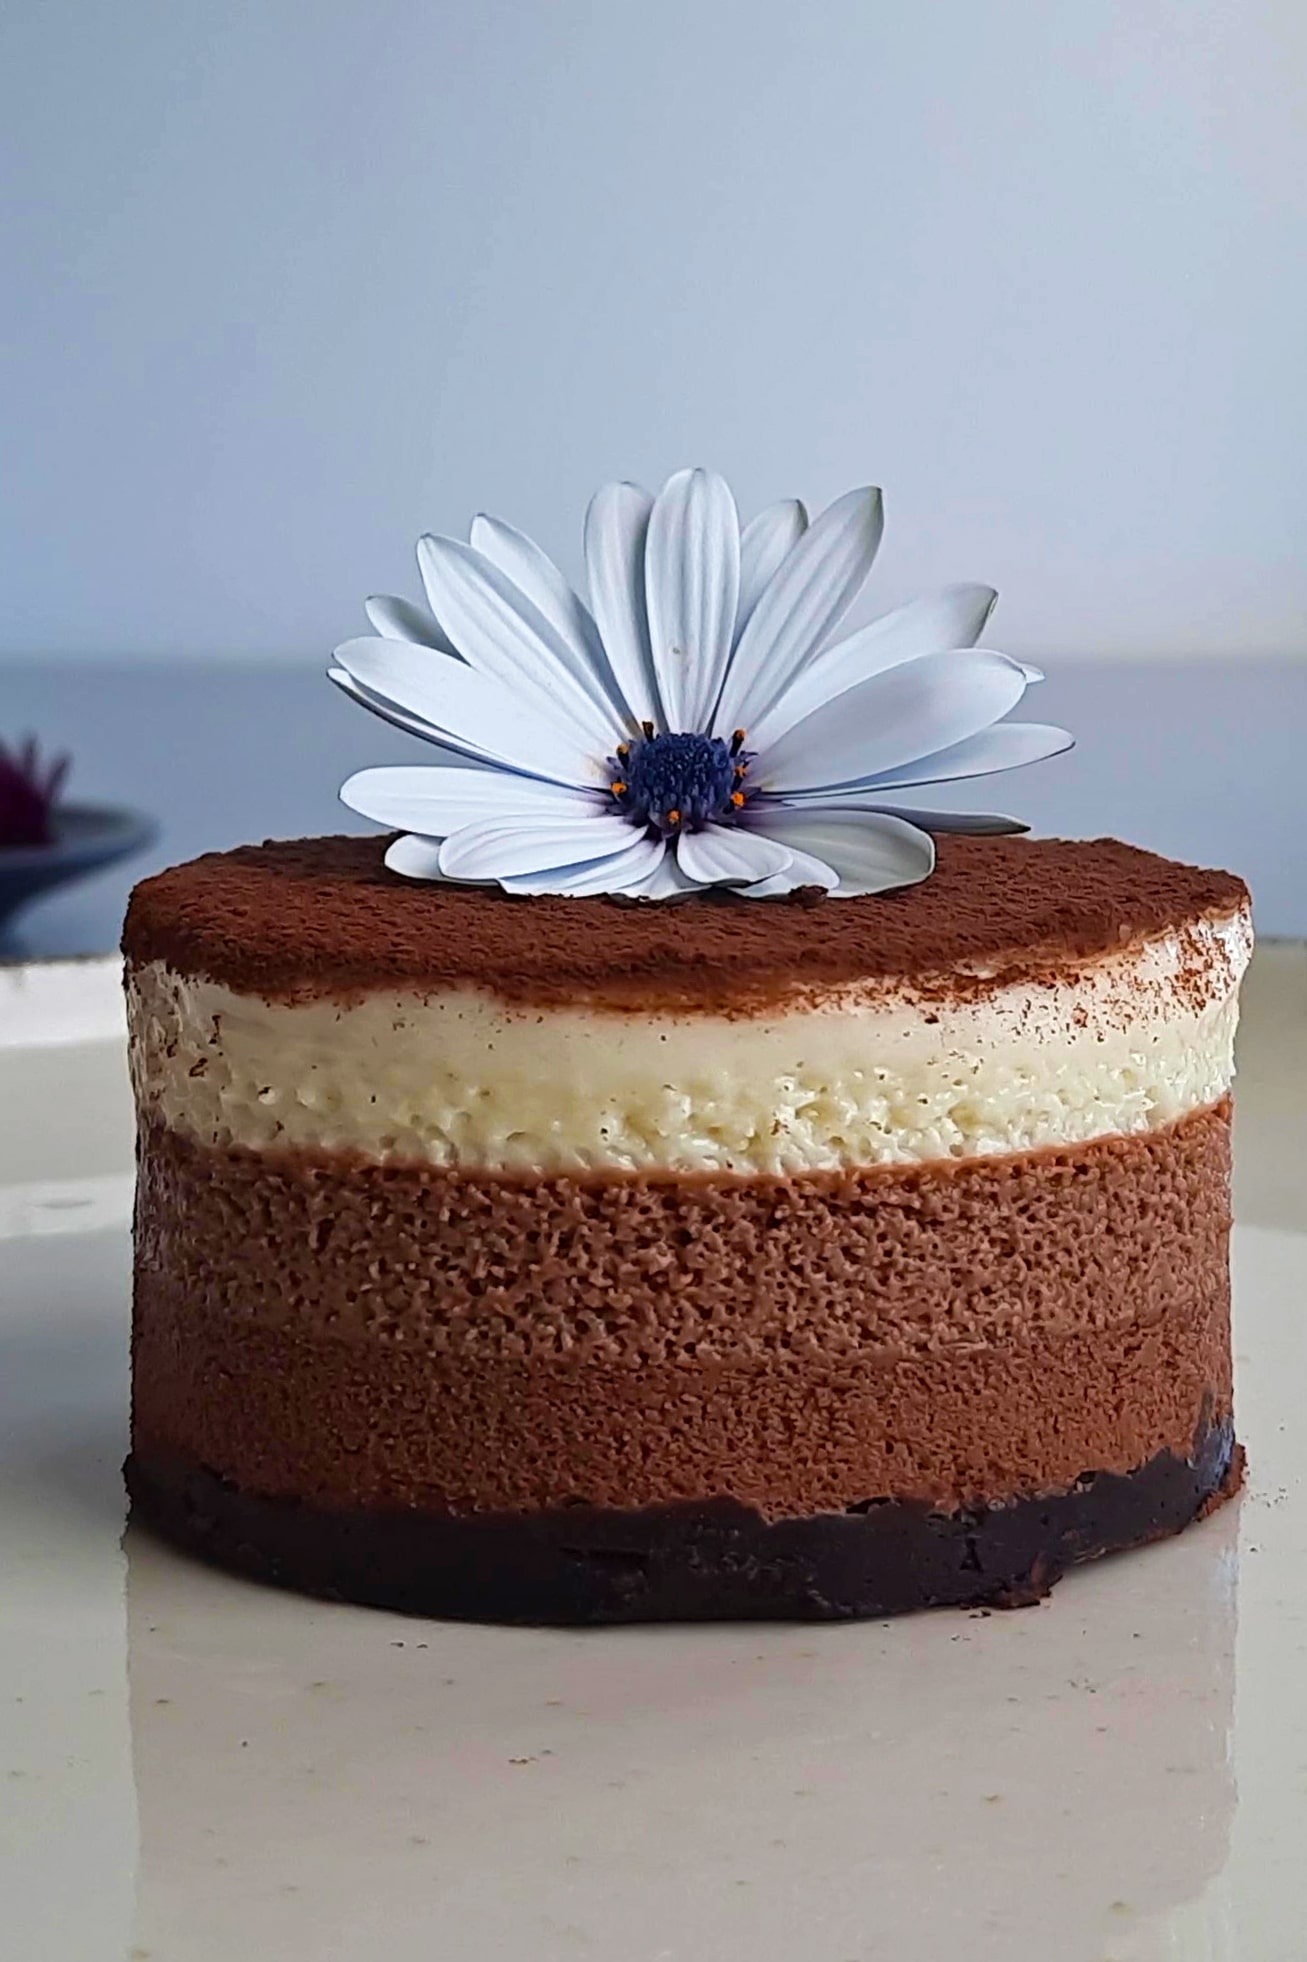
Looking for a chocolate dessert with a clean slice through three distinct layers—dark on the bottom, softer in the middle, and almost vanilla-like on top? This mousse cake delivers, without gelatin, eggs, or gluten. The base is just crisp enough, then the mousses take over: smooth, light, and beautifully defined.
Above all, work neatly, weigh everything carefully, and let the chill do the rest. This recipe joins my other gluten-free pastries.
What is gluten-free vegan chocolate mousse cake?
It’s an entremets made with three layers of vegan chocolate mousse—dark, milk-style, and white—set on a base of gluten-free chocolate crumbs. Chef Rommel Reyes’s recipe contains no added sugar, no gelatin, and no eggs. The structure comes simply from melted chocolate and whipped plant-based cream, gently folded together.
You can assemble it in a cake ring or in dessert glasses. Either way, the method stays the same: start with a compact base, then add the layers one after another, pouring or piping them and letting each one set before moving on to the next.
Origins
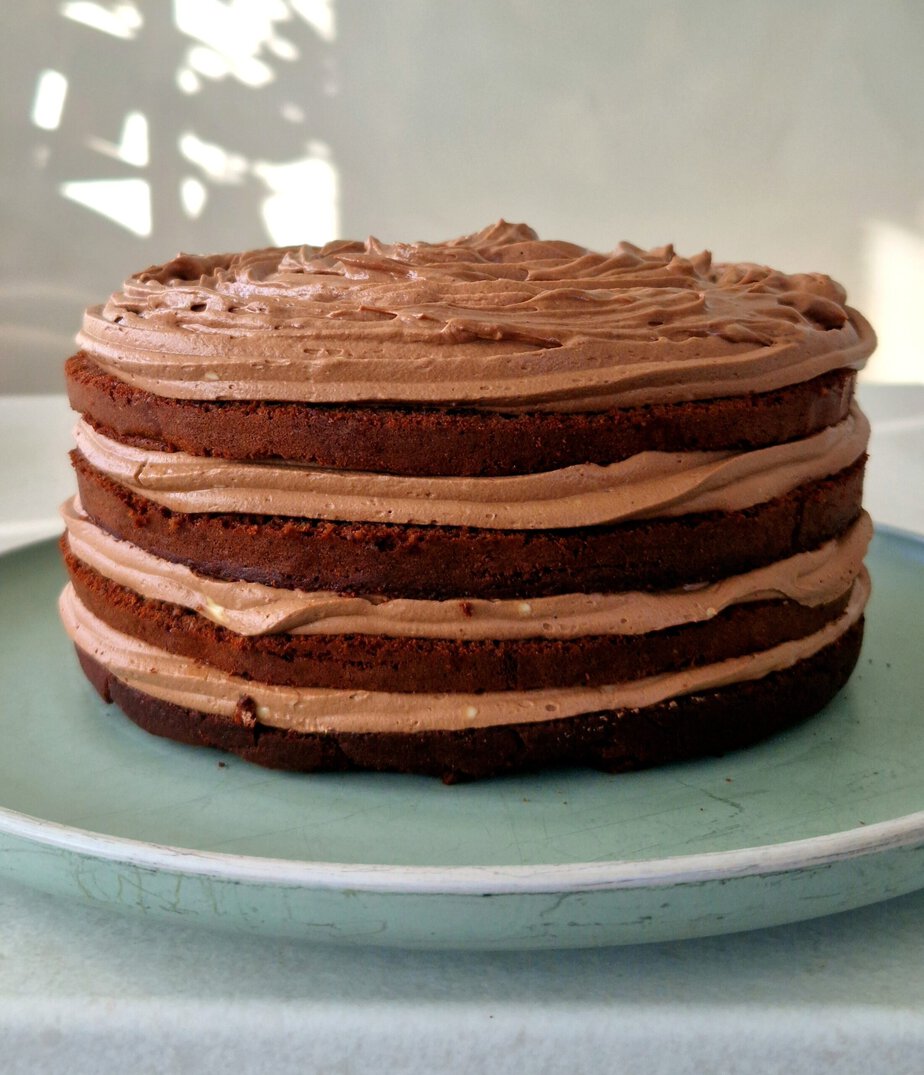
Chef Rommel Reyes created this dessert from leftover vegan, gluten-free chocolate cake made for another entremets. Since he had plenty left, he dried it out and ground it into crumbs to form the base of this mousse cake. That’s also why the recipe offers two options: repurpose baked chocolate cake, or start with graham-style chocolate crackers that are also vegan and gluten-free.
Key ingredients
The base is made from chocolate crumbs mixed with melted vegan butter. You can use leftover vegan gluten-free chocolate cake, or any graham-style chocolate cracker or biscuit, as long as it’s vegan and gluten-free. Either way, aim for fine crumbs rather than coarse chunks.
If you’re starting with leftover cake, cut it into small pieces first, then dry them at 120°C for at least 1 hour before blending. A food processor will give you the finest crumbs, but crushing the biscuits by hand works too. Once dried, process them just as you would for homemade crackers.
For the mousses, you’ll need three vegan chocolates: dark, milk-style, and white. Baking chocolates like Felchlin and Valrhona are among the best for pastry work, but other options work very well too. Each layer follows the same method: melt the chocolate with plant-based cream, then fold in whipped plant-based cream.
For the plant-based cream, Surewhip is the best choice, with Califia Heavy Whip Dream as a solid alternative. Weigh everything in grams here, and convert only if necessary. In a dessert like this, precision directly affects how well the layers set.
Technical tips and common pitfalls
The key here is structure. Since there’s no gelatin or eggs, each mousse sets thanks to the melted chocolate and the whipped plant-based cream folded into it. That means you need to respect the order, the chilling times, and the texture of each preparation as you assemble the cake.
Prepare a clean, even base
Blend the biscuits or dried cake into fine crumbs, either in a food processor or by crushing them, then mix with the melted vegan butter. This step matters more than it seems: fine crumbs create an even base that packs down neatly without gaps. If the pieces are too large, the final slice won’t be as clean.
Press the mixture firmly and evenly into the bottom of the ring, or into the glasses if you’re making individual servings. You want a dense, compact, perfectly level layer. If you’re using a ring, line it with a strip of acetate before you start; it makes unmolding easier and keeps the edges sharp.
Once the base is pressed in, let it chill in the refrigerator while you make the mousses. It should be cold and slightly firm before you add the first layer.
Make the mousses without deflating them
Melt the chocolate with the plant-based cream over a double boiler. This applies to the dark layer just as much as the others. The chocolate should still be warm when you fold in the whipped cream, not cold or starting to set.
Fold in the whipped cream until the mixture is smooth. For the dark layer, the final texture should be silky and even. For the white layer, mix until completely homogeneous before piping.
The milk-style chocolate mousse is made exactly like the dark chocolate mousse. Same technique, same attention to texture. If the mixture isn’t smooth and uniform, it won’t pipe cleanly and the layers will look less defined.
Build the layers in the right order
Start with the dark chocolate mousse on the chilled base. Pipe it on, then refrigerate for 10 minutes to let it set. Wait until it feels firm before adding anything on top.
Once the dark layer has set, gently pipe the milk-style chocolate mousse over it. The key word here is gently: press too hard, or work over a layer that hasn’t set properly, and the two will blend together. Return the cake to the refrigerator so the second layer can firm up as well.
Finish with the white chocolate mousse, piping it over a milk-style layer that is already firm. Here again, wait for a proper set before moving on. Once all three layers are in place, keep the cake cold until fully set: allow at least 1 hour in the freezer for a cake assembled in a ring after the white layer, a few hours for good firmness, and ideally an overnight chill for the cleanest final texture.
The cake is ready when the whole dessert is fully set and firm. Before serving, remove the acetate strip and the ring, then finish with a light dusting of cocoa powder. If you’re assembling it in glasses, you can serve it as soon as the white layer has set, after 15 to 30 minutes in the refrigerator.
Assembling in glasses
The version served in glasses uses exactly the same layers, in the same order. It’s a true alternative to the ring, not a separate recipe. Press the base into the bottom, then pipe in the three mousses, letting each one set before adding the next.
To finish, dust the top with cocoa and decorate the glasses with cacao nibs and crushed graham-style biscuit crumbs. It’s mostly for looks, but it also echoes the base from the very first spoonful.
Storage
There’s no precise storage timeline here, but chilling is essential. For serving, keep the cake in the refrigerator or freezer until it is completely firm, ideally after an overnight rest. Versions assembled in glasses can come out sooner, as soon as the white mousse has set after 15 to 30 minutes in the refrigerator.
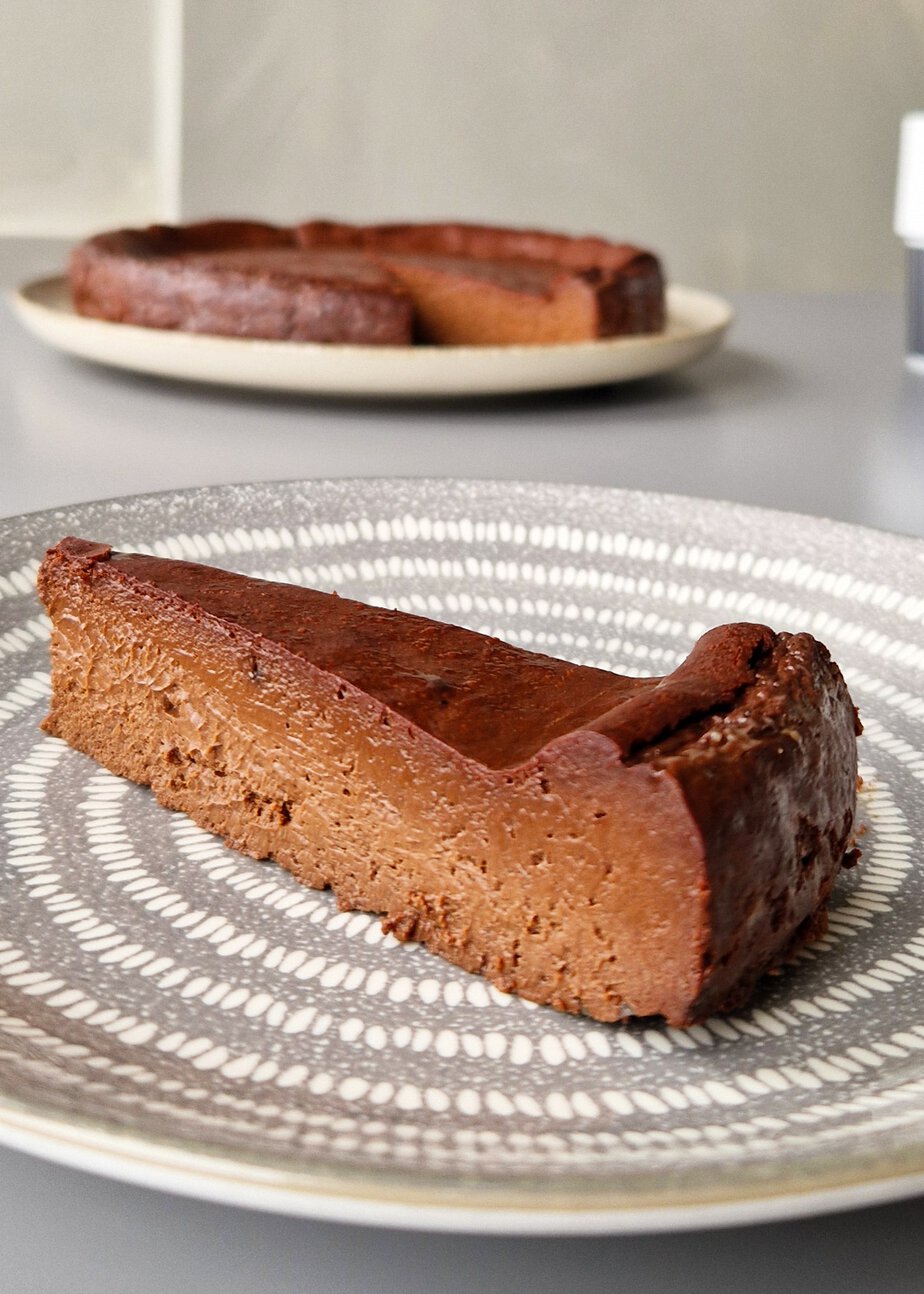
You’ll find more vegan gluten-free recipes in the same section.
Recipe developed by Chef Rommel Reyes. Find his work on Instagram, his Substack newsletter, and his YouTube channel.
Ingredients
- 120 g crushed chocolate cookies, gluten-free and dairy-free
- 40 g vegan butter melted
- 110 g dark chocolate
- 75 g full-fat plant-based cream
- 75 g full-fat plant-based cream whipped
- 140 g oat milk chocolate
- 75 g full-fat plant-based cream
- 75 g full-fat plant-based cream whipped
- 180 g vegan white chocolate
- 75 g full-fat plant-based cream
- 75 g full-fat plant-based cream whipped
Instructions
Preparation
- Crush the chocolate cookies into fine crumbs, then mix them with the melted vegan butter.
- Press the mixture firmly into the bottom of a cake ring lined with an acetate strip to form a compact base.
- Refrigerate the base while you prepare the mousse layers, so it can set.
- Melt the dark chocolate with the full-fat plant-based cream in a double boiler. Gently fold the whipped cream into the still-warm melted chocolate until smooth.
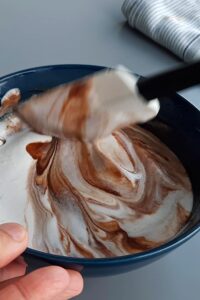
- Pour over the chilled cookie base and refrigerate until the mousse is firm.
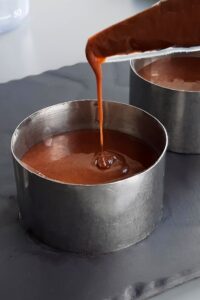
- Repeat the same process, this time using the oat milk chocolate.
- Carefully pipe the milk chocolate mousse over the set dark chocolate layer. Return to the refrigerator until set.
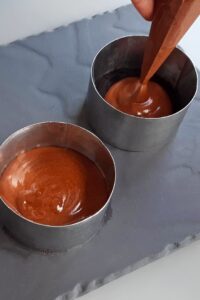
- Melt the vegan white chocolate with the full-fat plant-based cream. Gently fold the whipped cream into the melted white chocolate until smooth and fully combined.
- Pipe the white chocolate mousse over the firm milk chocolate mousse.
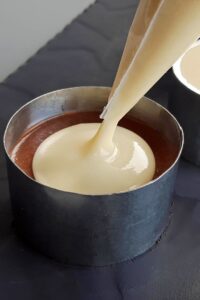
- Place the cake in the freezer or refrigerator until completely set, ideally overnight.
- Dust the top of the cake with cocoa powder. Remove the acetate strip and cake ring before serving.